Learn to Make Apple Cider Vinegar (from scratch)
Have you ever wanted to try making apple cider vinegar from scratch? The unknowns can be intimidating and often, can keep a person from trying something new. But if the housewife of the 19th century could make vinegar from apples..its totally possible for you to do it too.
I'm going to walk you through the process step by step so that you can have the confidence you need to move forward!

A Summary of the Vinegar-Making Process
Before we begin, it's important that you understand how the vinegar making process works. I don’t know about you, but anytime I understand the “how,” I’m more likely to try something new.
Quality apple cider vinegar begins with juice from freshly pressed, sun ripened apples. When apple juice is left to sit in temperatures ranging from 60-80F (16-26 C), something special happens. Natural, airborne organisms begin to work at the liquid and will gradually transform any juice into vinegar.
The first organism responsible for the vinegar making process is an airborne yeast. It naturally exists in your home and is also found on the skin of fruits and vegetables. The surface of your juice will catch these yeasts, and they'll feed on the sugars in your fruit juice and slowly, convert them to alcohol. Once all the sugars have been consumed, these yeasts die off for lack of food.
Then, a second group of natural, airborne bacteria comes in to work. Acetobactors take the alcohol content and convert it to (can you guess?) acetic acid.
That's how you get a vinegar product from apple juice!
How to Make Apple Cider Vinegar
Now that you understand the basics, it's time to walk you through the vinegar making process, step by step. If you still have questions at the end of this blog post, I have a 60+ page e-book how to make vinegar that dives deep into the fermenting process and breaks it down even more.
All good? Let's learn how to make apple cider vinegar from scratch!
Step 1: Source Good Sweet Apples
When choosing your apples, I recommend using a sweet variety, instead of a crabapple. I've used Gravenstein, Red Delicious and a host of other types, including wild apples!
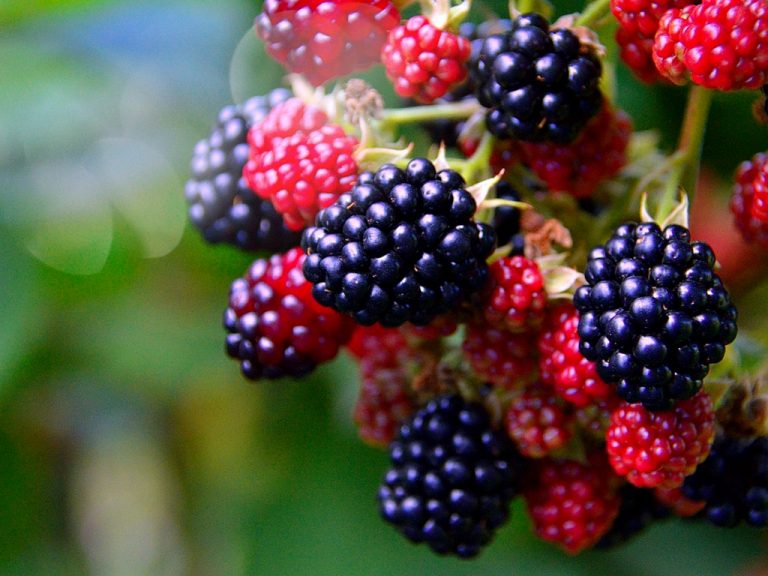
Because sun ripened apples have the highest sugar content and make the strongest vinegar, use fruit that has naturally ripened on the tree. You can get them from your own backyard, from a friend, a neighbor or a local orchard.
Note: windfalls are excellent for making apple cider vinegar, even if they are bruised or cracked.
Step 2: Extract Juice from Your Apples
After you've sourced your apple of choice, it's time to extract the juice! There are several ways to do this but today, I'm going to give you just 2 options to choose from.
Method 1: Use an Electric Juicer
The first? If you have an electric juicer in your kitchen for making carrot or beet drinks, you can use it to extract juice from your apples. You'll have to cut the fruit down to size so it'll fit in the mouth of your juicer. But it's one of the best ways to create raw apple juice on a small scale!
If you don't have a juicer, there's another method that doesn't require any special equipment. All you needs is a cutting board, a knife, a glass jar and a lid!

Method 2: Use a Water Infusion
Creating a water infusion isn't difficult. In fact, it's so simple, your children will be able to help you make it!
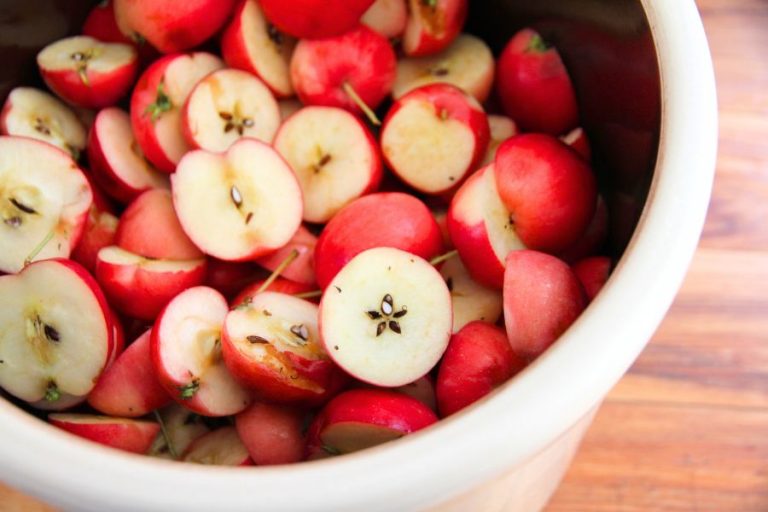
After rinsing your apples clean, take a knife and chop each apple into smallish pieces. Things don't need to be uniform and you don't have to remove the core...or the stem...or the blossom ends!
Go ahead and pack these pieces into a glass jar. You can use a wooden spoon or wooden pestle to gently pound things down. Add fruit, until you run out of apples or until the jar is 3/4 full. And then? Add chlorine-free water, until the apples are covered by approx 1 inch.

Using a butter knife, release any trapped air pockets in the packed apples, then cover the jar with a tight fitting lid.
An old tin canning lid and canning band will do!
Place your concoction at the back of your kitchen counter. It's good to keep your infusion where it'll be seen, because you'll want to break the seal every day (just in case carbon dioxide builds) and also give it a stir or gentle shake to keep mold at bay.
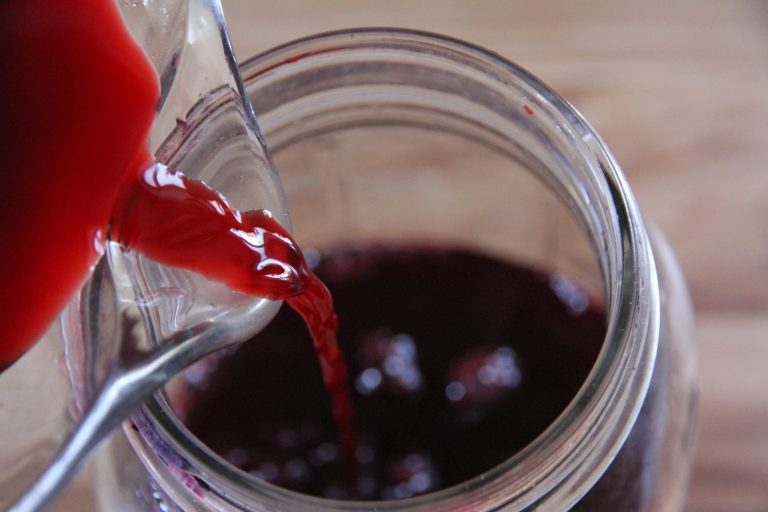
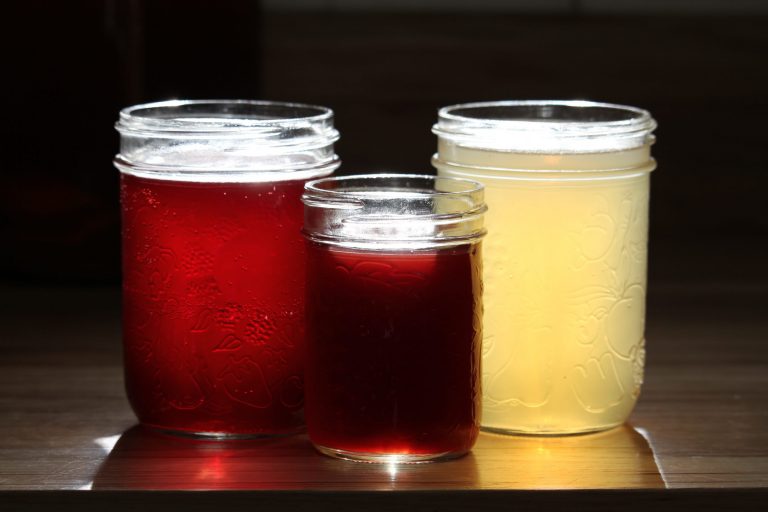
As the apple pieces sit, their juices will leach out into the water. The water itself will deepen into a golden color. And when you notice tiny bubbles on the sides of your glass jar, it's time to strain the apple pieces out!
Pour the contents into a cloth-lined bowl and gather up the 4 corners of the cloth, letting the infused juice filter through. Once you've collected the liquid, it's time to make apple cider vinegar!

Step 3: Ferment Apple Juice Into Vinegar
Whether you use fresh pressed apple juice or a water-infused apple juice, the fermenting process is all the same. Your fruit juice should be poured in a clean glass jar or crock. Cover the mouth with a coffee filter, paper towel or clean cotton cloth.
Its important that you use a breathable cover because your ferment needs release carbon dioxide and receive airborne yeast and bacteria.
Because fruit flies go crazy over fermenting fruit, make sure you securely fasten your breathable cover with a rubber band or tightly-tied string. If flies get into your juice, you'll soon have tiny white maggots swimming around in golden liquid. No one wants that!
Leave your juice to ferment in a room that is within the 60-80F (16-26C) temperature range. If your juice is too cool, the fermenting process may not begin. And if it's too warm? The wrong yeast will likely take over and spoil the entire batch of juice!
In the first few weeks, you'll notice tiny bubbles on the sides of your container and perhaps even on the surface of your ferment. Slowly, these will disappear and several weeks later, you'll notice a light, vinegar-like aroma wafting up from your juice.
Be sure to check your ferment from time to time for any signs of bubbly brown scum or mold. If anything should appear, skim it off with a stainless steel spoon, rinsing the metal in fresh water between each dip.
Step 4: Wait While Things Ferment
You're probably wondering how long the fermenting process will take? It's a difficult question to answer because...it depends on a number of factors.
The greater your volume of juice, the longer it will take to fully ferment. Temperatures have a direct effect on how quickly natural yeasts multiply and feed on the natural sugars. And the higher your sugar content, longer it will take your juice to move through the fermenting phases.
Generally speaking, a quart (litre) jar of apple juice will take 1.5-2.5 months to complete. A half gallon (2 litre) jar will take 3-4 months. And when I ferment 5 gallons of fresh pressed apple vinegar in my largest crock? I always count on at least 8 months of waiting!
Be patient, and good things will happen.
Step 5: Watch for the Development of a Mother Culture
Due to the high sugar content of apples, your juice may start forming a thin, rubbery-like substance its surface. This is a mother culture, and her appearance is a natural occurrence.
As the acetic acid develops, this rubbery mass will thicken and darken in color. You can leave it there, to protect the surface of your vinegar. Or, if it makes you uncomfortable, you can discard it.
If it remains healthy (no mold growth) through the fermenting process, you can save it and transfer it to another batch of vinegar.
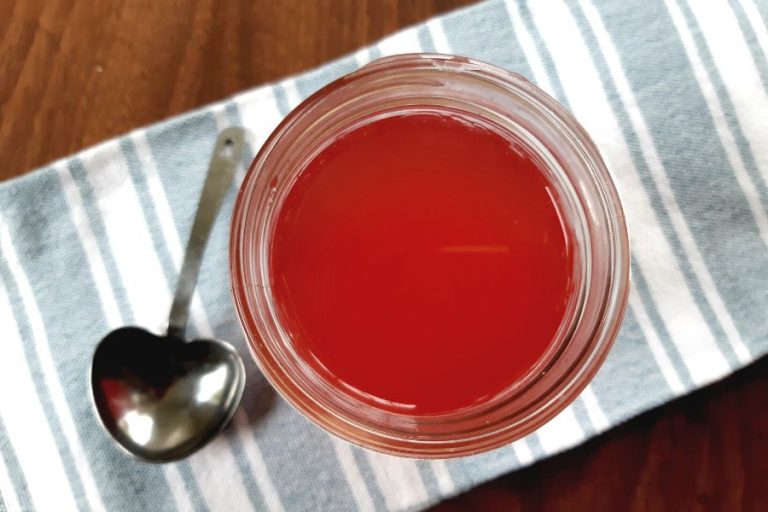
Step 6: Test Your Vinegar for Stability
There are no visual signs that reveals exactly when your vinegar has finished fermenting. It will smell and taste sour, yes. But it will start smelling sour long before the acetic acid bacteria have finished their work!
If you bottle or jar things up too soon, it can either stall the completion of your vinegar or lead to an explosive bubble-over when you finally do open up your container.
I recommend you run this simple test on your vinegar when you think it has finished fermenting: add 1-2 C to a jar or bottle and tightly seal. Leave the vinegar out a room temperature, letting it sit for several days. Break the seal.
Was there a release of carbon dioxide? If so, pour the vinegar back into the fermenting container and let it sit for another 2-3 weeks. Test again.
When you don't have a release, you know your vinegar is safe and ready to bottle or jar in food grade containers!
Step 7: Store Your Apple Cider Vinegar
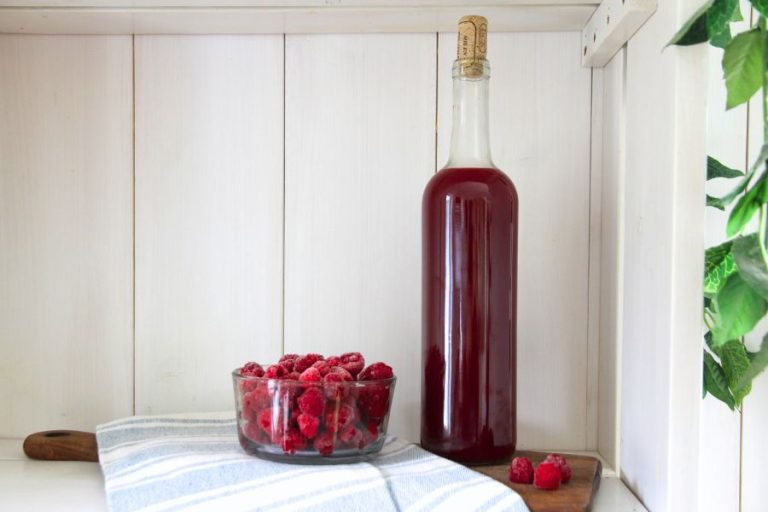
Vinegar can be stored in bottles, jugs or glass jars. When using glass jars for storage, avoid metal or tin canning lids. Over time, the acidity of the vinegar will eat away at the finish. I like to use these white, wide mouth plastic lids from amazon.
I also keep a collection of glass jugs and old bottles on hand for storing finished vinegar. These are easily sealed with a good, old fashioned cork!
After you've bottled up your vinegar, it can be stored in a kitchen cupboard, in the pantry or a cold room. Apple cider vinegar will mellow out after about a year's time. But it is shelf stable and can be used for several years afterward.
The only thing you shouldn't do with homemade apple cider vinegar is use it in your home canning!
Because there aren't reliable ways for the average person to test acetic acid levels in their home, apple cider vinegar isn't safe to use in canning. You need 5% acetic acid levels to do that. And with homemade apple vinegar? There are no guarantees!
Keep it for other uses.
A Valuable Resource for the Vinegar Maker
Did you know your vinegar making experience isn't limited to just apples? If you want to dive further into the world of fermented fruit vinegar, be sure to check out my book "The Beginner's Guide to Traditional Fruit Vinegar.
In it, I give you an in-depth look at the fermenting process, offer troubleshooting tips and also give you my favorite recipes for using apple cider vinegar in the home! Just click the image below if you want to learn more!
And that? That about wraps it up! If you have any questions on how to make apple cider vinegar from scratch, please leave them in the comments below. Be sure to grab your free, how-to printable below as well!

Apple Cider Vinegar from Scratch
Instructions
- Harvest apples, rinse and chop into 2 inch chunks.
- Pack apples into a glass jar or crock, filling no more than 3/4 full.
- Add chlorine free water, until apples are covered by 1 inch.
- Take a butter knife and slide it up and down the sides of the jar to remove air pockets.
- Fasten an old canning lid into place and set the jar at the back of the kitchen counter.
- Let the jar sit for 4-10 days, being sure to break the seal and stir (or shake) daily.
- When the liquid has turned golden and you see small bubbles on the sides of the container, it's time to strain the solids out.
- Line a large bowl with a cotton cloth and pour the jar's contents into it.
- Tie the corners of your cloth together and hang where the juices can drip into the bowl below.
- Once collected, pour the juice into a clean jar or crock.
- Cover with a breathable cloth, paper towel or coffee filter. Fasten down to keep fruit flies out.
- Keep the jar or crock at the back of your counter for the next 2-4 months.
- Lift the cover every so often to check for mold. If it appears, skim it off with a stainless steel spoon, being sure to rinse the metal clean after each dip.
- When your liquid strongly smells of vinegar, seal 1-2 C up in a second jar or bottle.
- Let the second container sit on the counter. Break the seal in 2-3 day's time.
- If there was a release of carbon dioxide, return to the original container and let it ferment for 2-3 weeks. Test again.
- When there is no release, your vinegar is ready to be bottled up.
- Fill jars, jugs or bottles and seal.
- For the best flavor, use your shelf stable vinegar within the next year.
I start acv making in a plastic jar with putting chunks and sugar water in it and put some ready made apple cider vinegar in it and cover jars opening with peice of cloth. In the beginning of ten days bubble created, day by day smell developed like the smell of gathered apples In a pit. But after 20days complete the development of bubbles stopped. And the fast smell turns into lighten I taste a drop of liquid it tastes very little sour. CAN YOU PLEASE TELL ME IF I HAVE MADE ANY MISTAKE AND IS MY PROCESS GOING ON RIGHT TRACK. IF I'VE MADE ANY MISTAKE PLEASE GUIDE ME TO SAVE MY BATCH.
I recommend straining out the apple pieces when the bubbling stops, so they don't mold. Pour everything through a cloth to catch any bits of fruit and then? Keep it covered with a cloth and patiently WAIT. Depending on how much liquid you have, it can take upwards of 3-4 months for acetic acid bacteria to convert the alcohol content. Once that is finished, you have vinegar that is ready to be stored away.
I cover all this and more in my digital book on Making Fruit Vinegar. You can access it here: https://atraditionallife.com/product/fruitvinegar/
Thanks Autumn for sharing all the methods from Sourcing to Storage. What is the best serving guide you can share. I want to know how much can adults and kids consume Apple Cider Vinegar each day?
Hi Christi! I don't know of a limit when it comes to apple cider vinegar. Some people drink it straight to help with muscle cramps, but usually, I don't do more than 1/4 C per day for myself. And for kids? I'd think 1-2 tablespoons would be fine on a regular basis. But I'm not a nutritionist or any sort of medical profession. Theese are just my thoughts on the matter!