Strawberry Vinegar Recipe
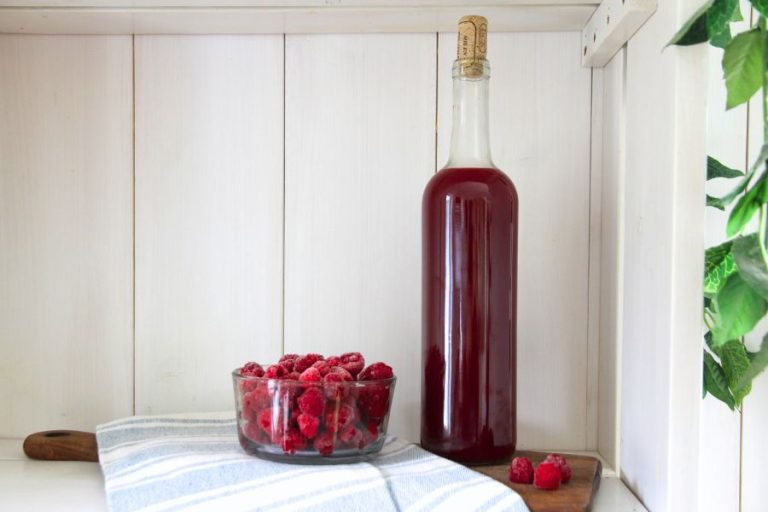
Learn how to make old fashioned strawberry vinegar with fresh or frozen berries, so you can enjoy the bold flavors in strawberry salad dressings, vinaigrettes and even in tasty drinks like a switchel or shrub!

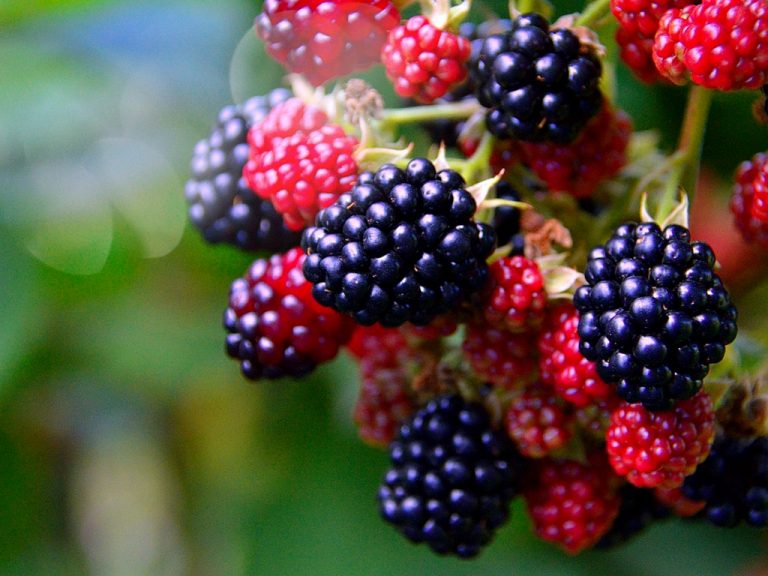
You can make fruit vinegars with many different types of berries. But this strawberry vinegar recipe is especially delicious. In my kitchen, strawberry season is usually marked by bowls of the fresh fruit sitting on my kitchen counters, the smell of bubbling strawberry jam cooking on the stove and of course, the tang of strawberry vinegar.
I say "usually" because there's always exceptions to everything. Some years, I don't have time to make my strawberry jam or vinegar as the fruit comes ripe.
So instead, I clean and pop berries in the freezer, so I can make jam and vinegar later.
If you want to learn how to quickly freeze strawberries, you can follow my tutorial I just linked to.
And now? Here's a list of tools you need to make this simple strawberry vinegar recipe. Affiliate links included!
Tool List
- large jar (2 litre or half gallon)
- wide mouth lid
- a large bowl
- cotton tea towel
- rubber band for securing cloth
Ingredients You'll Need
- 2 pound fresh strawberries (907 gm)
- 4-5 cups filtered or distilled water
- optional: 1 tablespoon sugar or honey
How to Make Strawberry Vinegar
Step 1: Find 2 Pounds of Strawberries
The first step in creating strawberry vinegar is sourcing your berries.
Of course!
Whether you grow them yourself, harvest from a local u-pick or simply buy them at the grocery store, I recommend using berries have been sun ripened (if at all possible).
Sun ripened berries have higher concentrates of natural sugar. And sugar is necessary for creating a strong strawberry vinegar!
Step 2: Clean Your Strawberries
Go ahead and give your fresh berries a quick rinse at the kitchen sink. I like to pull off strawberry tops (called a calyx or cap), but I usually leave the short stems attached.
There really isn't any need to remove them when make strawberry vinegar, as they don't affect the flavour of your finished vinegar.

Why not leave the green cap intact as well? When you're making vinegar, you don't want anything floating to the surface of your jar. Floating bits give mold opportunity to grow. If this happens, it can lead to further issues and ultimately, cause your vinegar to spoil. So instead, toss the green tops into your compost pile and let them break down there!
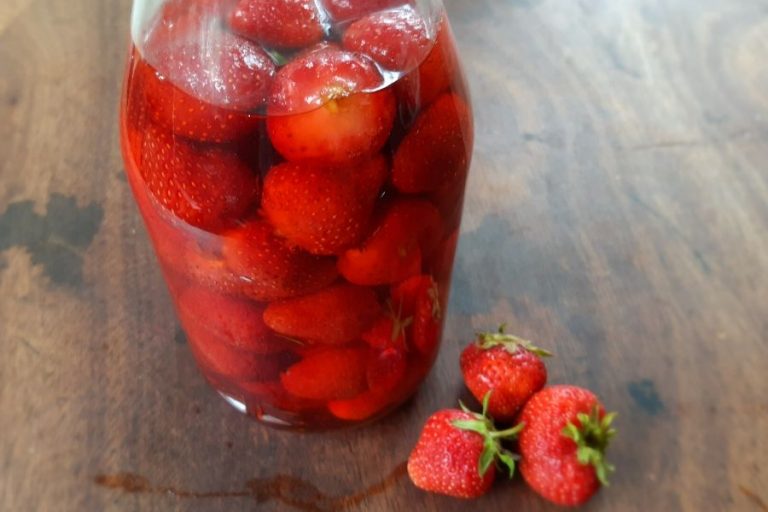
Step 3: Place Strawberries in a Clean Jar
If you want to release juices faster, you can mash your berries before placing them in a clean jar. Personally, I usually just pack whole strawberries in and carry on. But whether you use mashed strawberries or whole fruits, be sure to leave about 3-4 inches of open space at the top. In the canning world, we call it "headspace." You need to leave room for expansion, or you'll have some serious bubble overs.
Step 4: Add Water to the Jar
Using filtered or distilled water, add it to your jar of strawberries, until fruit is covered by about 1/2-1 inch. You want to stop before reaching the top of your jar, because you don't want things to bubble over during the process!
Step 5: Fasten a Lid in Place
You should always use a sealable jar when making strawberry vinegar. At least if you're using the method I teach here.
If you want to learn more techniques for making homemade vinegar, be sure to check out my master course on making fruit vinegar. I cover everything you could possible want to know there!
I like using plastic lids because they fit tightly, won't corrode when they come in contact with the acidity of vinegar and they do a wonderful job at keep fruit flies out.
Step 6: Set Your Jar on a Plate
It might seem obvious, but it's always wise to put fermenting liquid on a plate or baking dish, so you don't have a huge mess if a bubble over occurs!
Step 7: Leave Your Strawberries to Infuse for 7-10 days
Your jar can sit at the back of your kitchen counter for 7-10 days. During this time, the water will soften the strawberries and draw out the juices and natural sugars. As this happens, it's important to break the seal on your jar every day to release any gasses that might be building up.

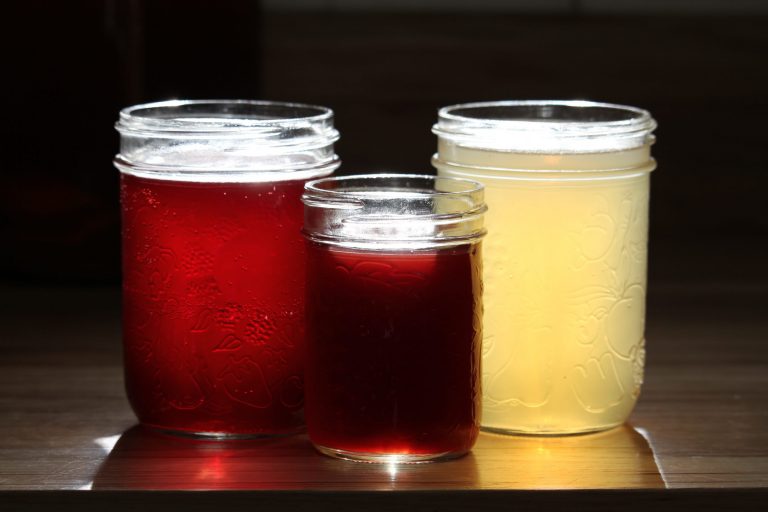
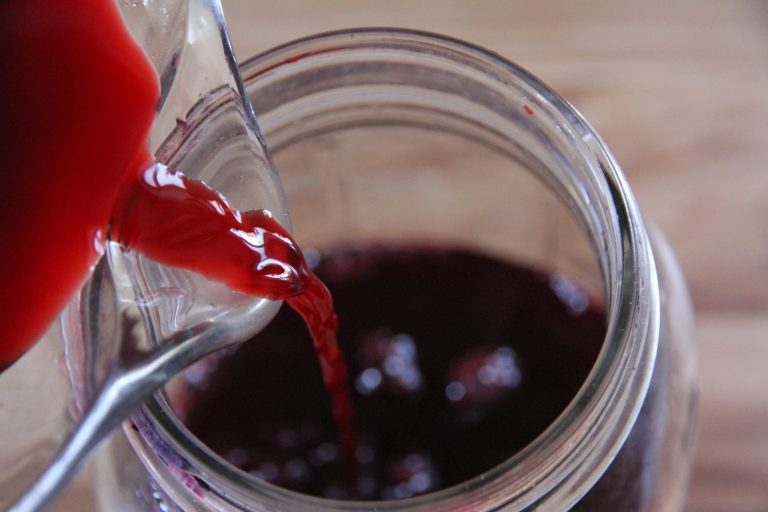
After a few days the water's colour will deepen from pale pink to a brilliant red. Strawberries will also rise to the top of your water and compress in the top of the jar. This is a good thing! And when the proper amount of days have passed, it's time to strain out the berries.
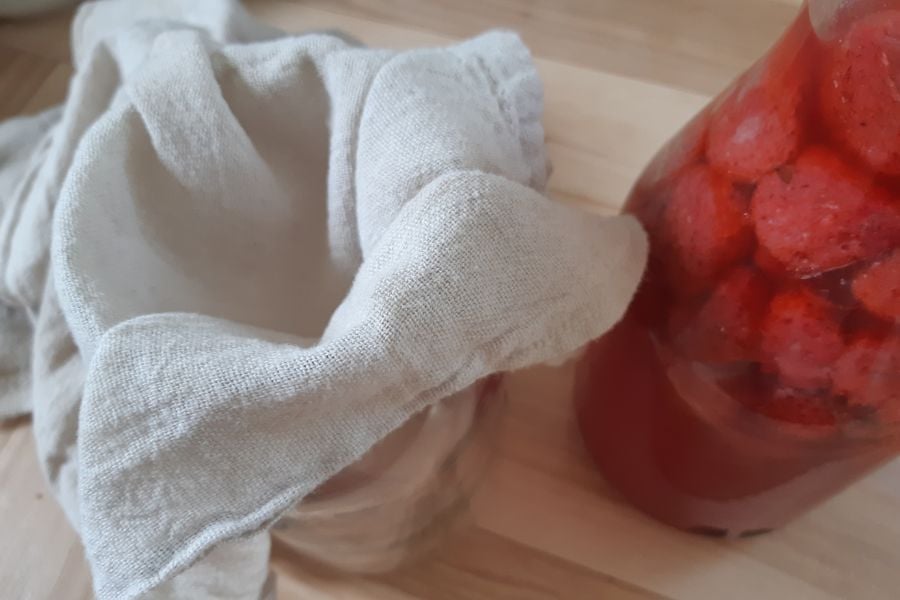
Step 8: Separate Strawberries from the Juice
To get a pure juice for making strawberry vinegar, you need to remove the soggy strawberries from the liquid. Go ahead and pull out a large bowl. I like to place it in the kitchen sink, just in case something goes wrong! Line the bowl with a white cotton cloth and pour the jar's contents into it. Gather up the 4 corners and knot them together.

Hang your homemade cloth bag where juices can drip into the bowl below. It shouldn't take more than an hour. And then? It's time to create homemade strawberry vinegar!
Step 9: Ferment Your Homemade Strawberry Juice
Rinse your original half gallon jar and pour the strawberry juice back into it, without the berries this time! Instead of using a lid, you'll want to cover the jar's mouth with a clean cotton cloth, paper towel or even a coffee filter will do. Be sure to fasten it down so fruit flies can't get in. And then? You let nature take its course!
The first phase of fermentation takes because of wild yeasts that were present on the skin of your strawberries! Yeasts will feed on the natural sugars found in your strawberry juice. As they feed, they will convert the sugars to alcohol. After a week or two, you'll be able to smell a light, fruity, alcohol-like aroma wafting up from your jar. It's a good sign!
When the yeasts have finished feeding, a group of air-borne bacteria will come in and transform the alcohol content to acetic acid. This process will take 3-4x longer than the first phase. But when it's done, you have homemade strawberry vinegar!
Pin this for later:

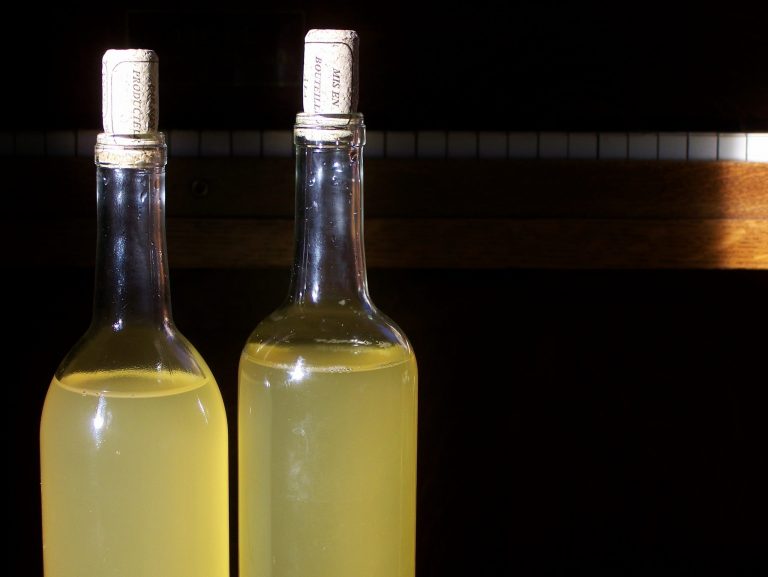
Step 10: Store and Use
When your vinegar has finished fermenting, it's time to pop a lid into place and store it away! I like to use plastic lids when storing strawberry vinegar in jars. Tin canning lids and metal bands will rust under the acidity of vinegar and you don't want rust ending up your food or drink!
Vinegar is shelf stable at room temperature and will last for a year or more when stored in an airtight container.
FAQ
Can I make strawberry vinegar in a quart jar?
Yes, you certainly can! Just cut this recipe in half and everything will go smoothly. The only reason I like to use a large jar (1/2 gallon or more) is because I like to get a lot of vinegar if I'm going to go through all the work of fermenting strawberries and such.
Will my fermenting strawberry juice grow a vinegar mother?
If you've ever made apple cider vinegar or even kombucha, you're probably familiar with the biofilm (a mother culture or scoby) that sometimes forms on the surface of your ferment. Sometimes strawberry vinegar will grow a "mother culture" but most of the time, it won't. Don't worry!.Either way, you'll end up with a delicious strawberry vinegar!
Can I make strawberry vinegar with raw, frozen strawberries?
You bet! Just toss frozen berries into your jar, cover with water and follow the steps outlined above! Frozen fruit will still create a delicious homemade vinegar.
How is strawberry vinegar different than a white wine vinegar or red wine vinegar?
Strawberry vinegar is made from fresh (or frozen) berries. White wine vinegar and red wine vinegar is made from wine that has been exposed to air flow and consequently, acetic acid bacteria. To the best of my knowledge, fresh strawberry vinegar is actually healthier than a wine vinegars, because it doesn't have all the additives that commercially produced wines contain.
Can I add fresh mint to my strawberry vinegar?
I've never tried adding herbs to my vinegar during the fermenting process. But I have tried adding them into my vinegar after it is finished. Fresh herbs can be stuffed into a jar filled with vinegar, where they can be left to infuse for several days. Fish them out, compost them and you'll have a delicious flavored vinegar!
Favorite Way to Use Strawberry Vinegar
You might be wondering how to use strawberry vinegar in the kitchen? Let me give you a few ideas!
- toss with a green salad
- add to greek salad with olive oil, feta cheese, tomatoes, cucumber and black pepper
- strawberry salad dressing
- strawberry vinaigrette
- switchel or shrub
- addition to fruity desserts for a bit of tang

Strawberry Vinegar Recipe
Equipment
- 8 quart bowl
- half gallon jar
- large cotton cloth
Ingredients
- 2 pounds fresh strawberries
- 4-5 cups filtered water
- 1 tablespoon honey or sugar (optional for stronger ferment)
Instructions
- Harvest sun-ripened strawberries from your patch or from a local u-pick.
- Rinse strawberries to remove dust and bugs.
- Remove the green caps, leaving the stems attached.
- Pack whole fruit into your jar, filling it to the shoulder, leaving 3-4 inches of open space at top.
- Add chlorine-free water until your berries are just covered when you press them down.
- Fasten a lid in place and set the jar on a plate if leaving on kitchen counter.
- Break the seal daily to release any carbon dioxide that builds up.
- Let strawberries and water infuse for 6-10 days.
- Line an 8 quart bowl with a cotton cloth.
- Pour the strawberries and liquid into it.
- Gather up the 4 corners of the cloth and knot together.
- Lift berries and hang for 1-2 hours so juices can drip into the bowl below.
- Pour collected strawberry juice into a clean, wide mouth jar.
- Cover with a cloth, paper towel or coffee filter and fasten down with rubber band to keep fruit flies out.
- Let juice ferment for 6-8 weeks, until it begins to smell sour.
- Taste test. If your strawberry juice taste sour, pour 1/2 C into a small jar and cover with a tightly fastened canning lid and band.
- Return to the kitchen counter and let sit for 2-3 days.
- Break the seal. If a puff of air was released, your vinegar isn't done fermenting yet. Return to the original fermenting jar and let it sit for another 2-3 weeks.
- Continue testing, until no puff of air is released from your little jar.
- And then, it's time to bottle or jar your homemade strawberry vinegar in a food-grade container!
- Store in a kitchen cupboard or on a pantry shelf for up to 12 months.
- Use in homemade salad dressings, vinaigrettes, in shrubs or as a tonic.
My vinegar is one week in after removing fruit and is covered with cloth. I have a white film covering the top of the vinegar. I don’t know if this is normal. It started as white bubbles around the jar and now it is covering the top. Not sure what’s happening?
White film often forms when the natural yeasts start working. You may want to skim it off, so mold doesn't start growing. It will probably reappear a few times and that's normal. Just keep skimming it off every few days, until it stop appearing.
My vinegar has mold floating on top. Do I need to throw it out?
Hey! Go ahead and carefully skim it off, rinsing your spoon between each skimming. Filter the liquid through a straining cloth, put it in a new jar (or wash the old one well) and let the liquid keep fermenting. If mold appears again, you'll probably want to throw it out.
Can I use natural spring water? Or can I run the spring water through a coffee filter ?
Yes, you can use spring water. Chlorinated water or water with fluoride and sometimes slow your ferment, but fresh mountain water should be just fine!
I am about three weeks in with my strawberry vinegar... it looks GREAT and smells slightly like strawberries & vinegar, BUT it has produced a "mother." How can I tell the difference between a mother and mold (I seriously believe it's a "mother").
If it has indeed produced a mother, can I use it to make more strawberry vinegar? Or, how else can this mother be used?
Thank you! 🙂
Lance
Mold will be fuzzy and soft, whereas a mother culture is rubbery and slimy. 🙂 You can transfer it to another batch of new vinegar if you like. But it isnt necessary. So glad it's going well for you!
Could you do this same process with peaches? Thank you
I've never done peaches personally. But it should work, as long as you take the peaches out after about 10 days. Otherwise the juice will thicken and you might have mold issues. 🙂 Good luck! And let me know if you have any questions along the way.
I’m on day 5 on letting my strawberries sit in the water. I used a fermenting kit with a stainless steel spring to keep the strawberries down. It also has a vent but I still burp it each day. I had a few small fleck of strawberry pieces that surface and had small amounts of mold on it. I removed them. Can I still proceed with the process or does it need to be tossed?
Keep going! You shouldn't have any more issues with mold. 🙂