How to Prepare the Garden for Winter
I never know if I'm glad or sad when the late autumn frost nips at the abundance of food growing in my gardens.
On one hand, I'm happy because it signifies the end of my toil and labor. On the other hand, I feel sad because it means no more fresh produce...and that I have to do garden cleanup!
Preparing the Garden For Winter
Garden cleanup is a funny thing. I don't enjoy the task, but there is something about it that feels right. It's the perfect way to close off a year of sunshine and fresh food, another year of victories, losses, learning curves and rewards.
And actually, by taking time to put the garden to bed, a girl can make next year's planting easier! So let me walk you through how to prepare the garden for winter!
Step 1: Make a Map of Your Garden Beds
Say what? A map?
Yes, a map! Before you demolish your garden, take time to record where you grew each type of vegetable. If you are going to keep your garden free of disease and naturally control pests, it's important to practice crop rotation (meaning you don't plant the same thing in the same place two years in a row).
I always think I'll be able to remember where I grew each type of vegetable. But somehow, the details always slip my mind when planting time comes 'round again. Make a map (stash it with your garden seeds), so you don't end up planting the same vegetable type in the same place next spring.
Step 2: Pull Dying Vegetation
Cleaning up the garden is a wonderful way to bring closure to the year. After arming yourself with gloves and a wheelbarrow, it's time to begin pulling up the dying, fading, blackened vines and any vegetation that cold winter temperatures will soon kill.

And here's the thing: I don't recommend putting the leftover garden bits in your compost!
You can control pests and their eggs by practicing crop rotation, but fungal and bacterial diseases are quite another matter.
The spores from plant diseases can often live in your soil for several years. Adding infected plants to your compost and then adding that composted matter on your garden merely spreads the disease around.
Instead of taking the risk of losing a crop to disease, I recommend hauling the vegetation away and dumping it somewhere other than the compost pile!
Step 3: Weed the Garden Beds
It's painful to weed the garden one last time, but it's like doing the dishes before you go to bed at night. In the morning, you're always glad to wake up to a clean kitchen!
The garden is no different. When spring arrives, it's wonderful to have a clean slate to work with.
If you're like me and mulch with grass or straw, you won't have to weed again before planting!
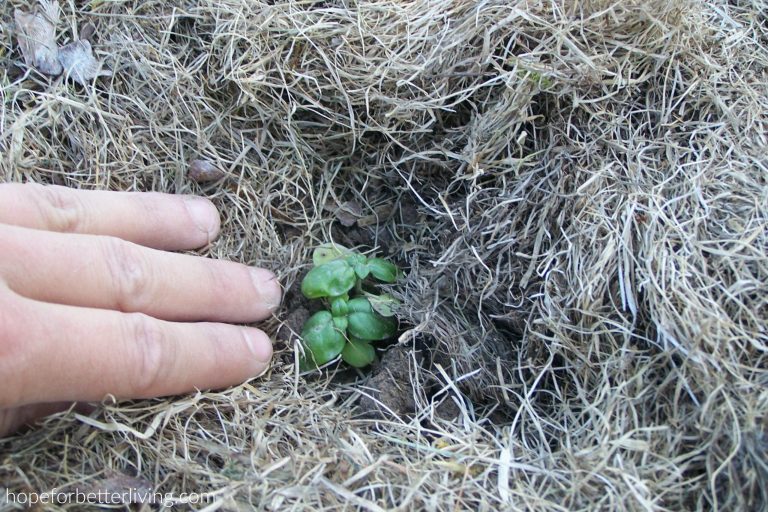
Step 4: Mulch the Soil
Mulch is a great way to control weeds in the spring. But it's also a wonderful way to protect the soil and microorganisms during the winter months. If you want rich, healthy, nearly weed-free soil, be sure to give your growing beds a hearty layer of partially composted straw mulch in the fall!
And if you mulch your garden paths, it's not a bad idea to top these up as well. Do these two things and gardening will be much, much easier in the spring.
Note: if you live in a climate where it's wet all winter, you probably WILL have to reapply mulch in the spring due to decomposition.
Step 5: Collect and Store Your Garden Tools
With your growing beds safely tucked away for winter, it's time to collect all the tools scattered around the garden.
Please tell me I'm not the only one who loses tools in the glorious chaos of the summer?! Have you ever found a hand trowel hidden in the foliage of the carrot bed? Or discovered your rake lying behind the cabbages? Lost and found a shovel inside the pole bean trellis?

Yes, it's really that bad around here! I'm notorious for losing my garden tools. However, once the garden foliage dies back, they usually reappear. 😉
Garden tools should be stored in a dry place. The shop, garage, barn or garden shed are all viable options. Do this and your tools will last much, much longer!
Step 6: Put Away Hoses and Sprinklers
With the garden safely tucked away, you no longer need to leave your hoses out. It's time to roll them up and put them away! If you live where things freeze, be sure to drain them first so they don't crack.
Your rolled hoses can be hung on the wall until spring. Do this and you'll know exactly where to find them when you need them!
Also take this time to collect your sprinklers from wherever they have been scattered around the property. I like to keep them all in a bin or box. That way, I know exactly where they are!
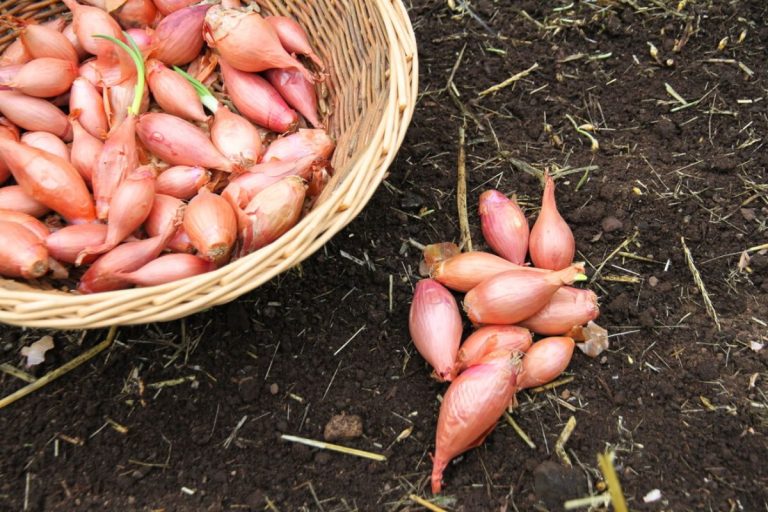
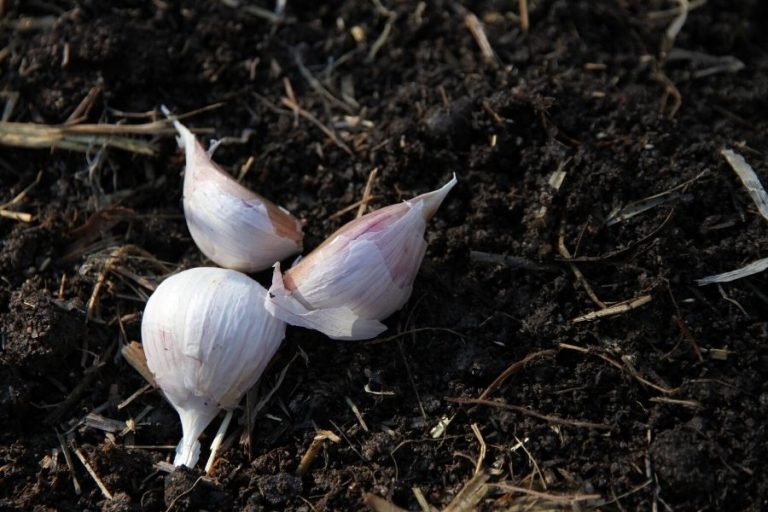
Step 7: Plant Fall Tubers or Bulbs
If you're have garlic, shallots or other things that grow best when exposed to a winter chill, now is the time to plant them in your tidy garden beds.
Give the bulbs/tubers an extra layer of mulch and just like that, you're finished!
Step 8: Embrace the Coming of Winter
Be sure to take a moment to soak in the finished state of your garden. Just think about how easy planting is going to be in the spring!
And then? It's time to embrace the winter season and turn your attention to other hobbies and activities you enjoy!
Yes, you can enjoy them fully, knowing your garden it safely tucked away for the winter, ready for planting when spring rolls around again.
Hi there, Thanks for the article about cleaning up the garden. If the plants in the garden were healthy, is there any reason not to add them to the compost pile, or to chop them up and use them to enrich new garden beds? I am new to veggie gardening, having just finished my first season, but for years I kept a suburban nature garden, and it grew beautifully, because I left the vegetation to die back and feed the soil. My plants and trees were huge and healthy. Any thoughts? Thanks!
Hi Heather! If you're sure plants are healthy, you can let them compost back into the ground. But some gardeners don't want to take the risk, just in case something got started but didn't have time to make itself apparent. It's totally up to your personal preferences! 🙂