Starting Herbs from Seed
Have you ever tried starting herbs from seed? It may take a bit of work and effort on your part, but there are some real benefits that come with knowing how to start herbs indoors!
Starting herbs from seed opens the doors to more varieties and options. You'll get far more plants at far lower cost. And when it's all said and done, starting herbs from seed is a rewarding procedure, particularly with perennials you plan to grow in the kitchen garden!
When it comes to growing your own herbs from seed, I highly recommend starting your herbs indoors.
Starting Herbs from Seed Indoors
Starting your herbs indoors is an excellent way to get a jump-start on the growing season. Not only this, I always find it's usually easier than starting herbs outside and you often get a better germination rate.
Here's why.
Many culinary herbs have very tiny seeds! For some, it only takes a smattering of dirt to cover the seed, while others are simply sprinkled on top of the soil and left to germinate. Either way, they must be kept moist until they sprout.
This is where indoor seed starting shines! It's much easier to keep tiny seeds moist when they're started inside! So here's how to start herbs indoors!

Step 1: Choose Herb Seeds to Start Indoors
Most herbs do well with indoor seed starting and also transplant well into garden beds. Depending on your climate, some herbs will be perennials while others will be annuals.
Not all herbs have tiny seeds. Those that are larger (like cilantro, dill and parsley) do well being directly sown in the vegetable garden. Smaller herb seeds that you may want to start indoors include:
- Basil
- Marjoram
- Oregano
- Sage
- Savory
- Thyme
Step 2: Equipment You Need to Start Herbs from Seed
In order to start seeds indoors, you need a grow light or a south-facing window, a shelf or table for holding your seeds and also seed starting trays or potting containers.
When it comes to starting herbs from seed, I highly recommend you choose a seed starting tray that comes with a lid!
This is particularly true when dealing with tiny herb seeds. Without a lid, it can be difficult to keep things moist. But a lid that is loosely set on top of a tray will help hold the moisture in, without causing mold issues (that's something you'll want to check on every day).

You can buy seed starting trays that come with lids. Or if you've ever purchased produce or salad greens that come in clear top lidded containers, these make excellent seed starting trays!
Step 3: Source Good Potting Soil
Most gardeners prefer to use potting soil for starting herbs from seed. There are several reasons for this.
First, soil from your garden likely contains the eggs and larvae of pests. When brought into the warm temperatures of your home, these creatures will hatch out and make an appearance!
Soil from your garden is also likely to contain wild seeds that will sprout when they receive water and warmth.
Another key reason gardeners avoid using garden soil for seed starting is because soil can harbor disease that may stunt the growth of your plants. The odds of this happening are quite low, but who want to run the risk?
Potting soil is supposed to be sterile and neither bugs, weed seeds, viruses or bacteria are supposed to be present in it!
In short, potting soil is "clean."
Step 4: Add Moisture to Your Potting Soil
Before you fill your seed starting trays, be sure to moisten the potting soil! This will help hold in moisture and prevent you from having to water as often.
Place some of your potting soil in a large bowl or a gallon-size bucket. Add water and mix in well, until the soil is evenly moist throughout.
Don't overdo it. You don't want things to feel soggy. They should be just a touch beyond damp!

Step 5: How to Plant Herb Seeds Indoors
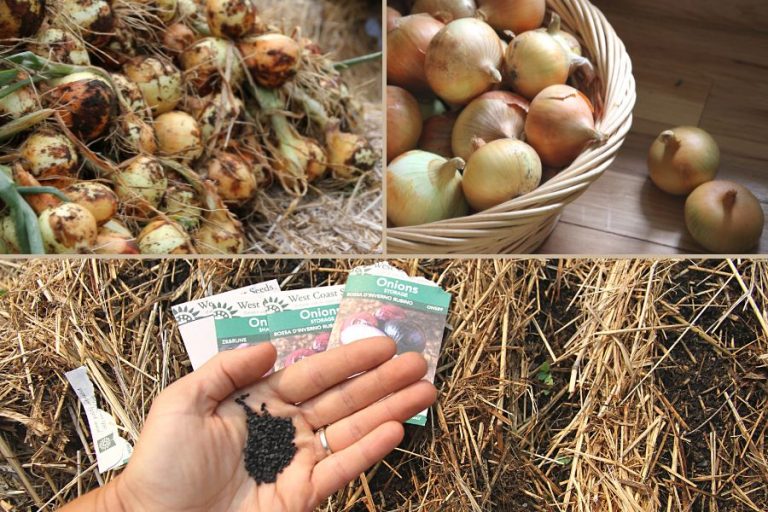
Place 3 inches of moist soil in the bottom of your seed starting containers. Level it off, then open your seed packets. As evenly as you can, slowly sprinkle the herb seeds across the surface of the soil.
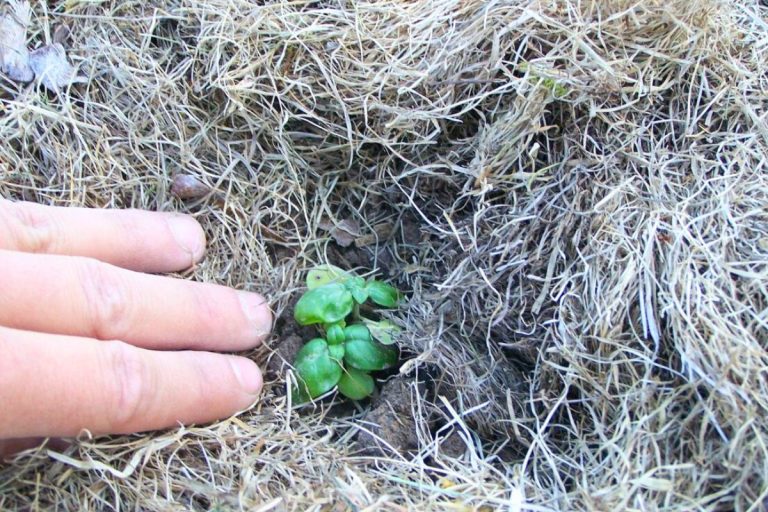
If you plant more than 1 herb type in a container, make a distinguishing line between the groups by pressing the backside of your finger into the soil to create a clear line.
Then take a quick moment to label the tops of each container and the sides according to herb type!

Step 6: Caring for Your Herb Seedlings
The germination time for seedlings will vary. Some herbs take their sweet time, while others will readily pop up in a few days.
Keep the soil moist during this time and also make sure your lids are loose. Leave them slightly cracked and watch for any white, cobwebby mold that may appear in the soil. If you see it, this is a sign that there is too much moisture in the seed starting tray. Shift the lid to allow for more airflow and the mold should disappear.
And once your seedlings are about an inch tall, you can remove the lids and give them exposure to drier, household air.

Step 7: Harding Off Your Herb Seedlings
Before transplanting your herbs into the vegetable garden, you should always harden them off! Expose them to direct sunlight all of a sudden, and the sun's rays will burn your tender young plants. It can even kill them.
About 12-14 days before transplanting your herbs, start giving them exposure to direct sunlight. Initially, an hour of direct sunlight is all they can handle. The next day, increase their exposure by about 30 minutes. And carry on with this pattern until your herbs can be in direct sunlight all day and return to their seed starting shelf at night without any signs of sun burn or bleaching!
Step 8: How to Transplant Your Herb Seedlings
Before you plant your seedlings in the garden, be sure to read the back of your seed packet to get specific instructions on the herb's hardiness.
Some will tolerate a light frost, while even a hint of frost will destroy others (hello basil, I'm thinking of you!).
Herbs can be spaced out (as directed on the back of your seed packed) or they can be planted in groupings for a more robust effect.
Water well after transplanting and then follow the direction (more or less water) for each herb type. And that? That's how you go about starting herbs from seed!
How to Start Herb Seeds Indoors
Starting herb seeds indoors is worth the effort. And in the case of perennials, it's an investment that has a long lasting return!
What is your favorite herb to start indoors?