How to Grow a Year's Supply of Garlic
I think garlic is something that every homemaker should grow for her family! A a low maintenance crop, it's quite easy to produce a year's supply in a summer. If you use garlic in your cooking or as part of your natural medicine cabinet, you'll love the pungency and variety you can get when you produce your own!
How to Grow Garlic
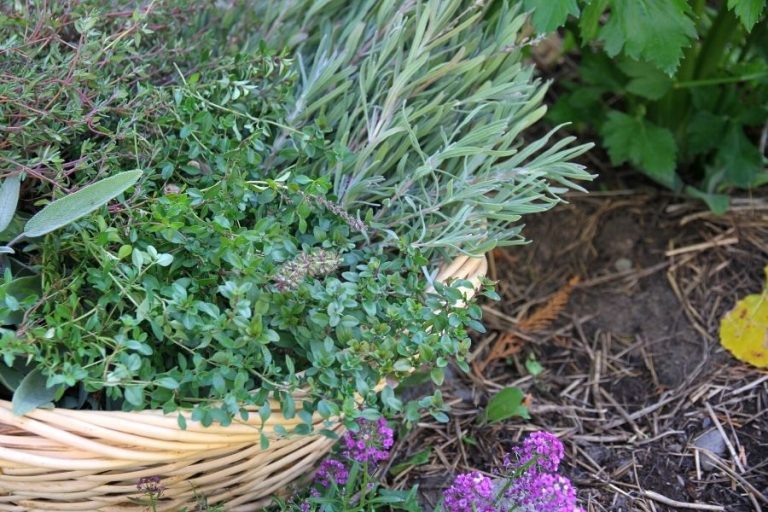
Unlike many other vegetables types, garlic doesn't take up very much space. You can plant it in a small, raised garden bed or even incorporate it into the flowers beds surrounding your home. It doesn't have deep roots and it's simple green top can contribute to your landscaping.
Here's how to grow a year's supply of garlic!

Step 1: Choose Your Variety
In spite of what grocery stores may have led you to believe with their limited options, there are many different types of garlic in this wide, wide world! And they primarily fall into one of two categories: soft neck and hard neck types.
Soft neck garlic grows well in warmer climates. This type produces lots of cloves but they tend to be smaller and are harder to peel. However, they do keep for longer periods of time.
Hard neck garlic does well in cold climates. While they usually produce fewer cloves (5-8), they are large and peel better than soft neck types. The down side is that this type of garlic doesn't keep quite as long in storage.
Within each of these two categories, garlic varieties come with their own unique traits. You can get garlic with purple or striped peels. Hot and pungent flavors. A mild and sweet taste.
There's lots of variety out there! So before you go and buy just any old garlic for planting, do a bit of google searching and find the type that suits you and your home cooking.
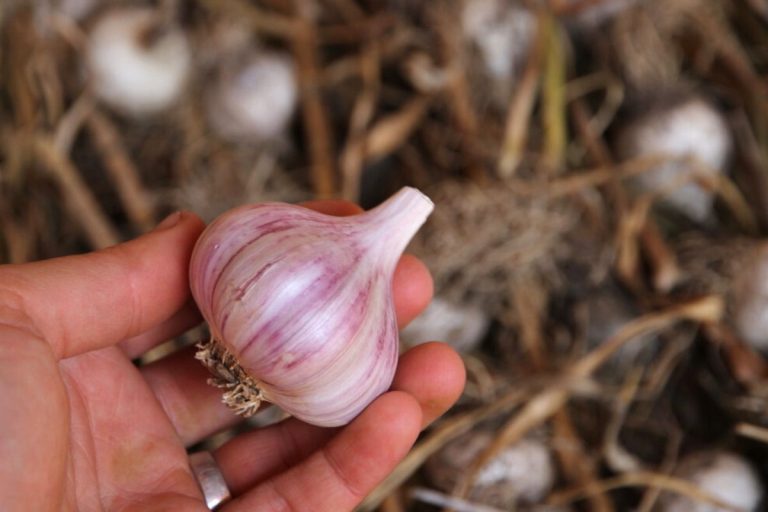
Because I live in a northern climate and like punchy flavors, I grow “Russian Red” and this year, am trying a “Chesnok Red” for the first time ever!
Step 2: Source Garlic Seed from a Reputable Seed Company
Once you've chosen your variety, it's time to find a quality source of “seed garlic.” Most seed companies carry onion, shallots, potato and yes, garlic sets too!
That's right.
Seed garlic isn't actually seed! The fastest way to get a garlic harvest is to plant individual cloves from an already-mature garlic bulb.
Because this is what most people want, it's what most seed companies offer the public. And I highly recommend you go this route!
It's usually wise to buy your garlic from a seed company because they guarantee and have taken precautions to make sure their bulbs are healthy and disease free.
That being said, if you have a friend who practices organic gardening methods and manages things well, I wouldn't be afraid to plant garlic I got from her, so long as she's never had disease or issues with her garlic!
Yes, that's how I got my hands on the Russian Reds!
Step 3: Knowing How Much to Purchase
At this point, you're probably wondering how much garlic you should buy for planting?
First of all, you need figure out how many garlic bulbs (whole bulbs, not cloves) you go through every month. For simplicity's sake, let's just say you use a bulb per week. That means you need 52 bulbs for a year of home cooking.
Easy, right?
But wait. If you want an ongoing harvest, you also need to think about how much you'll need for replanting! If you use it all in the kitchen, you'll have to buy more bulbs next year. And that is totally unnecessary when it's so easy to replant some of your own cloves!
So how much extra should you buy for replanting?

It's actually quite easy to find this number. On average, a gardener needs to replant 20% of her garlic to maintain harvest numbers. So take the number of garlic bulbs you need for a year's supply of cooking (in this case 52) and add 20% to that number.
By doing the math, we can see that 52+20%=63 garlic bulbs. That's just less than 4 lbs of garlic (15-16 bulbs averages 1 lb).
Of course, if finances are tight you can buy less and hold off on using your garlic for a year or two while you build your supply. And actually, it won't take long because garlic multiplies by an average of 500% per year!
Step 4: Wait for Fall Frosts
Because companies are often sold out by fall, you should order your garlic in early spring. Most of the time, seed companies won't ship garlic out until late summer/early fall.
They know that for a bumper crop, garlic should be planted in the fall. That's right! Garlic has a short growing season and is usually ready for harvest mid-summer. By planting when temperatures are cool, roots will develop before everything goes dormant for winter.
When spring arrives, the cloves will have a couple week's head start on the growing season. Which means your cloves will be that much more luscious and filled out by harvest time!
Can you plant in the spring? Yes! But generally, your cloves will be smaller and there will be fewer per bulb. But it's better than nothing!
Step 5: How to Prepare Cloves for Planting
To prepare you garlic, you need to remove the papery peel and separate the individual cloves. If you're planting seed garlic for the first time or are trying to multiply the number of garlic bulbs you have, plant everything.
However, if you're already established, you'll want to sort your garlic bulbs and pull off the biggest and best cloves. Replant the best they'll grow you more of the biggest and best!
Step 6: Plant Your Garlic
Once you've separate the cloves, it's time to plant them. Wait until mid-late fall when days are cool and nights are cold. Planting at this time will keep your garlic from actually sprouting but still allows time for root development.
If the ground is freezing overnight, wait until mid-day when things have thawed and it's easier to work with the soil.
I like to space my hard neck garlic varieties about 6 inches apart in every direction. Using wide row planting techniques help maximize the space you do have!

Plant your garlic cloves to the depth recommended for your particular variety. You'll get directions when the company mails you your seed.
With the varieties I have, I plant the cloves about 3 inches deep. Using my index and middle finger, I plunge them into the soil and immediately after, shove a clove down into the bottom of the hole.
After I've planted the entire bed, I use my hands to smooth the soil over the holes.
Step 7: Mulch Your Garlic Bed
Mulching your garlic is a wonderful way to protect the cloves in colder climates. And don't worry! When your garlic does start sprouting in spring, it'll be strong enough to push it's way through the mulch, while most of the weeds will be suppressed.
Even if you don't practice mulching methods in your garden, I highly recommend mulching your garlic bed with straw! Add 1-2 inches to the top and the sides of your bed and you'll significantly decrease weeding time!
Plus, the straw will help hold in the moisture as well!
Step 8: Wait for Spring
You really do feel like you're putting garlic to bed when you mulch it with a heavy layer of straw, then leave it for the winter snow and winds to howl over.
You don't need to water it (in fact, I recommend not watering it) or fuss with anything. And when the rhubarb puts out it's first leaves, know that your garlic will soon be putting up it's thick, green shoot!