Grow & Dry Corn for Grinding
While sweet corn is the common choice for most gardeners (who doesn't love its rich, milky flavor?!), there are other types of corn readily available, of which I knew very little until 2 years ago. I was gifted a jarful of heirloom corn seed by a friend, was told it was 'grinding' corn. I had never milled whole corn kernels, but as always, was happy to expand my learning! Later, I was informed that it was a Floriani Red Flint Corn.
You can read more about it in this Mother Earth News Article. Originally grown in Italy, it makes less of a yellow and more of a pink-tinted cornmeal or corn flour. It's wonderful in all kinds of baked goods! When milled into flour, it acts as a quick gravy thickener. Always looking for healthier alternatives to potato starch and not liking the flavor of most flours, I fell for this natural, home-grown alternative!
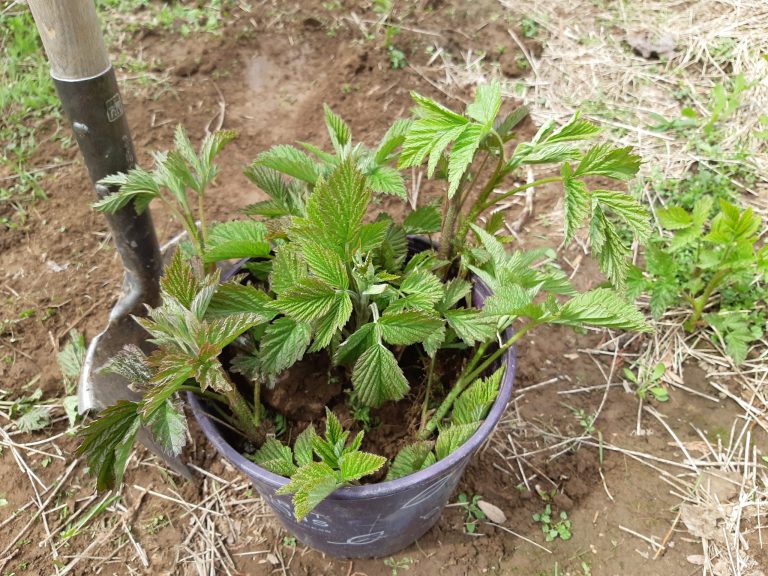
Because I had found a suitable use for this corn that didn't require planting an entire field to make it worthwhile, I just had to save some of the seeds! Into the soil they went that spring! Even though we had an exceptionally wet year, the corn did well and stalks averaged out at 7 ft in height.
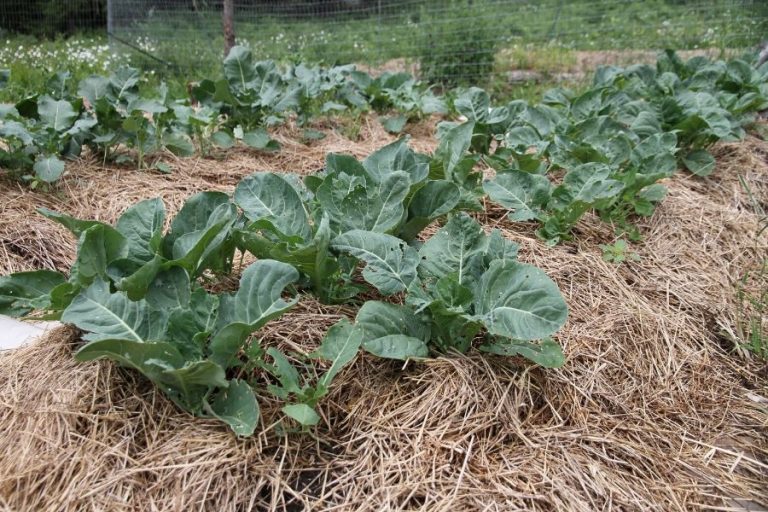
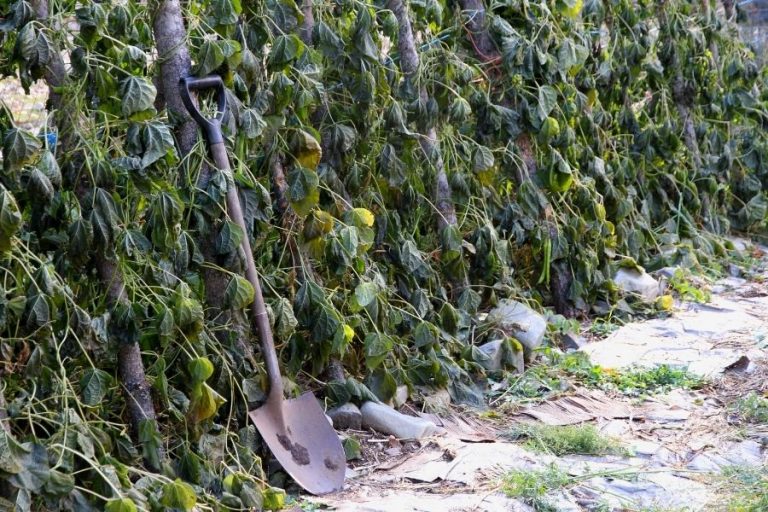
I watered and watched their growth, was wondering about the outcome. Had I actually found something for my homemade gravies and stews? Or would the growing and cleaning process be too much? Being naive, I planted on single row (see year-end garden picture below) thinking to get corn for milling and shade for my red rock cabbages! When harvest came, some cobs were lined with even, full rows of kernels. Others had gaps in the kernels and I wondered why? It was then that I remembered: if planting corn, there ought to be at least several rows side by side (even if it means planting in a square block) for good pollination. Lesson learned! I'd remember for next time!
Suddenly (as things always seem to happen in summer), I realized it must be getting close to harvest time! How did one go about drying the corn? And at what point does a person remove it from the cobs? This time, I followed my own advice about living life with others and showed reliance on a local gardener. Going back to the seed-giving friend, I asked for more details about the process. What did it boil down to? I was supposed to:
- Leave the corn attached to the stalk for long as possible, but harvest before the frost. If winter hits with a wet, rainy season, harvest to avoid decay.
- Pull back the husks and expose the kernels to direct air
- Either remove husks completely and bind corn in groups of 6-8 or tightly tie husks together (remember, they'll shrink!) with baling twine for hanging.
- To dry, hang in a place that is out of direct sunlight, preferably in a warm area with good airflow
- When kernels are rock hard and you are unable to dent them with a fingernail, they are ready for removal.
- You don't have to remove them immediately! If you want it done at once, have a corn shelling party with friends or, you are not in a rush, take it at your own leisurely winter pace, shelling as you have time.
I did just that. Stripping the stalks of ears after they seemed quite dry on the plant (even in a northern climates they usually dry out before frost hits), I tossed the them into a gunny sack and lugged them up the hill to home. There, I promptly peeled back the husk and was surprised to find not a deep red, but instead a orange-yellow ear of corn. I discovered its the drying the deepens their color!

From brackets on the wall of an empty back room I hung my corn, the husks tied together with strips of cloth (I'd recommend using string). The first time, I didn't tie them tight enough. As the husk dried out, the corn ears began slipping. One day they fell with a grand 'boom' on the hardwood floor. I tied them tighter and re-hung to continue drying.
After Christmas, it was time. Pulling the ears down, I removed the dry, papery white husks. This accomplished, I began to remove the kernels. A deep red in color with slightly yellowing tips, they were beautiful and intriguing to look at!
Excited to learn, I began the work. I had no idea that corn was so rough on the hands! This particular type had tiny hook-like points at the end of each kernel. They can very quickly rub the hand raw! Leather gloves are a wonderful option!
Taking an ear of dried corn, I gripped it with both hand. Twisting one clockwise and the other, counter clockwise, kernels began popping off slowly at first, but then quicker as more of the cob was exposed. I'd recommend keeping an eye open for mold if stored in a damp place. If corn didn't have proper ventilation, its entirely possible. The shelling was best done over a pan or large bowl to catch the falling kernels! If I were to have a corn shelling party, I'd spread a cloth over the table and have each person work directly on the cloth. From there it could be easily scooped into containers.
All too soon, it was over! Because I was certain the corn was thoroughly dry, I pour the kernels into mason jars and sealed them with lids. And there they sat, ready for use.
Corn kernels can be successfully sent through the grain mill just as you would wheat or smaller grains. Be sure to open up grinder's width as far as it will go! One cup of corn kernels will make approximately 2 1/4 C of corn flour. Approximately 1/2-3/4 C of flour will thicken 4-5 C broth into a delicious gravy!
Grow and Grind Heirloom Corn
Due to a critter problem we had to harvest our corn early before it was able to start drying on the stalk. Will we still be able to use this method of drying? Would love to salvage as much of our crop as possible but cannot risk the squirrels eating any more. Looking forward to your feedback. Thanks!
Your corn should still be fine. Husk the ears (or else they'll mold) and spread them out on a place with good airflow, leaving them to dry until you CAN'T dent the kernels with a fingernail. And then you can remove them from the cob!
Hi there!
So I'd like to make some corn bread but I'm so not sure my corn kernels are thoroughly dried yet. At the moment, the kernels are very very very hard and I can't dent them with a finger nail. They are still a bright yellow, though.
At the level that they are, is it okay if I just grind a cup or two of the corn kernels for my corn bread and leave the rest to properly dry?
.
Hi there! I've only ever used red corn for milling into flour, so I'm not familiar with yellow field corn. It sounds quite dry. Try smashing a kernel and if it shatters, its definitely ready! The only thing I'd worry about if it isn't fully dry is clogging your grinder. Good luck!