A Simple Way to Turn Lawn Into a Vegetable Garden
Are you hoping to grow some of your own food this year? Maybe you're looking to expand your garden area? Or perhaps you want to create an entirely new garden? In this blog post, I want to show you a simple way to turn lawn into a vegetable garden! While it does take work, the process is basic. Here's the technique I've used to create garden beds in my yard!
How to Create Garden Beds in Your Yard
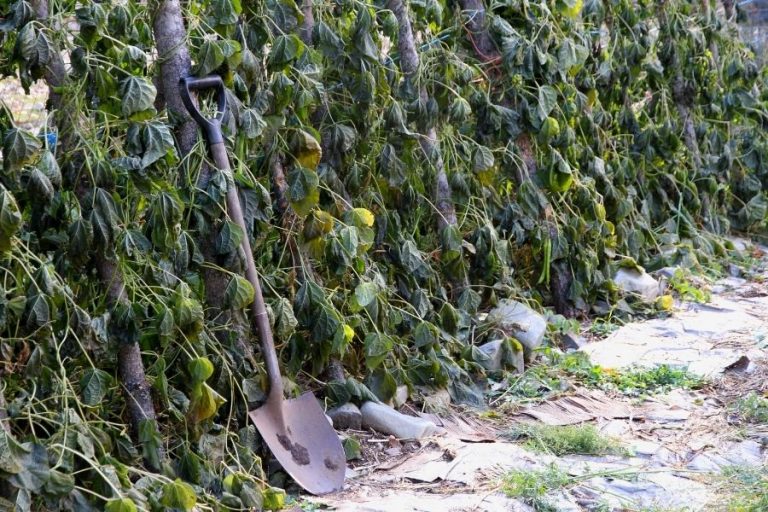
The process isn't complicated. Most of our garden beds, we created with a shovel, a wheelbarrow and good earth. All you have to do is remove grass and roots, get your hands on some good growing soil and pile it into growing beds on top of your cleared earth. Add a hearty layer of mulch and presto! You've got a garden!
Here's a step by step breakdown of the process.
Step 1: Mark Out Your Garden Area
The first thing you want to do is mark out your garden area. How large is this space going to be? If you're only creating a 10'x12' garden or putting in a few beds (for something like asparagus or strawberries) the work can be done by hand.
However, if you are making a large, full size vegetable garden, you may want to look into renting a tractor or backhoe.
Step 2: Remove Grass and Vegetation
When working to create a quality, low maintenance garden, be sure to do it right the first time. It's absolutely crucial that you take time to remove lawn and grass roots from your garden space.

If you don't, you'll be battling grass and weeds for a very, very long time. Whether you use a shovel and a wheelbarrow or heavy duty equipment, take time to scrape away the lawn and also the first 4+ inches of topsoil. If you need to go deeper to get at the roots, go deeper!
This little step will save you so much time later on!
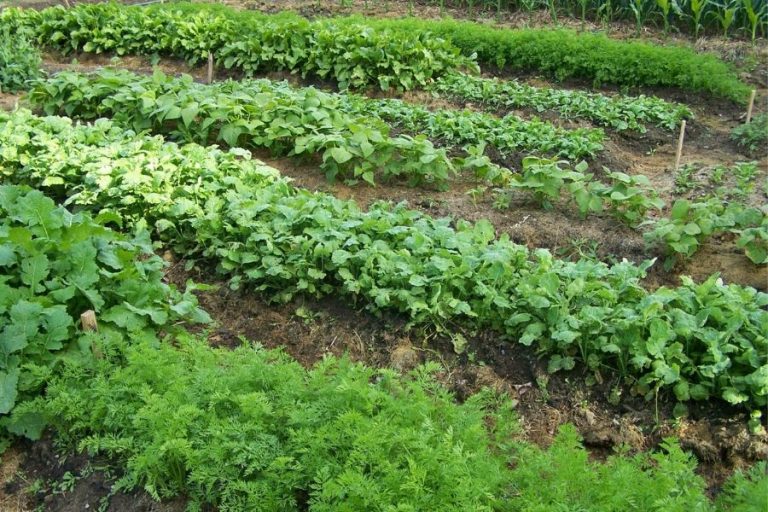
Step 3: Lay Out Garden Beds and Pathways
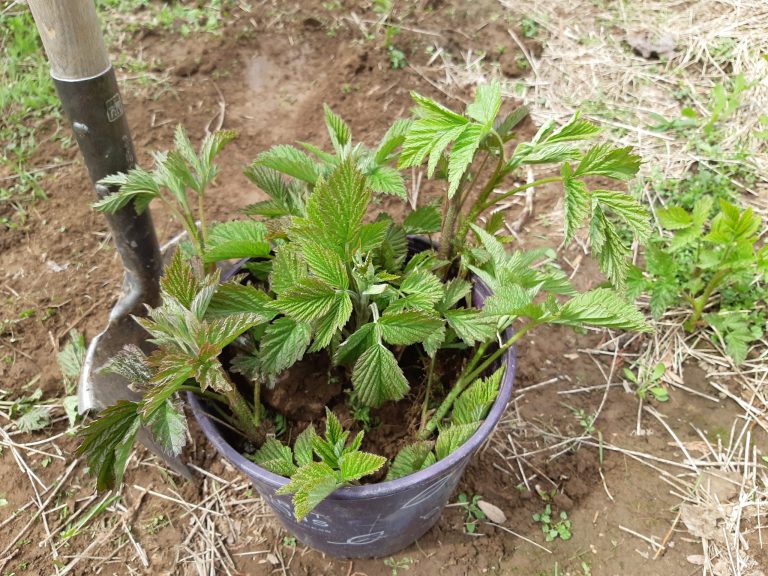
This accomplished, it's time to mark your planting rows (or beds) and pathways. Pathways should be 2-2½ ft wide, while growing rows should be at least 16 inches in width. Strawberry and asparagus beds can be upward of 3 ft across!
I'm a huge fan of wide-row planting and for this type of garden, I highly recommend it! Not only can you grow 3-4x the amount of food in a wide-row bed, but you'll end up weeding less.
Step 4: Source Good Growing Soil
In order to have strong, healthy plants, you have to create growing beds with good soil! There's no way around this one. If you don't have good soil on your land or animals to create piles of black gold for you, consider buying soil from a local supplier.
Most companies offer delivery services to their customers. Whatever you do, make sure you're getting quality soil! Mushroom compost is the ideal if you can find it.
Despite what companies may try to tell you, top soil intended for lawns usually isn't good enough for the vegetable garden, unless you are planning to add in composted animal manure.

If you are using topsoil, ask a local farmer about getting 2-5 year old, decomposed animal manure to mix into each bed. Aim for about half n' half.
One little tip? Before you buy from a local farmer, make sure the owner doesn't feed his/her animals hay that has been sprayed with herbicides. These sprays (read more about it here) will inhibit the growth and production of certain vegetables (like tomatoes) and will remain in your garden soil for several years.
Sad but true! You may feel like you're being overly picky, but it's worth checking into!
Step 5: Creating Growing Rows
One of the things I love about this method is that it's much cheaper than trying to prep an entire garden space for growing! The only areas that receive good soil are your growing rows. The walkways simply don't matter!
Take your good soil and begin forming growing rows in your freshly-scraped garden area. They can be as long (or short) as you'd like, at least 16 inches wide and should be 10-12 inches high.

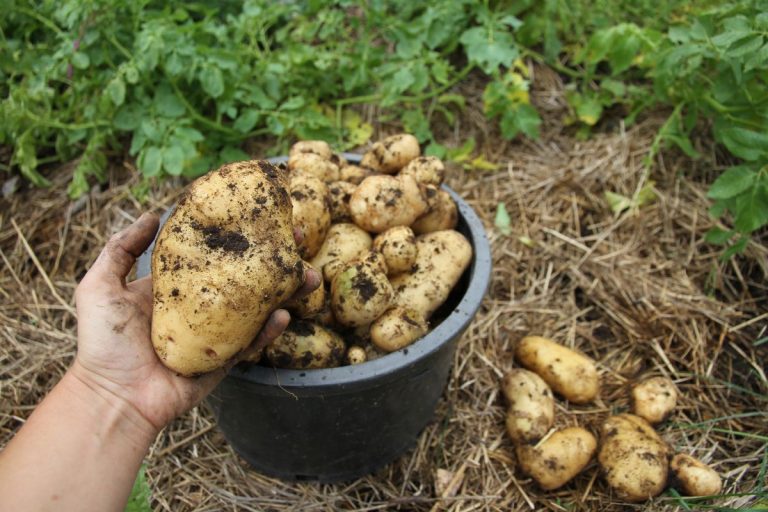
Technically speaking, most vegetables only need 6-8 inches of quality soil to thrive. However, when you begin dealing with deep rooting vegetables and tubers (asparagus, carrots, parsnips, potatoes, tomatoes, etc) you'll want deeper beds! In my garden, I have a variety. Some are only 10-12 inches deep, while others reach the depth of nearly 24 inches!
Step 6: Mulch Your Growing Rows
Because these raised garden beds don't have frames holding the soil in place, rototilling isn't a good idea. Instead I recommend you use mulch to suppress the weeds. Give your soil a cover and it'll help hold things in place, keep weeds from growing and also hold in moisture!
I've used leaves. Dry grass clippings. And old, decomposed straw bales! If you want to learn how to mulch with grass clippings, I teach you how.
If at all possible, avoid using fresh bales! They contain wheat seed and that will germinate all over your garden. Use bales that have sat out in the elements for at least a year. And when you mulch with straw, make sure the thickness is about 1 inch in depth after being watered down.
That's what it takes to keep the weeds at bay!
Whatever you choose, be sure to heavily mulch the sloping sides of your growing rows. If you are constantly pulling weeds from the sides of your growing rows, you'll slowly spread out the soil. No one wants that after going to the work of heaping it all up!
Of course, you can always stretch weed tarp or black plastic over your growing rows. Black plastic is particularly useful for heat loving, above-the-ground crops (strawberries, tomatoes, peppers, eggplant, okra, squash, zucchini).
Step 7: Mulch Your Pathways
I prefer to do as little work as possible in my garden and so, I also mulch the pathways. One day, I hope to put down wood bark mulch. But until then, a layer of cardboard and straw will do!
Break open cardboard boxes and lay them down in your pathways. Make sure the edges are butted up against your growing rows. Be sure to overlap each piece of cardboard in the walkway. Add a layer of straw or dried grass clippings and you're done!

This accomplished, you shouldn't have to do much in the way of weeding your walkways! Of course, if you prefer to feel the dirt between your toes, it might be worth leaving them as they are. Just know that they will grow weeds!
Step 8: Fence Your Garden
If you're lucky enough to live in an area where animals aren't an issue...I'm extremely jealous! We simply cannot grow food on the Mountain Farmstead without a deer fence!
And that, my friend? That's how you turn lawn into a vegetable garden! Or strawberry patch. Whatever you need growing space for!