How to Use Lawn Clippings for Mulch in the Garden
Learn how use lawn clippings to suppress weed seeds in the vegetable garden. Fresh clippings will break down over time and add nutrients to the soil in your garden beds, giving you two-in-one for your efforts.
I first discovered the idea of using fresh grass clippings as garden mulch when my man and I moved south. At the time, we were renting a home owned by a local greenhouse center.
This company allowed locals to dump their lawn clippings and tree leaves down below, by the gardens. The organic matter would sit until the following spring, when the owner would till all the yard waste into his garden beds.
It was a great way to improve soil quality!
At the time, I was allowed to grow gardens down below and needed to keep the weeds down. So I begin "borrowing" grass clippings from the compost pile to mulch my garden beds and walkways.
I learned that grass makes excellent mulch, but it was slightly different than using straw or hay. Here are the benefits of mulching with grass clippings!
Benefits of Mulching Your Garden Beds with Lawn Clippings
- Lawn clippings can be a free source of organic mulch (most of us grow our own!).
- Grass mulch is readily available during the spring and summer months, and you can ask neighbours to give you their clippings.
- Compared to straw or hay mulch, grass is fine and forms a dense soil cover, so you need less of it.
- Grass mulch is a natural, organic weed suppression and is an excellent way to cut back on weed growth.
- Using grass as mulch will help with water retention and lock in soil moisture.
- Grass mulch breaks down faster than other organic materials (leaves, hay or straw) and quickly releases beneficial nutrients, increasing soil fertility throughout the growing season.
- Freshly dried grass clippings are an excellent source of nitrogen and your soil it love it!

Important Things to Know About Grass Clippings
Only Use Short Grass Clippings
If you plan to use lawn clippings for mulch, be sure to cut your grass often. Longer grass is more likely to form seed heads, and the grass seed will sprout in your garden soil! Go ahead and add long grass clippings to your compost heap instead, where time and heat will destroy seeds.
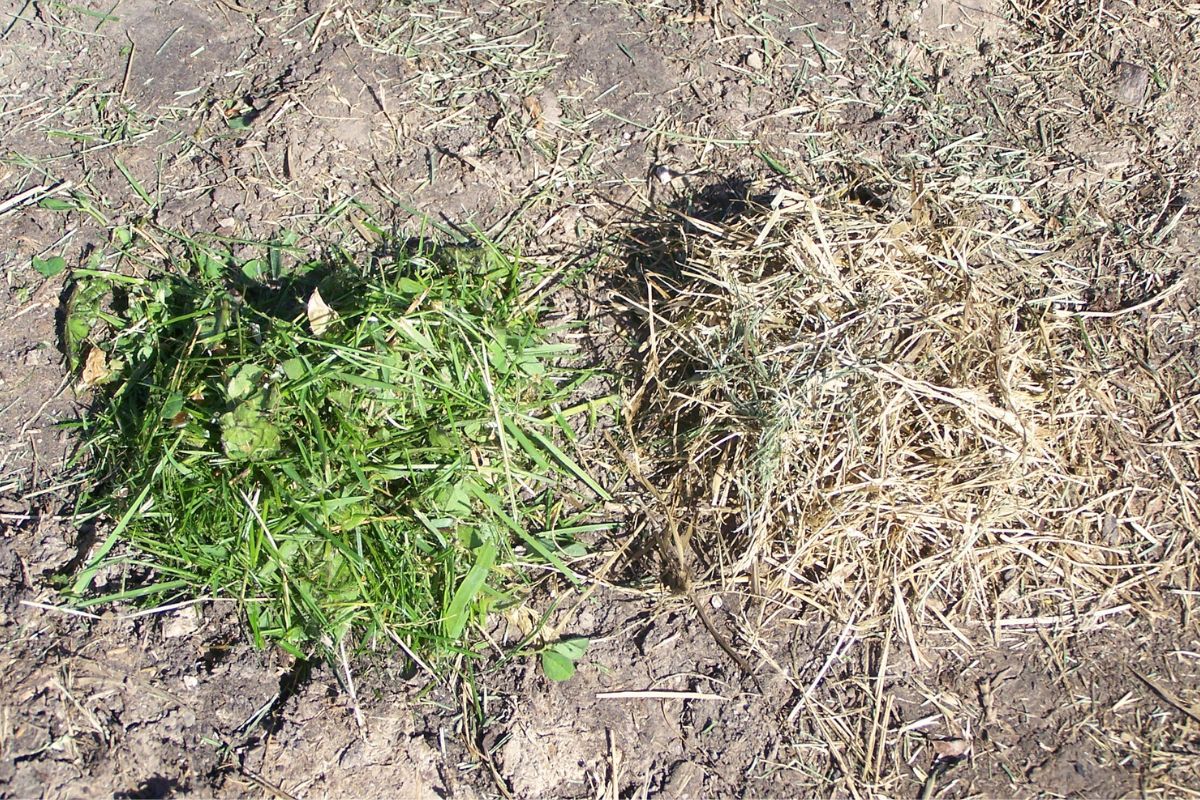
Don't Mulch with Green Grass Clippings
Fresh cut, green grass clippings will put out heat as they decompose. They also turn into a slimy mess with regular watering, and become quite hard and compact.

So don't mulch your garden bed with green grass just before planting. The heat that decomposing grass puts off will burn young plants.
If you must, go ahead and use green clippings to mulch around established vegetable plants that grow above ground (ex. tomatoes, eggplant or okra, not squash or root vegetables).
Always Dry Grass Clippings Before Mulching
Because green grass is hot when it starts to compose, always dry it (like hay) before adding it to a vegetable bed. It's not hard to dry grass if you have a few hot days after mowing. I teach you how to do this below.
Use a Thin Layer of Mulch
When mulching with straw, hay or even dry leaves, you need to apply a thick layer to keep light from reaching the soil surface (and dormant seeds) below. This layer can be anywhere from 2-5 inches deep.
But grass is different.
With grass, you need to use right amount of mulch...meaning not too much of it!
Because dry grass blades are very fine and form a dense mat, you only need about a 1 inch layer of settled grass to keep the weeds down.
If your grass mulch is too thick, it can form a thick mat that may keep water from reaching the soil's surface below.
How to Dry Grass Clippings
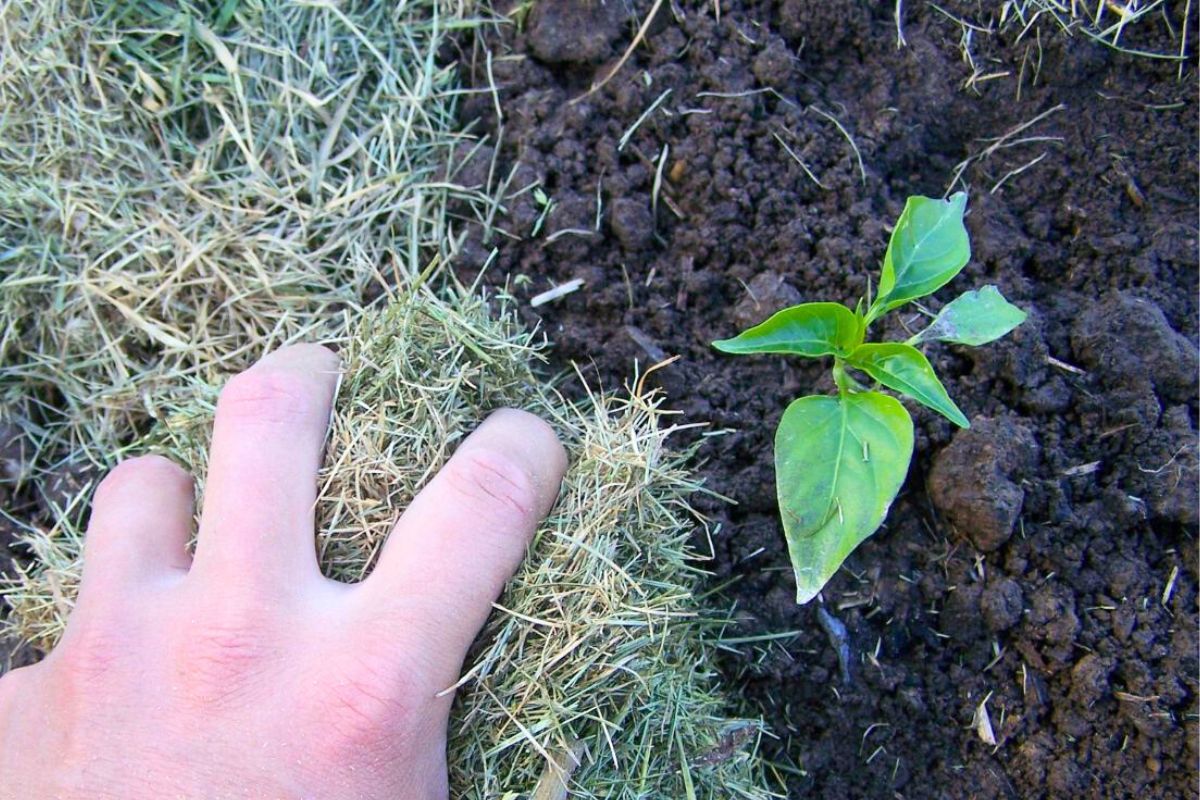
Lawn clippings are wonderful for weed prevention, but you will want to dry grass beforehand (unless you're mulch around established upright plants).

Here are some ways to do that.
- Cut grass until you have a lot of grass clippings.
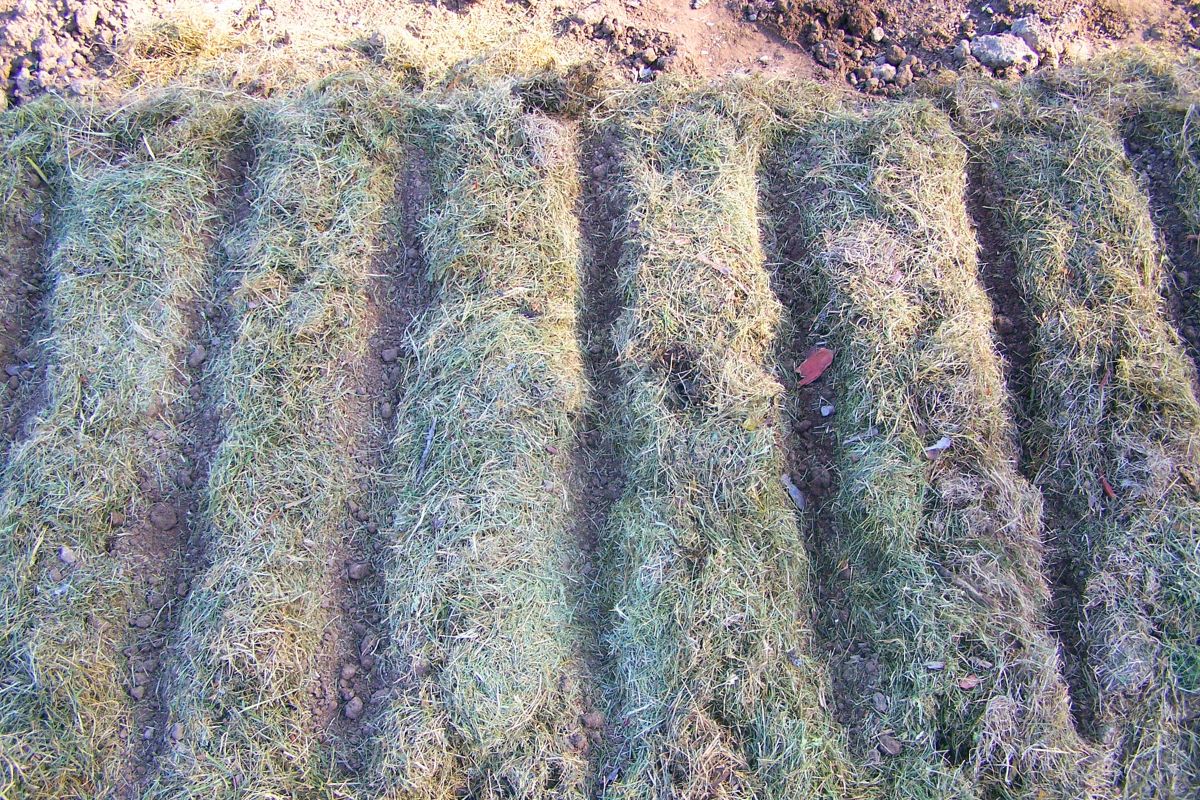
- Lay a tarp out on your lawn in full sun.
- Spread a 1 inch layer of fresh grass clippings on the tarp and leave them to dry.
- Flip the grass after 1-2 days, so the underside quickly dries.
- When everything is crackly and dry, it's ready for use or storage.
If you aren't ready to use your mulch immediately, store dry clippings where moisture can't reach them.
Why?
Because as soon as you add moisture to your brown material, the decomposing process will start! Grass blades are fine, so the decomposing process happens quickly.
If you need to store your grass, you can make a pile inside a shed, or bag it up in garbage bags and store in a dry place.
How to Use Grass Clippings for Mulch
Grass clippings make great mulch in the vegetable garden and even in flower beds. Here's how to use dry grass clippings to keep the weed seeds down!
How to Mulch for Direct Sowing in the Garden
Most vegetables and flower seeds need to be directly sown in your garden soil. Here's how to mulch your garden bed and directly sow seeds.
- Outline each garden bed, so you know where to mulch (I love planting in wide garden beds to maximize space and minimize weeding time!).
- Cover the surface area with a 1 inch layer of dry grass mulch.
- Water the grass so it settles into place.
- Part mulch into planting rows, at the spacing needed for your vegetable type.
- Place seeds on top of the soil in each row.
- Scoop up soil in a bucket and break up and lumps or dirt clods, so you have fine dirt.
- Sprinkle soil over your garden seeds at the right depth for your seed type.
- Water, wait and watch.
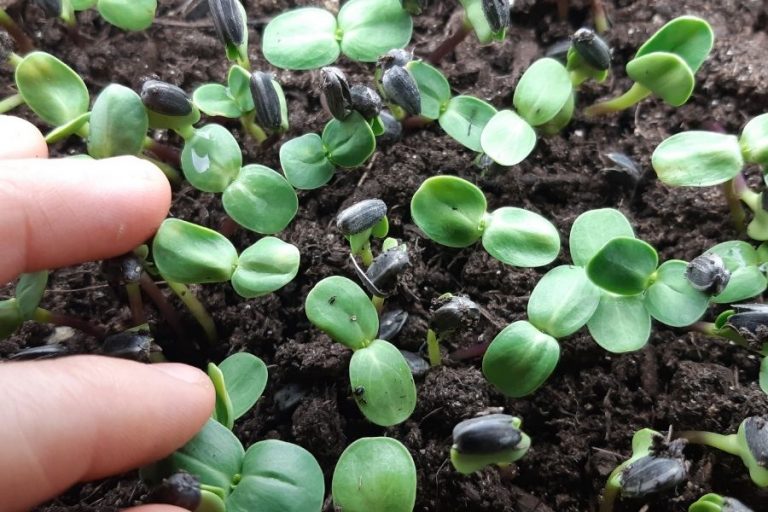
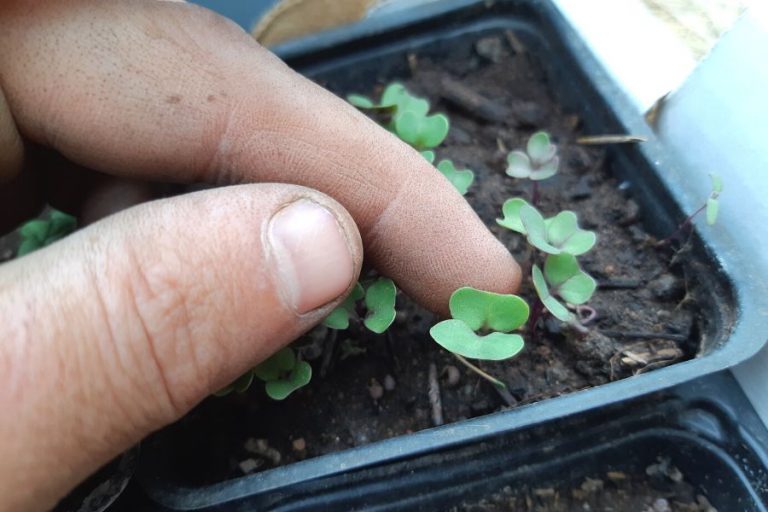
How to Mulch for Seedling You Transplant
If you live in a northern climate like I do, you probably start some of your vegetables indoors in early spring. Around here, onions, tomatoes and peppers are the most common. We need a good head start on the year!
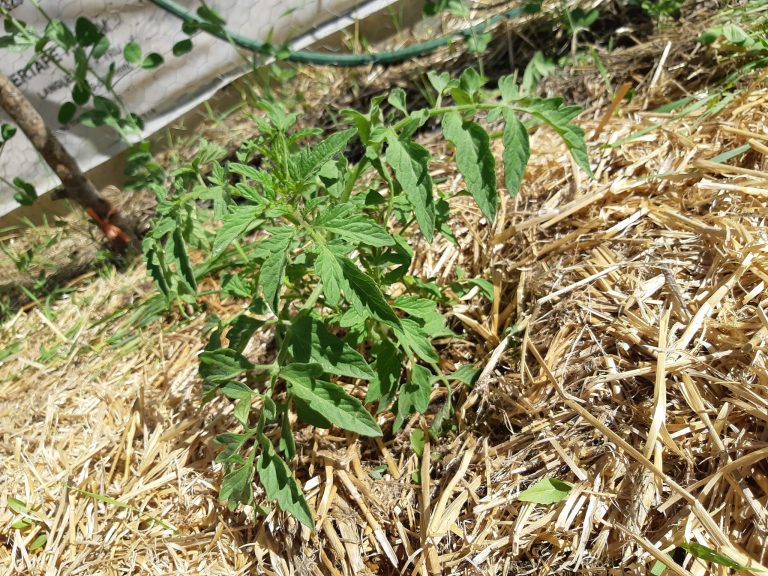
It's easy to mulch a garden bed before transplanting young seedlings. You can cover soil with 1 inch of dry lawn clippings before or after transplanting.
Helpful tip: don't snug mulch too closely around the base of your transplants. Water absorption will be better if you give plants a 4 inch diameter circle of bare soil. Foliage will soon be full enough to block sunlight, and weeds won't be a problem.
Before Planting
This is my preferred method.
- Spread a 1-2 inch layer of grass mulch over your garden bed.
- It's best to water it, so you can see whether or not you have about an inch of settled grass (you do want about an inch).
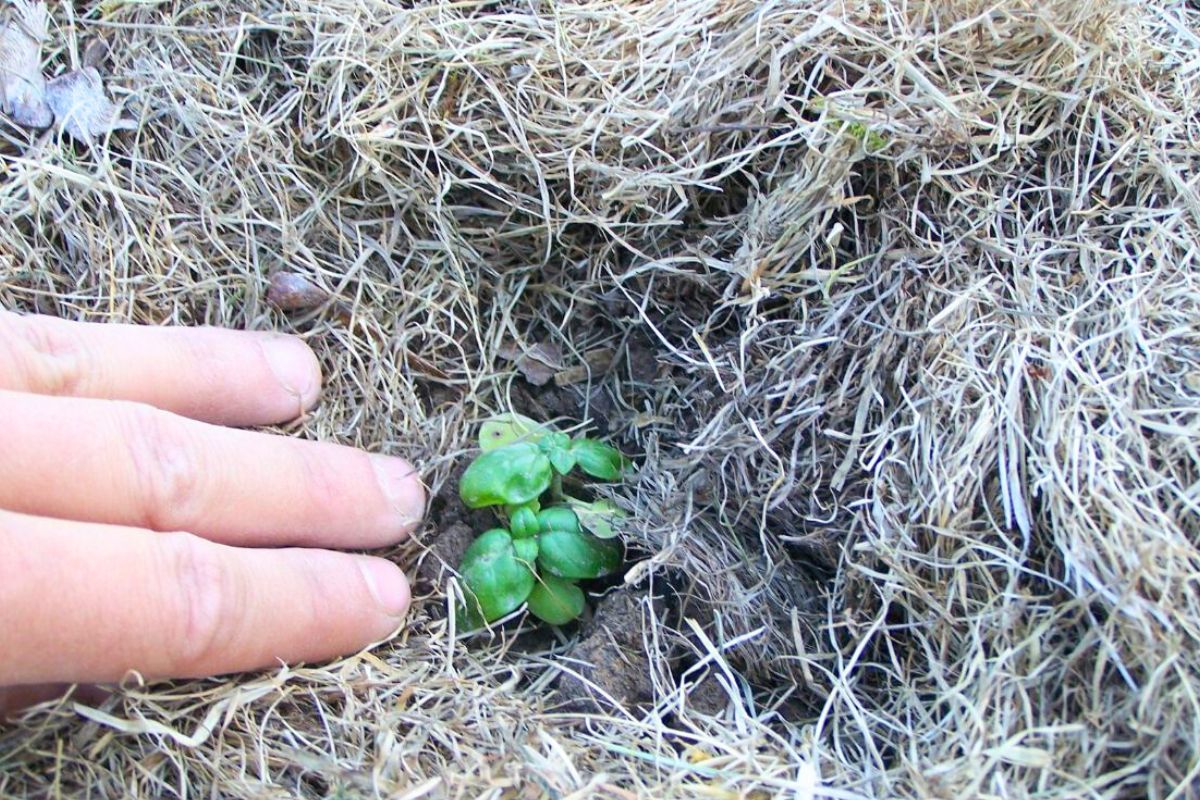
- Part the mulch wherever you want to plant and dig a hole.
- Set your seedling in the hole and backfill.
After Planting
If you like (or if you decided to mulch after setting out your transplants), you can plant seedlings first and mulch later.
- Dig a hole for each seedling, with the proper spacing for the vegetable type.
- Place seedling in the hole and backfill with dirt.
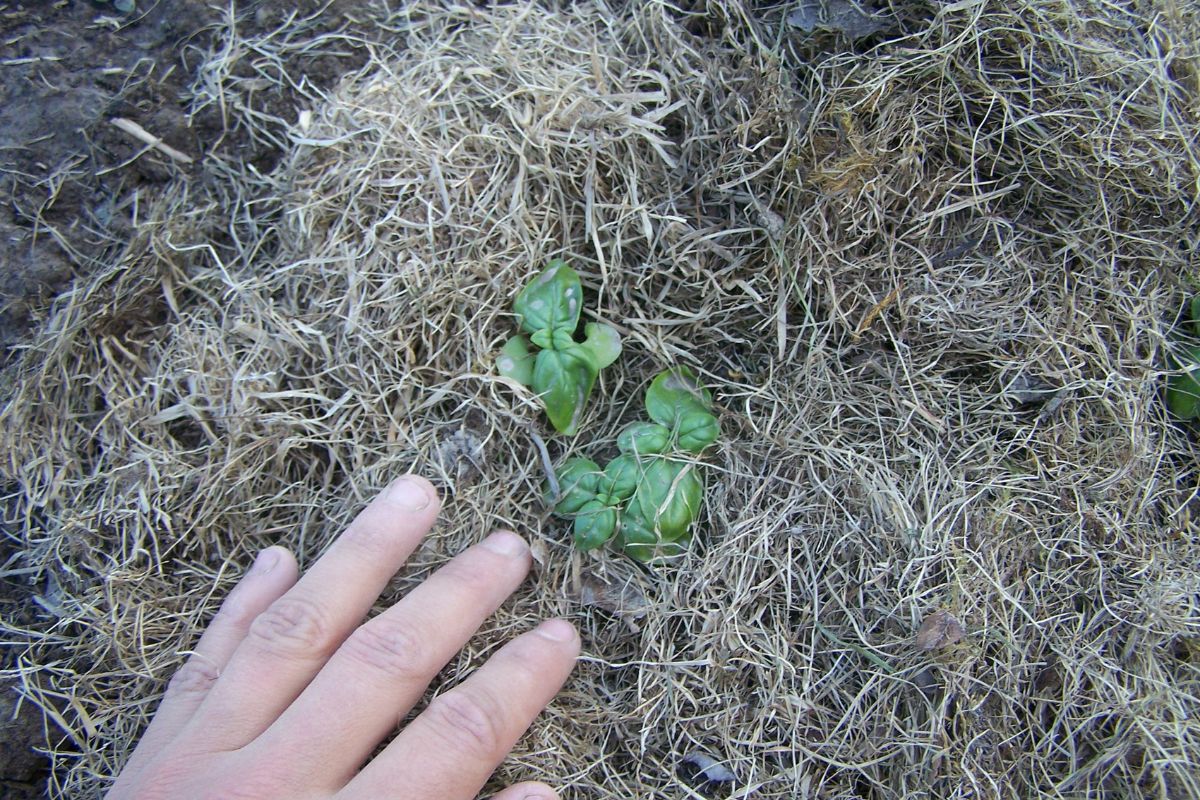
- Plant the entire row or bed, and then spread grass clipping mulch around each seedling.
- Water well and double check to make sure your mulch is about 1 inch thick.
How to Mulch Walkways
You can also mulch your garden walkways with grass clippings, if you have extra. You can treat walkways the same as your garden beds, only I'd recommend applying a 2 inch layer of dry grass. With the constant traffic, a thicker layer is better.
Mulch for Container Gardening
If you have containers of tomatoes, vegetables or flowers, you can apply a 1-2 inch layer of grass mulch to the surface of the soil. It's a great, eco-friendly way to keep weeds down in your planters and flower pots!

Can we use dried leaves for mulch?
Yes, you certainly can use dried leaves! Some people like to run larger thru a shredder to break them up, both so they decompose faster and let water thru a bit better. They do make a very dense mulch, so dont put them on too heavy! 🙂
I am excited to learn to use grass clippings for mulch. I also want to learn how to make compost from grass and leaves. I am a beginner to gardening. My soil is not too good. Need to beef it up. I just want to learn how to have a productive veggie garden.
Mulch is an excellent thing for feeding the soil AND suppressing weeds at the same time! 🙂
Wood mulch should be avoided in gardens. Too much moisture causes mold .
Hi Nancy! Wood mulch may not work for everyone's climate, but I know many ppl who do use wood mulch in the gardens without issues!:)