Hugelkultur Garden Beds: Year 2 Review
Have you ever wondered what the second year looks like in a hugelkultur garden? Here are my discoveries and lesson I learned from year 2 with my hugelkultur garden beds!
A Second Year in the Hugelkultur Garden Beds
Yes, I heard you asking. It seems my hugelkulturs have caught the interest of more than a few readers! And I'm finally ready to share all about year 2 of growing in these permaculture raised garden beds.
In case you missed it, you can learn how to make hugelkultur garden beds here.
Here are the lessons I learned in year 2 of hugelkultur gardening.

Lesson 1: My Hugelkulturs Needed More Soil
When the snow finally melted early in the spring of my second planting year, I noticed that the soil on my hugelkultur garden beds had settled quite a bit. That's to be expected when you have logs, branches, crack and crevices underneath all that dirt!
It was a good thing, and I was happy to see it. Settled soil just meant my hugelkulturs were ripening, like a round of aging farm cheese!
So after pulling back the old, mostly decomposed straw mulch, my man and I added another 4-6 inches of good soil to every garden bed. And I painstakingly used a rake to spread it out.
Lesson 2: Soil Stays In Place When You Have Raised Edges
During my first year of gardening in hugelkulturs, I found that the soil was a bit shallow around the perimeter of my garden beds. And in some cases, the soil would slip off the log frames and plants were more prone to dry out.
In hindsight, I wish I would have lined the perimeter with another layer of small logs after putting down the hot matter (the 2nd layer from the bottom).
But I didn't and so, it actually took me into the spring of my 3rd year before I added small, 3-4 inch diameter logs to raise walls on some of the hugelkultur garden beds.
These extra inches helped hold soil in, gave me deeper earth around the perimeter and plants were easier to keep moist.
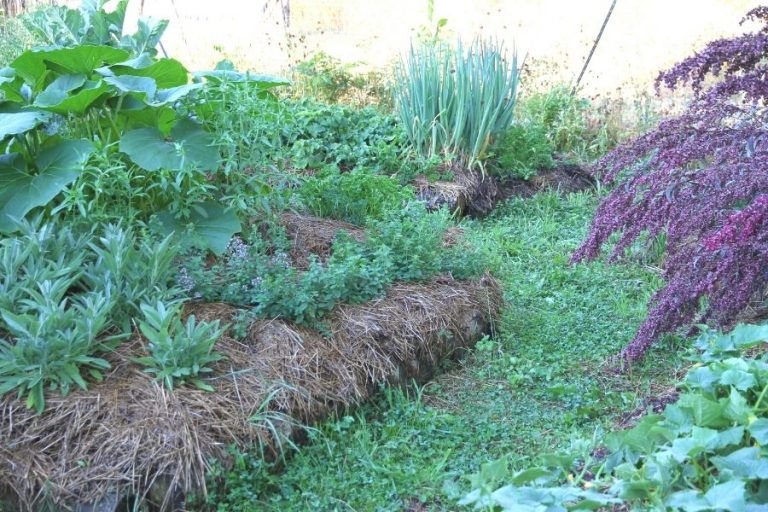
Lesson 3: It's Best to Mulch Hugelkultur Garden Beds in the Fall
Hugelkulturs need to be mulched every year. And in my particular climate where we stay below freezing most of the winter, the best time to mulch is in the fall.
With the soil well protected and a layer of snow to cover the beds, my straw mulch was still in excellent condition when spring rolled around! All I had to do was go out and plant.
By the time we were nearing the end of the gardening season, lots of the mulch had decomposed. But that was just fine by me! At that time the plants are large enough that they snuff out the weeds anyway.
Properly putting my hugelkulturs to bed in the fall made spring planting much easier and whole lot more fun!

Make raised garden beds that last a lifetime!
Grab a copy of my book and learn how to make a hugelkultur raised bed in your own backyard!
With step by step instruction, lists of materials you can use, troubleshooting and more, my digital book will guide you through everything you need to know.
Lesson 4: A Wet Spring May Lead to Slug Infestations
My second year of gardening in the hugelkulturs, we had an incredibly wet spring! Thundershower after thundershower descended on our little valley and there was one point when I didn't know if my hugelkultur plants were going to make it.
Not only was it wet, cold and dreary, but the slugs were out in full force.
It didn't matter if I was planting in the hugelkulturs or out in my primary vegetable garden. Beans were attacked. My hollyhocks didn't have leaves; just a webbed outlines revealing where the greenery used to be. The echinacea was decimated. I had to replant cucumbers not once, but three times. It seemed anything I directly sowed in the soil was eaten away as soon as it sprouted.
Battle the slugs, I did! And many a time, I wished we had ducks. There's nothing ducks like better than a meal of slugs!
But at the time, I didn't have ducks.
So in the hugelkulturs, I stopped watering seedlings with a sprinkler and started using a watering can in attempt to limit the moisture in my beds. I also learned that pulling back the straw mulch and leaving the soil exposed significantly help deal with the slug issue as well.
Next time we have a wet spring, I'll know what to do. And thank goodness we finally do have ducks as a backup!
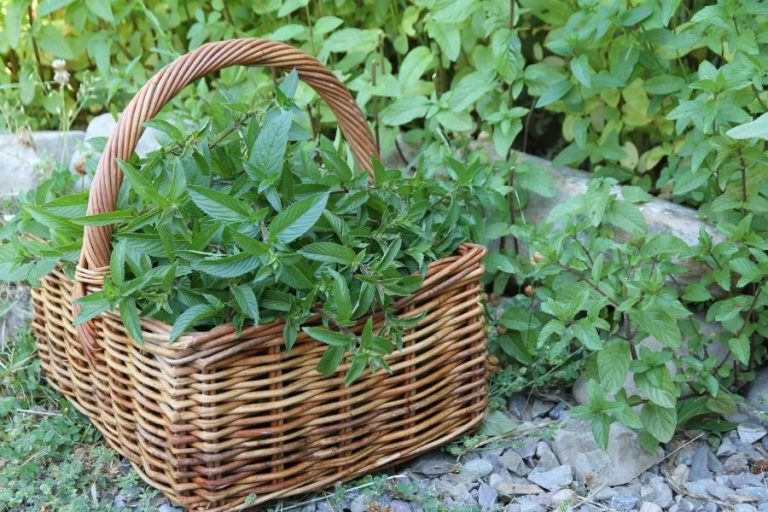
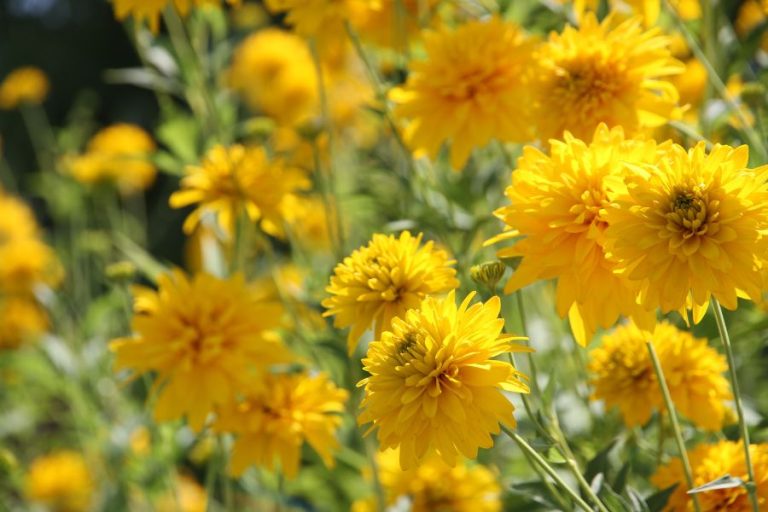
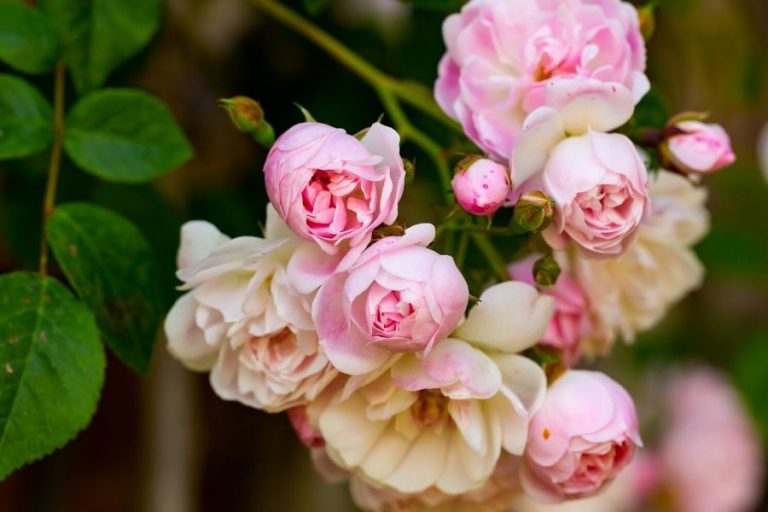
Lesson 5: Most Vegetables Grow Well in Hugelkulturs
If there's one thing I've learned with hugelkultur gardening, it's this: success lies in the quality of your growing soil.
When I first started, I thought you couldn't grow things like lettuce, spinach and other cool-weather crops in the hugelkultur. In my second year, I experimented and soon discovered that anything goes...or grows, rather.
Herbs. Flowers. Leafy greens. Vegetables. Tomatoes.

The only thing that didn't take to these beds were some of the brassicas: cabbage, kale, broccoli and also, cauliflower.
I still haven't figured that one out. I suspect it had something to do with the soil, seeing as I haven't been able to grow any of these very well in my hugelkulturs! I suspect my soil is quite acidic.

My Goal For These Hugekultur Garden Beds
I've done my fair share of experimenting with herbs and vegetables in the hugelkulturs. And now, I'm ready to dig in and start creating a real kitchen garden that is filled with greens, herbs, flowers and perennials that will establish themselves and spread on their own accord.
Piece by piece, it's coming together. Now that I've got several years of hugelkultur gardening under my belt, I'm ready to start creating the perennial kitchen garden I've been dreaming of.
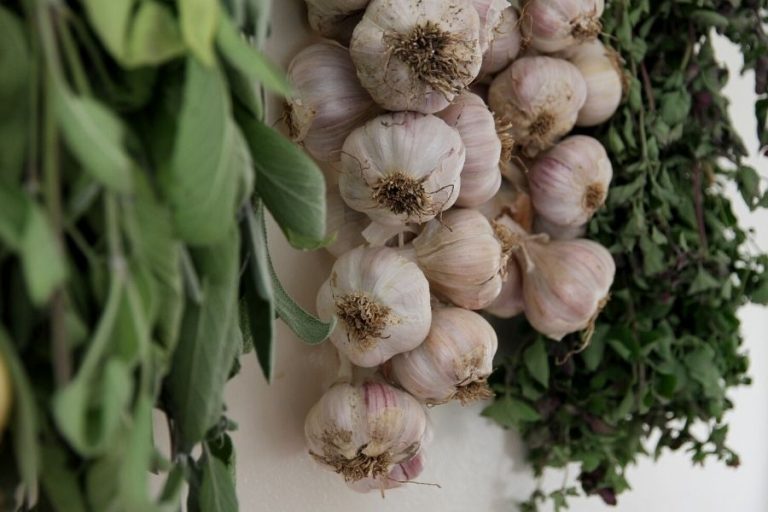
Because there's nothing better than having loads of fresh herbs in the kitchen. Or putting up your own for winter use. I love having fresh flowers on hand in the summer months and particularly, cutting flowers. A perennial garden is the thing I dream of.
And thanks to hugelkulturs, I'm several steps closer to that dream.
Where would you recommend planting tomatoes on the hugelkultur? Last year I just threw a few on the sides because I had too many for my raised beds and they did really well! But this year I want to plant almost all my tomatoes on the hugelkultur so I'm wondering where is the best spot for them
Yes, provided you have enough top soil, tomatoes will love the warmth coming up from the composting wood below. Basil, tomatoes, cucumbers, squash and zucchini do well in hugelkulturs.
Autumn I have hugelkultur beds to. Our spring sounded about identical to yours. It was a doozy. And then it quit raining in August and got HOT AND DRY and being the bad gardener I didn't water except the corn got one drink. Its ridiculous though how the gardens nearly drown and then boom they're dried out. Sigh. And the slugs. Were. The. Worst. Ack. Apparently they love how we garden. It was a bad bad year for pests and disease for us that I have been about ready to let someone else grow our food.
Sometimes, gardening doesn't go well, does it? There's nothing wrong with leaning on someone else's garden! 🙂
A few comments - 1. We put a bunch of straw around our gardens this year and also found we have had a plethora of slugs!! I hate them. My mother in law told me to get some beer and put it in a small container. Her containers were FULL of slugs - I meant to try it this year, but haven't gotten around to it. We never have alcohol in the house so I have to go very out of my way to get beer, haha :p
2. We have sage that comes back up here in Northern BC! We ended up putting a hoop house over the one spot where we had sage (We have it growing beside our grape because sage and nicotina are supposed to be good for the grapes? Hard to tell if they are or aren't helpful - the grape is very happy though, so maybe :p).
3. Love reading your articles!
-ash
Using beer to kill slugs rings a bell...I think I had an aunt who used to do that! I would LOVE to know what variety of sage you are growing up there! Many of plants we source locally just aren't hardy enough for our mountain temps and winters. 🙂 Oh, and good to hear from you (as always!).
I don't know what type of sage it is! Haha, I think I got it from a seed package once, but the seed package is long gone. It is a lighter green and has nice big leaves (well big for sage). I just harvested it again so I can't get a good picture, but if I remember next time I'm out there I'll snap a pic of what is left at the bottom 🙂
One way we control slugs and snails is to use seaweed. Living not far from the coast, after a storm we go to the beach and gather a few large bags of seaweed. It's really helpful at keeping slugs from eating all the new growth. Also, we bait traps with yeast or stale beer....the snails and slugs die happy!!!