Canning Pickled Zucchini with Honey and Turmeric
Have you ever felt overwhelmed by the many zucchinis your plants produce in late summer? The surplus can leave a girl scratching her head, wondering how to use the overabundance of goodness! We all know how to shred and freeze these oblong green vegetables for winter baking. But how else can a girl preserve zucchini?
In this post, I'm going to show you how to preserve zucchini in the waterbath canner. If you're a pickle lover, you're going to like this one!
How to Pickle and Preserve Zucchini in the Canner
I first had my first intro to pickled zucchini while sharing dinner with a friend. From her stores in the basement, she brought up a jar of home canned yellow zucchini, preserved in a pickle. I confess that I was skeptical...at best! Throughout the years, I'd always had the impression that zucchini went to mush when preserved in the canner.
But after the first bite, I was hooked. The zucchini wasn't crisp like a cucumber pickle, but it still had texture and firmness to it. And the flavor? Oooo-la! Like any good homemaker would, I asked for her recipe. And with a few personal adjustments, it's one of my 'must haves' for the winter season!
Here's how you make zucchini pickles!
Step 1: Harvest Small Zucchinis
There are three secrets to making firm zucchini pickles. The first? Harvest zucchinis while they are small, before their pithy, seedy centers have a chance to really develop. Ideally, they'd be no more than 2 inches in diameter.

If all you have access to are larger zucchinis, remove the soft, seedy centers, cube the flesh into (approx) 1 inch cubes and then follow directions for this recipe.
Step 2: Slice and Soak in Salt Water
Rinse your zucchini to remove dust and dirt. Using a cutting board and a sharp knife, slice your green (or yellow) vegetables into 1/4 inch rings. Don't stop until you have 20 C of sliced zucchini!
And then? It's time to implement the second secret! In a large bowl, put down a layer of zucchini. Sprinkle with salt. Add another layer of zucchini and so on, until the salt is used up. If you have leftovers, dump them on top of the pile. Add ice cold water until there's technically enough to cover the zucchini (it might float). Let it sit for 2 hours.
You can keep it cold by adding ice cubes every so often. This pre-soak in ice cold water and salt helps firm up the zucchinis (or any vegetable) for canning.
Step 3: Prepare the Brine and Additives
About 30 minutes before your zucchini has finished soaking, prepare the brine. Measure vinegar, honey, turmeric and any dry additives into a large pot. Bring it to a boil and let it simmer for 10 minutes.
If you want to add fresh garlic, onion or dill to your pickles, feel free! Thinly slice the onion and garlic, because this recipe has a short processing time.
Step 4: Strain the Zucchini and Fill Jars
When 2 hours have passed, pour your zucchini into a colander. Rinse your sliced vegetable in cold tap water to remove the excess salt. And then? It's time to fill jars!
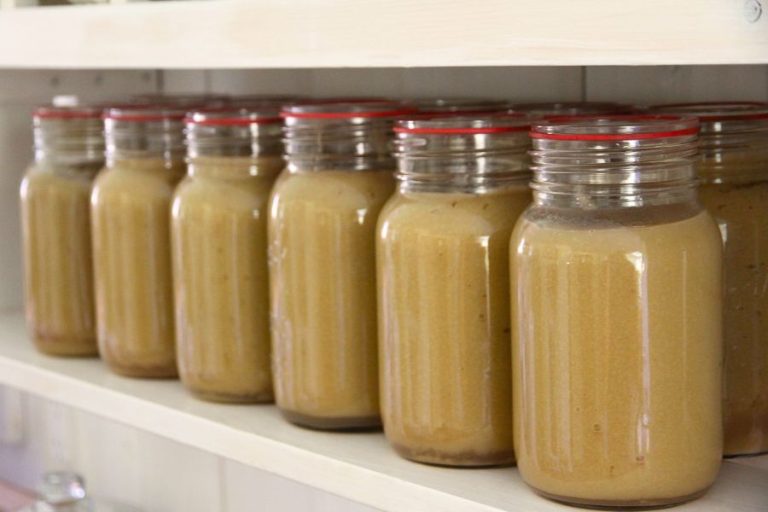
The third secret to firm zucchini pickles? Preserve the goods in small jars! Smaller amounts of food always mean shorter processing times in the canner. Zucchini really needs this, so your jars should be no bigger than pints (500mls)!
Any additives should be placed on the bottom of your jars first. Place zucchini rings on top, leaving in inch of headspace. Using a funnel and a ladle, add hot brine, also leaving about 3/4 inch headspace.

Step 5: Process According to Altitude
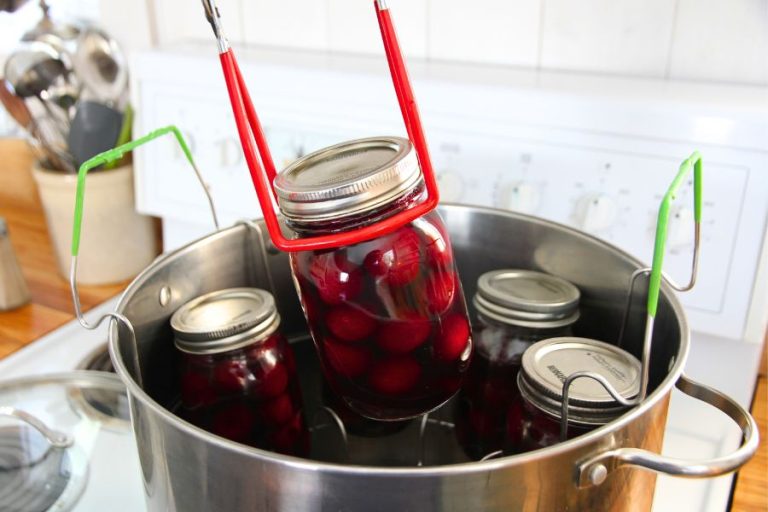
Process in a boiling waterbath canner according to your altitude. If you live 1,000 ft below sea level, pint (500 ml) jars should be processed for 10 minutes. Should you live over 1,000 ft in elevation, add an extra 5 minutes to the processing time.
Remove jars when this time has passed and let them cool for at least 12 hours. Check for a seal and store away. Use in 1 year's time!

Canning Pickled Zucchini
Ingredients
- 20 C small, sliced zucchini
- 3/4 C canning salt
- cold water to cover slices
- 5 C vinegar
- 1-1.5 C honey or sugar
- 1 Tablespoon turmeric powder
- 4 Tablespoons mustard seed (optional)
- onion (optional) add a few slices to each jar
- garlic (optional) add 4-6 slices per jar
Instructions
- Harvest zucchinis no larger than 2 inches in a diameter. Rinse clean.
- Slice into approximately 1/4 inch rings.
- Measure until you have 20 C of zucchini slices.
- Measure out 3/4 C salt.
- In a large bowl, put down a layer of zucchini, then a layer of salt, and so on.
- Add ice cold water, enough to cover zucchini. Let it sit for 2 hours.
- When there's about 30 minutes left, measure vinegar, honey, turmeric and mustard seed into a large pot. No salt required! Boil for 10 minutes.
- Clean 7 pint (500 ml) jars and prepare the canner and lids.
- Dump zucchini slices into a colander and rinse to remove salt.
- Fill jars, putting down any onion or garlic slices, first. Leave 1 inch headspace as you finish each jar.
- Top with hot brine, leaving 3/4 inch headspace. Wipe rims, add hots lids and canning bands.
- Process in a boil waterbath canner according to altitude.
- Under 1,000 ft in elevation: 10 minutes
- Above 1,000 ft in elevation: 15 minutes
- After processing, remove jars from the canner and cool for 12 hours.
- Check seals and store the good ones away. Refrigerate anything with a broken seal.