How to Pressure Can Old Hens
Have you ever had too many chickens in the coop? It's a common problem, really! When fresh young pullets come in, poultry owners are left scratching their heads.
What should they do with all the old laying hens?
Let's be real: financially speaking, these old birds aren't going to earn their keep.
But killing them seems...wasteful.
Ever wished you could find a use for them? It's true that old birds make for tough meat. So tough! But if you know how to use a pressure canner, you can create something delicious and edible.
Pressure Canning Puts Old Hens to Good Use
While it does takes time to butcher, clean and process your birds, canned chicken is a wonderful thing to have on hand.
If you're willing to butcher your old chickens, it's a great way to put your hens to one last use. You'll probably have to put them down one day; why not do it while they can still be used to put food on the table?
Best Way to Butcher Old Hens
A chopping block is a good way to go with old hens.
Chop and drop the bird. A bit of nerve action can't make the meat any tougher than it already is! And then, I highly recommend skinning the bird. Here's a butchering tutorial plus a video that outlines the process we use: How to Clean and Use Old Hens.
This aside, let's talk details of pressure canning!
Pressure Canning Directions
You'll need:
- 7 quart jars
- 7 medium size butchered hens, skinned
- 1 tsp salt per jar
- 1 tsp paprika
- 1 tsp curry (optional)
Directions: if the bird has lots of fat (old hens usually do), trim it off. Excessive fat isn't safe for pressure canning! While you'll always get a wee bit in each jar, you want to remove obvious blobs. But don't throw it out! You can save it for making schmaltz.

- Cut breast meat off of each bird. Also remove thighs and separate them from the drumstick. If desired, also remove wings.
- When finished, chicken carcasses should be frozen in zip lock bags so you can make bone broth later on.
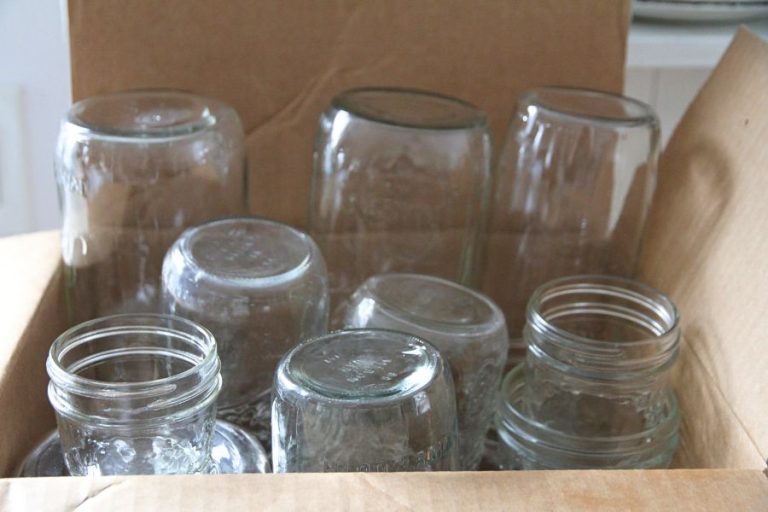
- Ensure that your 7 quart jars are clean. In the bottom place a tsp each of salt, parsley and curry.
- Begin filling jars with meat. Put drumsticks in first (or they won't fit). Fill in the remaining space with breast meat, wings and thighs. Note: for safety in processing, limit breast meat to 2-3 pieces per jar.
- It's important to avoid packing the meat into place. A loose pack ensures that the heat will be able to fully penetrate everything.
- Leave 1-2 inches of headspace between the meat and the rim of your jar's mouth.
- Add water to the jar, filling halfway. Take a butter knife and run it along the inside of the jar's wall. This will release air pockets the chicken has created. Add more water if needed.
- When all the jars are filled, wipe the rims with a vinegar-dampened paper towel. This will remove any fatty oils that might inhibit a seal.
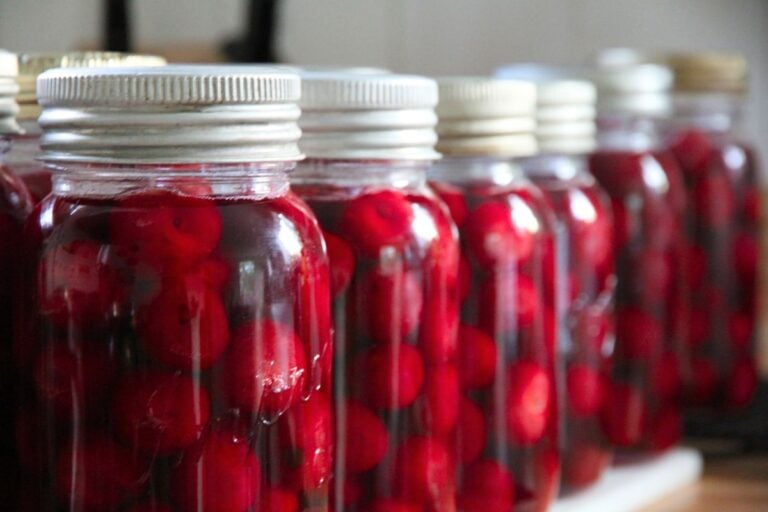
- Put a new, clean lids in place and tighten down with metal bands.
- Add water to your pressure canner (as directed in your manual) and place chicken-laden jars inside.
- Process quarts according to your elevation and your pressure canner's instructions for chicken (important!) with bone in.
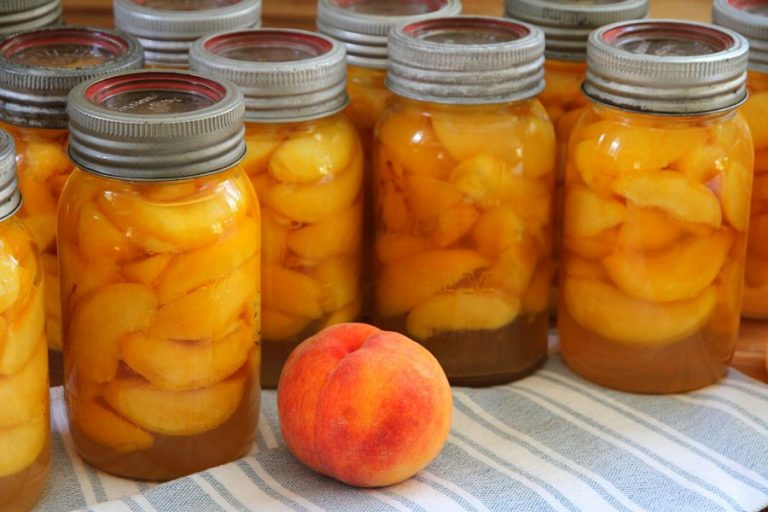
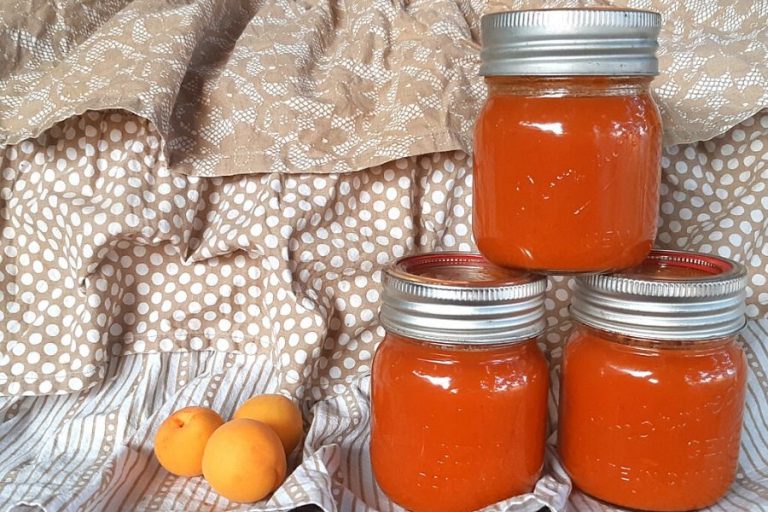
- Ensure jars have cooled and sealed before storing on your pantry shelves.

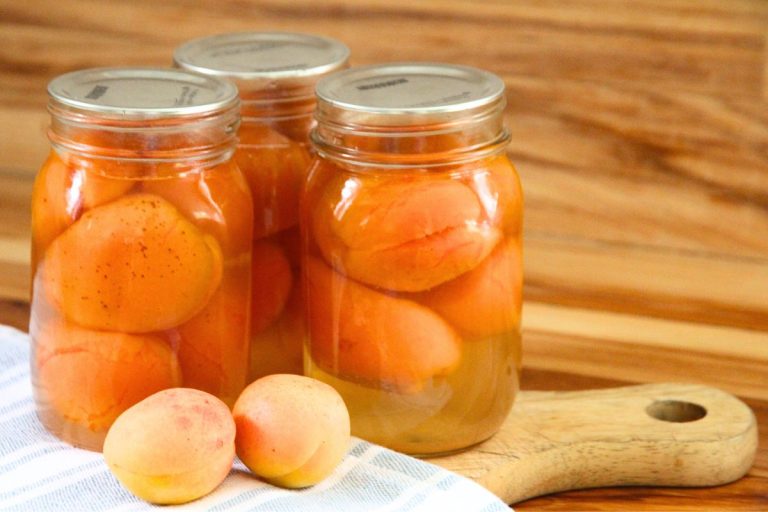
As you can see, the meats shrink inside the jar and release extra juices (which is why we only half-filled the jar with water).
How to Use Canned Chicken
You can use your home canned chicken in a variety of ways! It goes over well in sandwiches, wraps and salads. But you also also use it in soups, casseroles, pasta, meat pies, etc. Any way you use baked chicken, you can use home canned chicken!


We have 3 year old roosters and hens that need to be processed. Will pressure canning the meat make these tough old birds tender enough to eat? Will they need to be canned longer because of the meat being so tough - or at least we are assuming that they are going to be really tough? Is it better to do this bone in or off the bone because of their age?
They'll be great pressure canned! It doesn't matter if you do them with bone in or bone removed. You don't need to increase the canning time. They'll be just fine.
Thank you so much for this article! We have several 20 week old roosters in the freezer (from an incubation round). They were slightly tough. I was wondering if pressure canning would remedy the toughness and "testosterony" taste. Thanks.
Absolutely! Hope they turn out well!