Whitewashed Walls in the Cottage Kitchen
It happened once again! Do you know, I've come to the conclusion that house building has turned me into a jellyfish?! All this “finishing” stuff has me flip flopping back and forth, as if I don't have a mind to call my own!
I thought choosing the beautifying details of our home would be the cherry on top of the sundae, and I've been looking forward to it since we started building. However, over these past weeks, I've discovered it just isn't so. Sometimes, I feel overwhelmed by all the options and choices that need to be made!
You remember how I outlined my kitchen for you in this post? How excited I was about it all? E-hem! All that's changed now. So I thought I'd fess' up.
Make yourself cozy, grab your favorite drink and let me tell you about one of those changes and how it came to be!

How Whitewashed Walls Came to Be
I don't know where the idea came from. Pinterest, I suppose. I've always loved the look of whitewashed wood, but never really thought about putting it in my home, much less my kitchen! We'd always planned to cover both our south and west kitchen walls with vertical wood paneling, but I was going to paint it the same creamy-yellow that was throughout the rest of our cottage.
At some point, I entertained the idea of whitewashing our kitchen cabinets. After deciding against it, the idea somehow transitioned to the paneled walls. And it stuck!
A Handy Man and Pine Boards
Our cottage is rustic, with free-hand textured ceilings, dark floors and pastel walls. I'm aiming for a sort of farmhouse feel combined with a colonial undertone!
Sounds strangely beautiful, doesn't it?! Because I wanted an old world feel, I thought we could save time with the kitchen paneling by just tacking lumber into place, allowing the cracks to develop as they would.
But the handy man (my husband) thought it would look too tacky. And so? He took extra time to run our knotty pine boards through the table saw, creating a rustic, tongue and groove paneling.
Slightly tricky, without the proper equipment!
Whitewashing the Pine Boards
Once he finished his work, I created a whitewash, using our leftover ceiling paint. After mixing together 2 parts semi-gloss paint with 1 parts water, I then chose a wide paintbrush. We weren't going for perfect coverage, and a brush was the right tool for the job!
Swish, swish, swash!

The first coat dried quickly, and I had to admit I wasn't a fan. Too much wood color for my liking! However, after applying a second coat, I decided whitewash was the thing for me!
Before applying a sealer, I touched up rougher areas where the pine's color was still leaching through. This girl wanted white, but with the accent of knot holes and blemishes.
And then, each and every board was sealed with a light layer of water-based Varathane.
Siding the Kitchen
My man worked evenings and a full weekend, brad-nailing the whitewashed pine to our kitchen walls. One by one, the panels went up and slowly, the last of the insulation was covered.

What a good feeling that was!
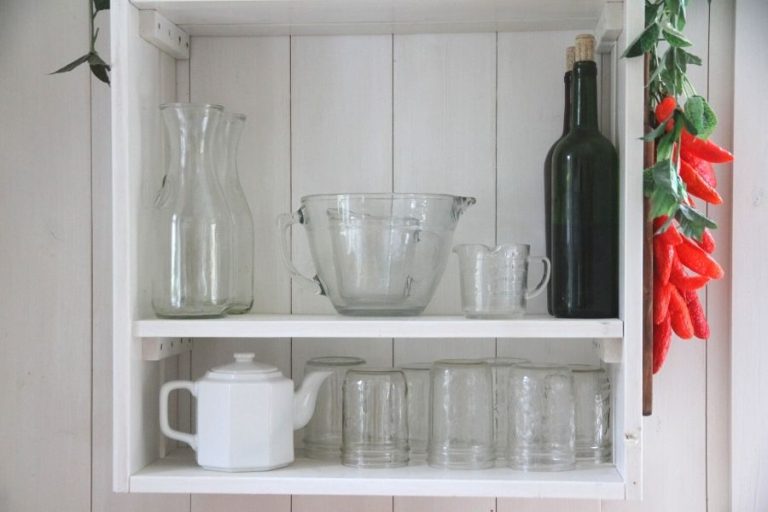
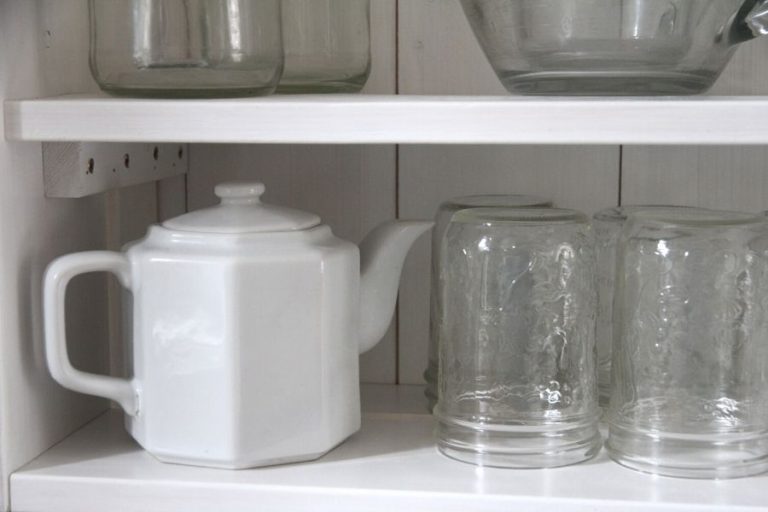
It didn't turn out exactly like I'd envisioned. There are a few rough places on the pine boards where the wood color (even after three coats of whitewash) still leached through. In the wrong lighting, these places almost look...dirty. I suspect the open shelves and their many items will break things up and take care of this little problem. At least I hope so!

I do think its lovely. With rustic white walls, dark floors and hickory counter tops, I believe I'm going to get the sweet, farmhouse-like feel I hoped to create.
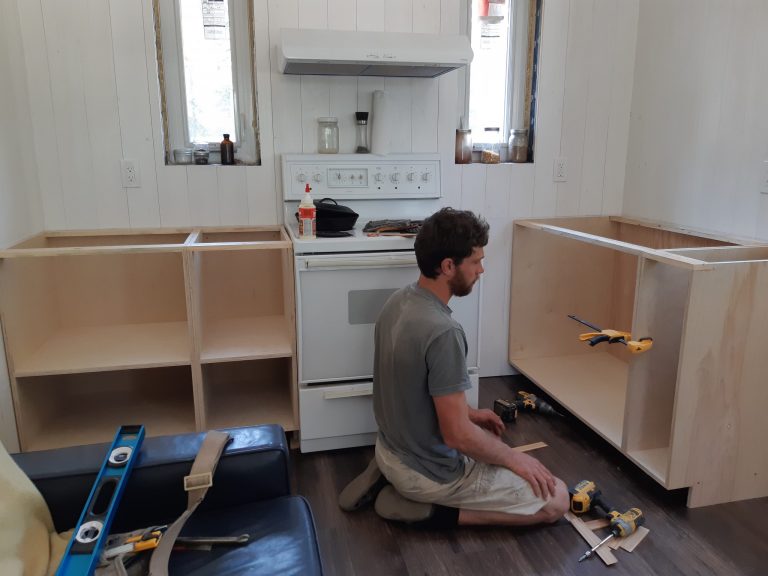
And did you know, my man is currently building cabinets? We've had a color change on those as well! White is no longer an option, because white walls and white cabinets is just too much white for a well-worked in kitchen, so we're going to paint them...but wait!
You'll learn all about these details in another post, on another day! So be sure to come back, y'hear?