How to Freeze Whole Strawberries
Need a quick way to put up fresh strawberries? Here's a great way to preserve whole strawberries, so you can use them later in strawberry desserts, strawberry jam or a strawberry smoothie!
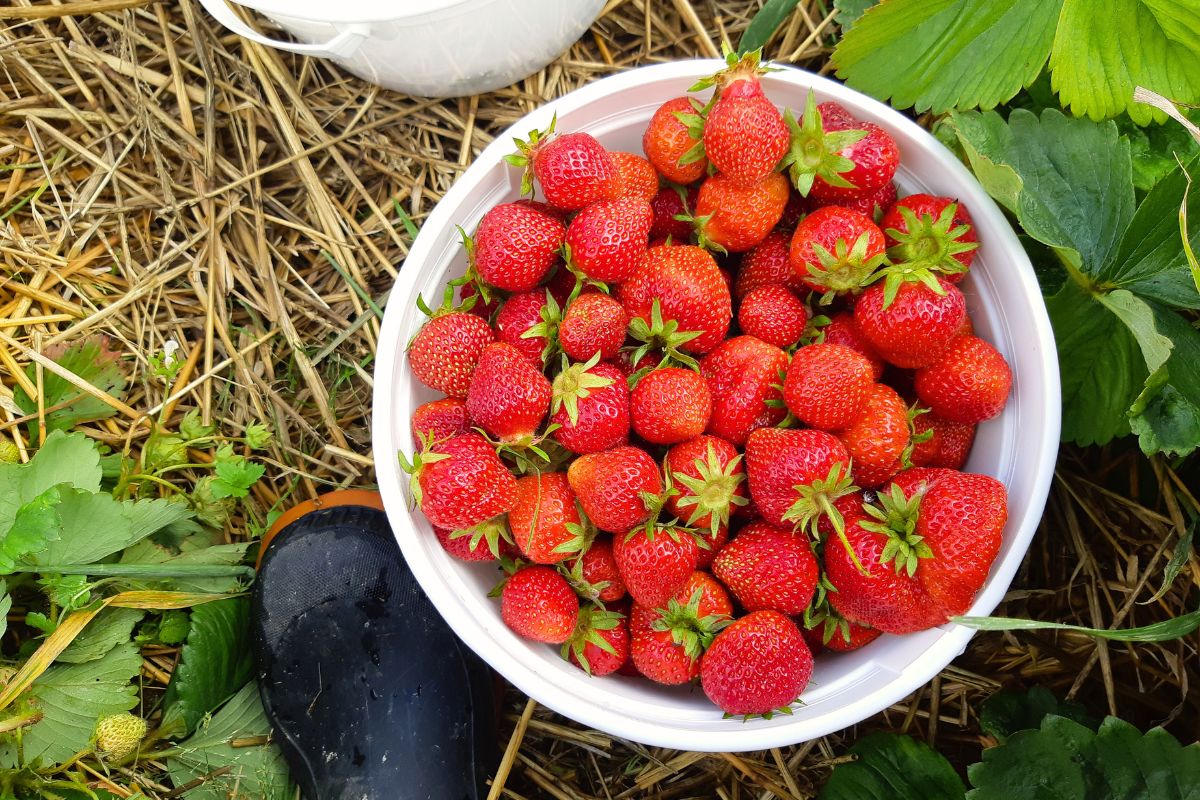
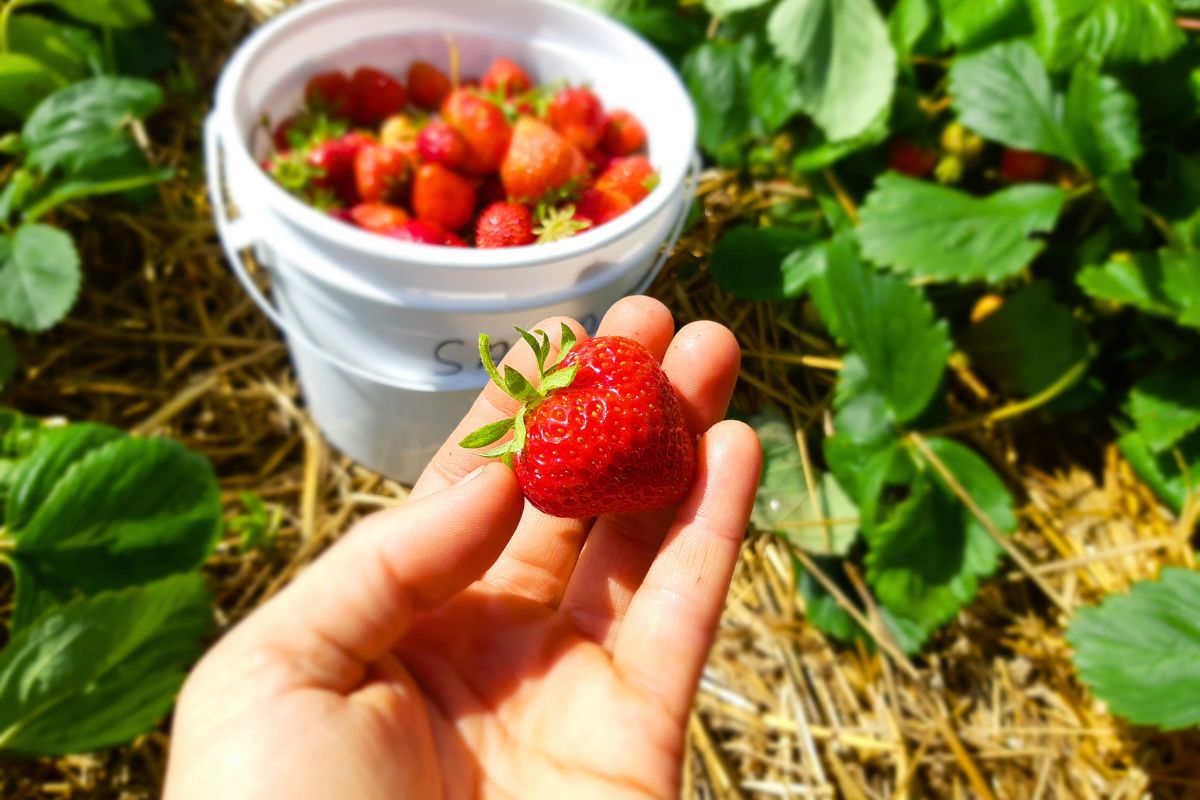
Every year, I try to go strawberry picking at our local berry patch. I love harvesting strawberries when they're in season, because the flavor is so much better than anything I can get in the grocery store. And nothing says "summer" like the first taste of sweet strawberries!
I don't usually get around to making homemade jam the moment I bring berries home, though I might cave and make a delicious strawberry pie, sweetened with honey.
In my kitchen, I will freeze ripe strawberries immediately. They don't last long at room temperature (which is why the grocery store carries underripe ones!), and if I freeze them, they can sit until I am ready to do some cooking or preserving.
But I'm not fussy about how I freeze them.
You won't find sliced berries in my freezers! In fact, my plastic freezer bags are filled with whole strawberries. The green tops are removed, but I actually leave the tiny nubbins of green stems intact.
I don't notice them in my homemade jams, desserts or smoothies. So why bother?
Here's the easy way to freeze whole strawberries!
Items You'll Need
- fresh strawberries
- a colander
- cold running water
- plastic freezer bags or airtight containers
Best Way to Freeze Whole Strawberries
Step 1: Start With Fresh Berries
As I mentioned above, I like to freeze in-season strawberries. It doesn't matter if you buy them from a farmers market, local grower or harvest them yourself.
Nothing beats the flavor of strawberries that have been grown in soil, ripened on the plant and warmed by the sun! So try to find these fruits during strawberry season (in most areas, that would be early-mid summer).
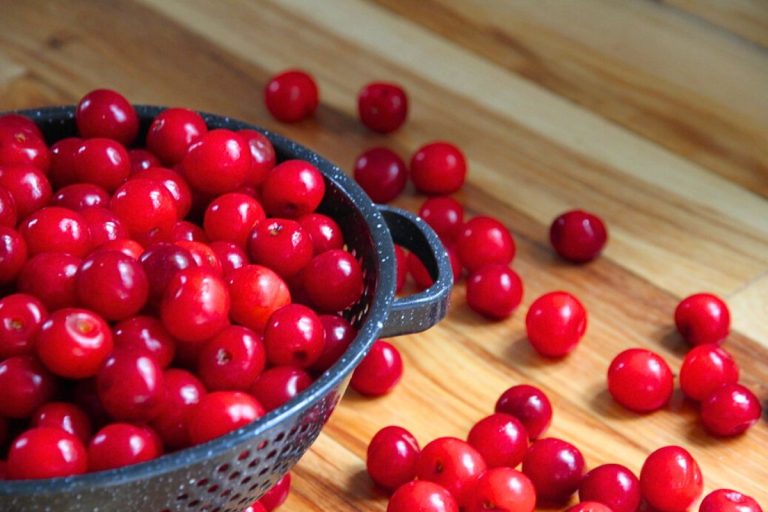
Step 2: Rinse Strawberries in Cold Water
If strawberry plants are grown in mulched soil, you probably won't have problems with dirt. But if they were grown in bare earth, the berries will probably need a good rinse.
Strawberries are often soft when fully ripe, and they will turn soggy if you soak them too long in cold water. Sometimes, this is unavoidable because the fruits are so dirty.
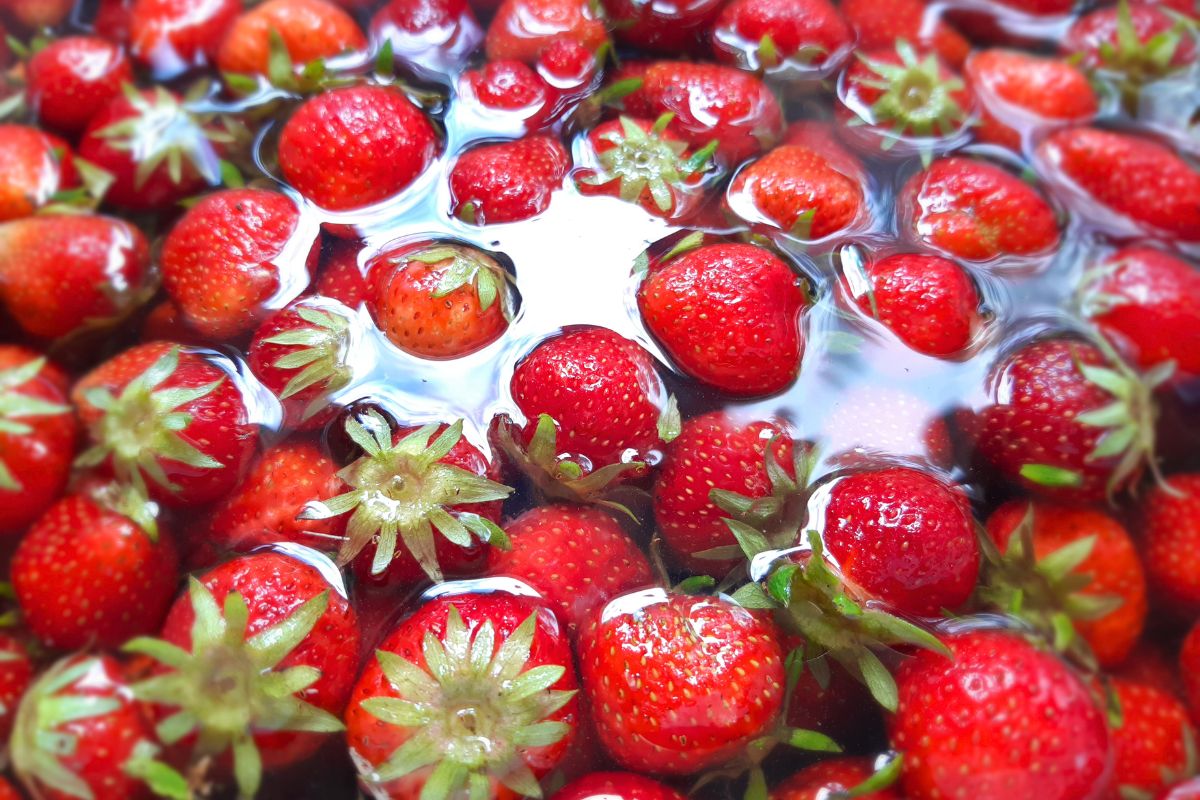
But when I can, I like to load berries into a large colander and quickly rinse them under cold running water. You can also fill a sink with water and swish your colander of berries around in it. No soaking required!
Step 3: Remove the Green Leaves
Before you freeze strawberries, you need to remove the green leaves. I don't worry about the green stems, because I find they turn soft and are unnoticeable in my homemade jams, smoothies and desserts.
If this idea bothers you, go ahead and use a small paring knife to remove the green leaves and stems together.
Step 4: Drain Your Strawberries of Excess Moisture
If you had to soak your berries, be sure to let them drain in a colander for a bit. But if you just had to spray them down? You can toss berries directly into a freezer storage bags as you remove the green tops.
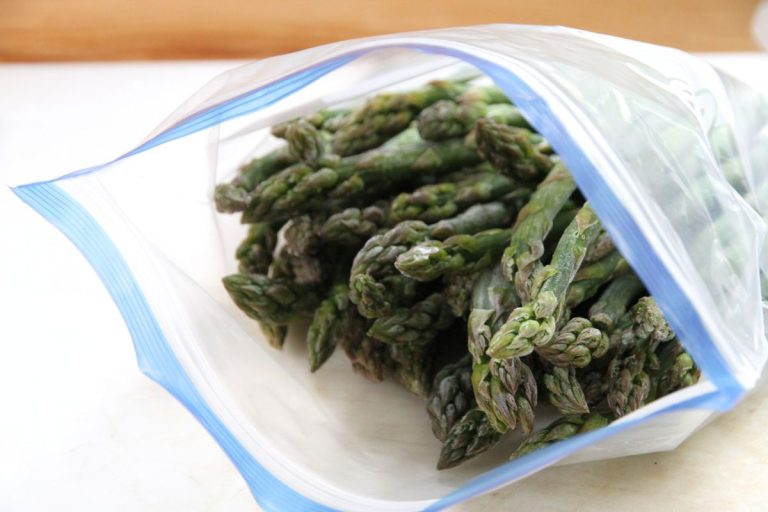
Step 5: Fill Your Freezer Bags
Some folks are particular about spreading strawberries out in a single layer before freezing, or some even flash-freeze strawberries. If you have really soft berries, these things can be a good idea, so the fruit doesn't turn into a big clump in the freezer.
But I usually find these steps are unnecessary. Most of the time, I just fill my zip-top freezer bags, force out as much air as possible and seal them up. Most of the time, whole strawberries are easy to break apart once they have frozen.
Step 6: Freeze Your Strawberries
I like to spread filled bags on their sides in the freezer. Spreading bags out in a single layer (vs stacking them) is a great way to quickly freeze the fruit.
From there, I like to stack strawberry bags in a box, so I know exactly where they're at, whenever I want them!
Easy Ways to Use Frozen Strawberries
You can use frozen strawberries in many different ways, for any of your classic recipes or family favorites.
Homemade Jam
To make homemade strawberry jam, thaw your berries, crush them and measure out the amount needed in your particular recipe.
Old Fashioned Strawberry Vinegar
Use frozen berries in the place of fresh, being sure to weigh the fruit down so it doesn't float to the surface. Let berries infuse with water for about 4 days, then strain the solids and ferment the juice.
I teach you how to make homemade strawberry vinegar here.
Strawberry Pie, Crumble or Cobbler
Warm berries on the stove and add your sweetener of choice. Thicken strawberries with cornstarch dissolved in water, then use in your favorite dessert.
Strawberry Sauce
The process of making strawberry sauce for pancakes, waffles or ice cream is the same as above. Warm berries, add sweetener and thicken with water and cornstarch, or your favorite thickener.
Strawberry Smoothies
Take your favorite smoothie recipe and substitute the frozen fruit for whole frozen strawberries.