How to Store Fresh Root Vegetables for Winter
Learn how to harvest, prepare and store root vegetables for winter without a root cellar. Here's a simple way to preserve your garden vegetables without firing up a canner or dehydrator!
Root vegetables are one of those crops that can be preserved many different ways.
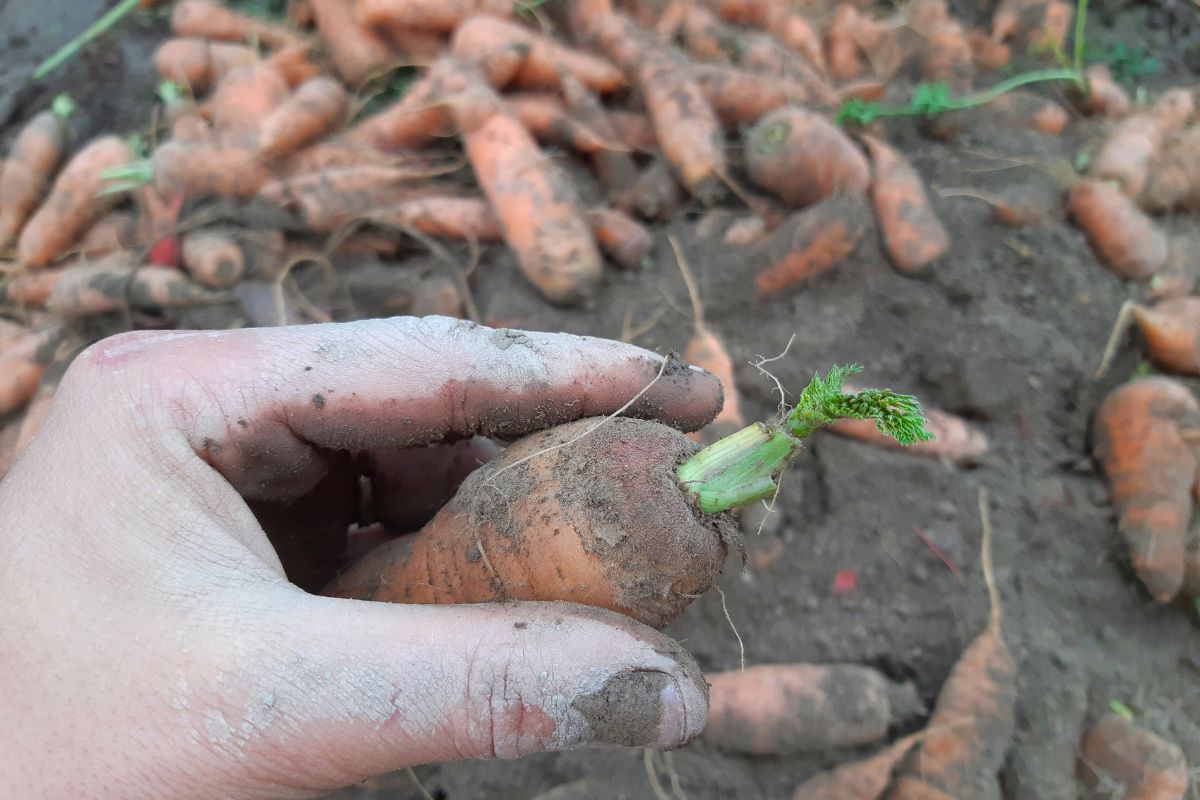
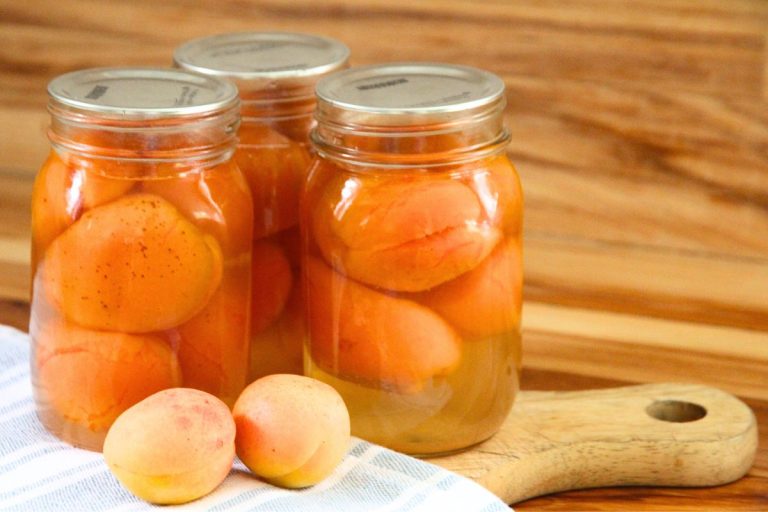
Take carrots, for example. These orange roots can be dehydrated, fermented, pickled, or canned. If you cook them lightly, you can even preserve them in the freezer!
These methods are great, but they all have one thing in common. They take a lot of time and effort on your part.
When I first decided to keep my homegrown food on hand throughout the winter months, I started looking for the fastest, most efficient way to preserve my garden produce.
With root veggies, I quickly realized that overwintering them in whole form would be the fastest, easiest way to go. So I dove into learning how to store root vegetables without a root cellar.
I've tried several different methods over the years and while I have my "go to," I'm going to share some different options with you.
3 Things You Need to Store Root Vegetables
Root vegetables need three things for long-term storage.
- Cold temperatures: root vegetables need to be stored in a cool place. The ideal temperature is near the freezing mark (32 degrees Fahrenheit or 0 Celcius).
- Moisture: if you want root vegetables to stay firm and crisp in storage, they need a humid environment.
- Darkness: storing root vegetables in a dark place will prevent them from sending up new shoots (that will ruin the root).
Simple Places You Can Store Root Vegetables
While a root cellar offers ideal storage conditions, most folks don't have that option. And that's ok, because there are many other places around your home where you can store vegetables for the entire winter!
In Your Garden Beds
Yes, if you have mild winters, your garden beds can be a wonderful place to store root vegetables!
Leave your root vegetables right where they are. Before the ground freezes, go ahead and cover them with a deep layer of straw mulch or leaves, and tarp the entire bed to keep things dry.
Be sure to weigh down the edges of your cover.
When you need carrots, beets or parsnips, peel back the tarp and dig up your root vegetables. Just remember to recover the garden bed, and weigh your tarp down once again!
One year I left an entire row of carrots in the garden, using the technique I just told you about. I started harvesting in early spring and one day failed to recover the carrots with my tarp.
A deer jumped the garden fence that night (probably lured by the smell of the carrots), and he ate up my entire carrot bed!
If ever a deer deserved to have a stomach ache, it was that evening.
Cover your carrots. It's worth the hassle!
Downside 1: if you provide a dry, warm place for mice or other rodents, they might move in and will happily feast on your beets, carrots and parsnips.
Downside 2: you have to go out into the mud or snow and dig up your root vegetables every few weeks.
In a Root Clamp
If you read books on root cellaring, you'll always hear mention of a root clamp. I've never tried this, but I have friends who use clamps to overwinter root vegetables and potatoes. It's an easy to way to create a mini root cellar.
Instead of having a walk-in room, you dig a hole in the earth (probably on the edge of your garden) and nestle your vegetables in that. A covering of dry straw or leaves help insulate the vegetables, and you can heap a thick pile of dirt on top of that.
If you live in an area where there are heavy winter rains, a tarp, plastic cover or lid can be a good idea. Too much moisture will cause root vegetables to rot.
If you live where deep freezing temperatures are common, you may need to add a hearty layer of clean straw, leaves or dirt to the top of your clamp before tarping it.
Downside 1: rodents may find your root clamp and eat your vegetables (you can sometimes avoid this by lining it with wire mesh).
Downside 2: to access your vegetables, you'll have to bend over a hole and lift things out, which can be hard on the back.
The Basement Cold Room
The first place I ever overwintered root vegetables was in a corner room, in an unheated basement with a concrete floor.
This storage space had a window to let in cold winter air, and to keep the room cool in fall and early spring, I left the window wide open. When temperatures dipped deep into the negatives, I closed it to keep things from freezing.
That was my first experience with root storage crops, and I learned so much.
For example? You don't need super high humidity for root vegetables to last 5-6 months.
You don't always need the ideal storage temperatures, either. In that basement cold room, temperatures fluctuated quite a bit and root vegetables were none the worse for it.
Downside 1: a basement cold room is a good place to store fresh produce, but it won't remain cool in the spring like a traditional root cellar and produce has to be used up by mid spring.
Downside 2: having bins of dirty vegetables in your cold room can make a mess, so you'll often have to clean up after yourself.
A North Facing Room
When my man and I built our little cottage, we put a floor level, insulated cold room on the north side of our home.
It's technically outside the envelope of our house, even though it's connected to it. The concrete floor is unheated and we can access the space from the kitchen or our back yard.
A small window helps control temperatures, and when we layer root vegetables in bins of moist soil or peat moss, when we sack potatoes or parnsips in plastic burlap bags, they keep until warm spring temperatures return.
A north facing room can be easily created in a basement, shop, garage or even as a lean-to on your home!
You can watch and see how we built our cold room in the video below.
Root Crops Suitable for Long-Term Storage
Most root vegetables will store well over the winter months as long as you protect them from excess moisture, freezing temperatures and rodents! Here's a list of vegetables that store well.
- Beets
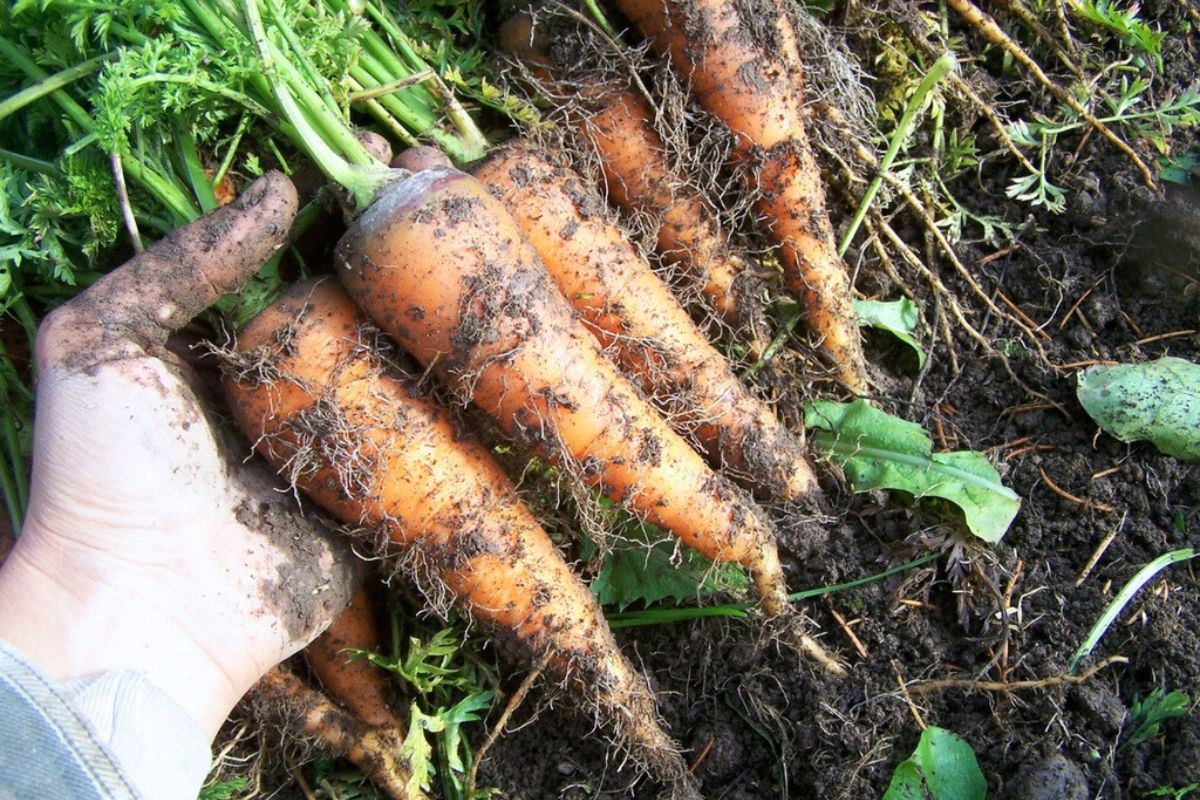
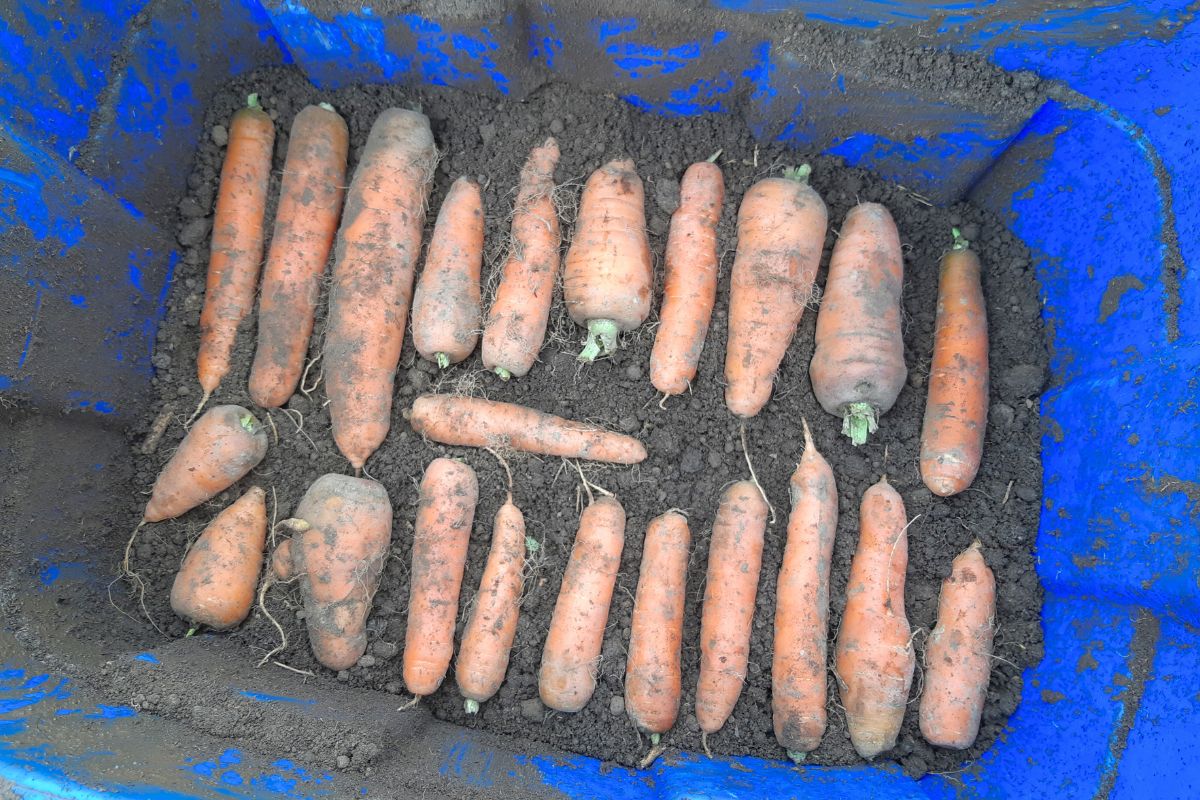
- Carrots
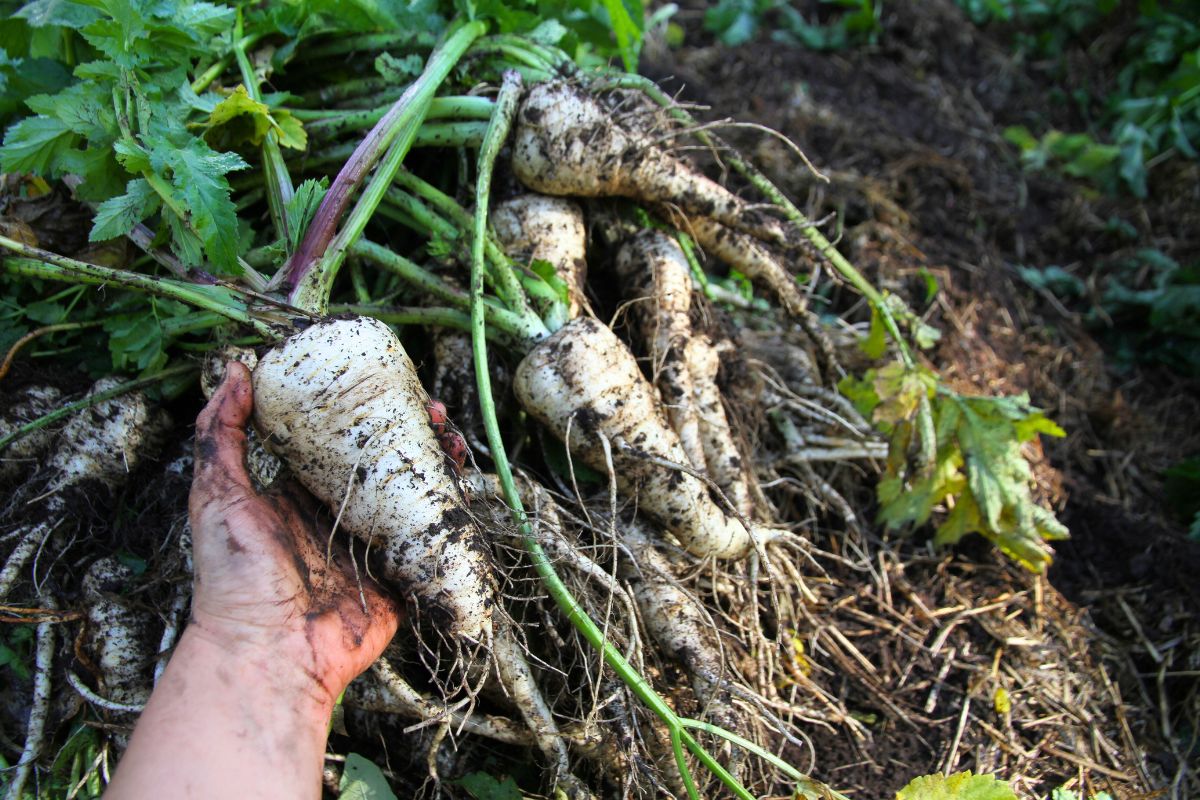
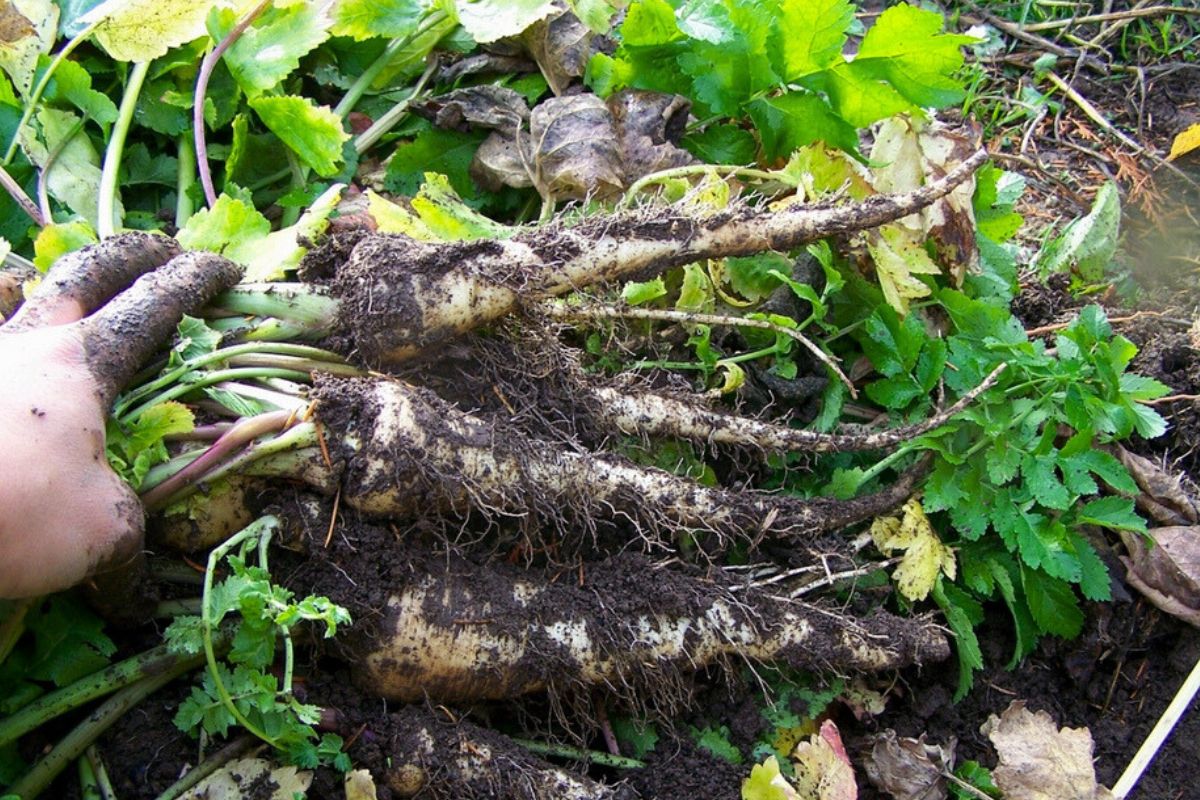
- Celeriac
- Parsnips
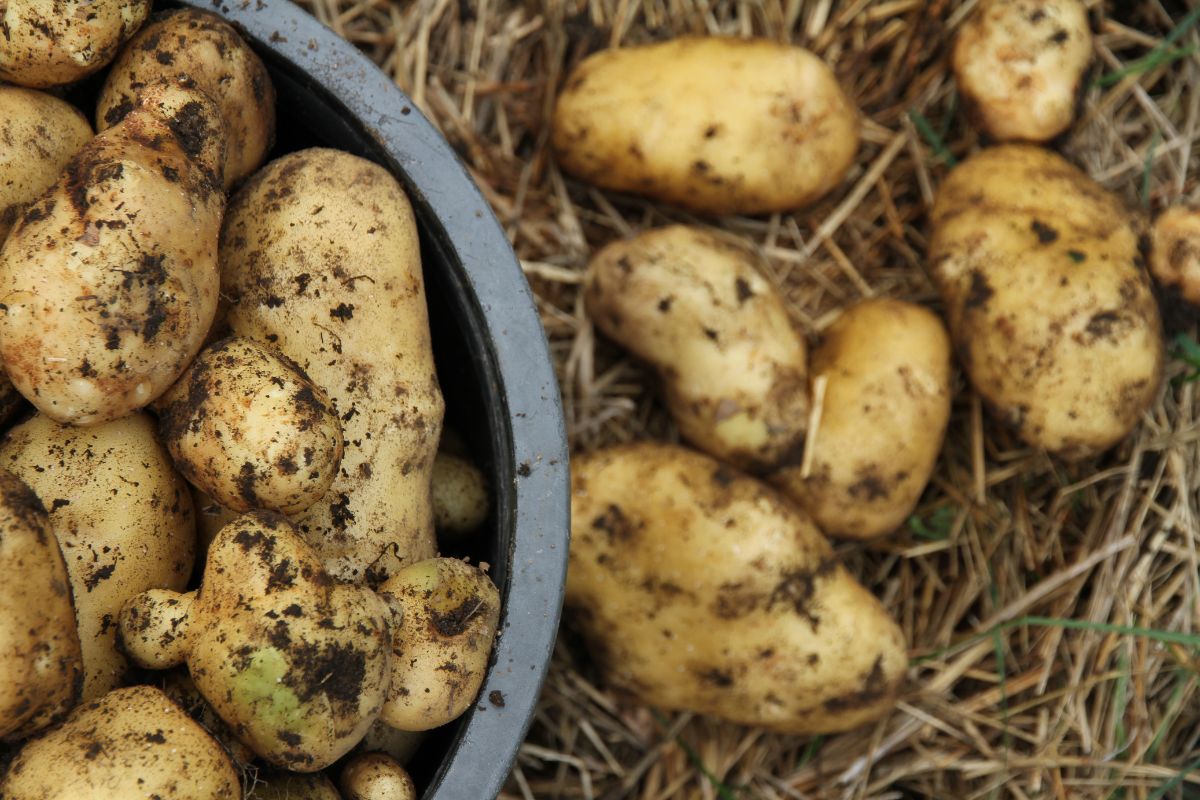
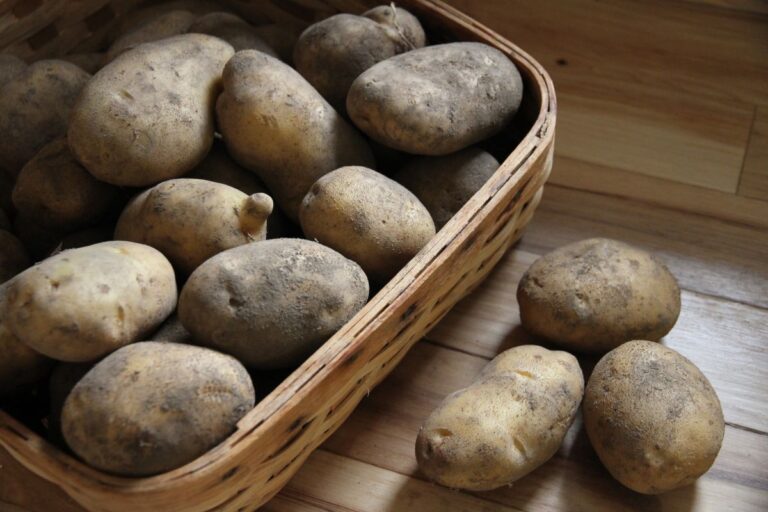
- Potatoes (they're technically a tuber, not a root!)
- Rutabaga
- Salsify
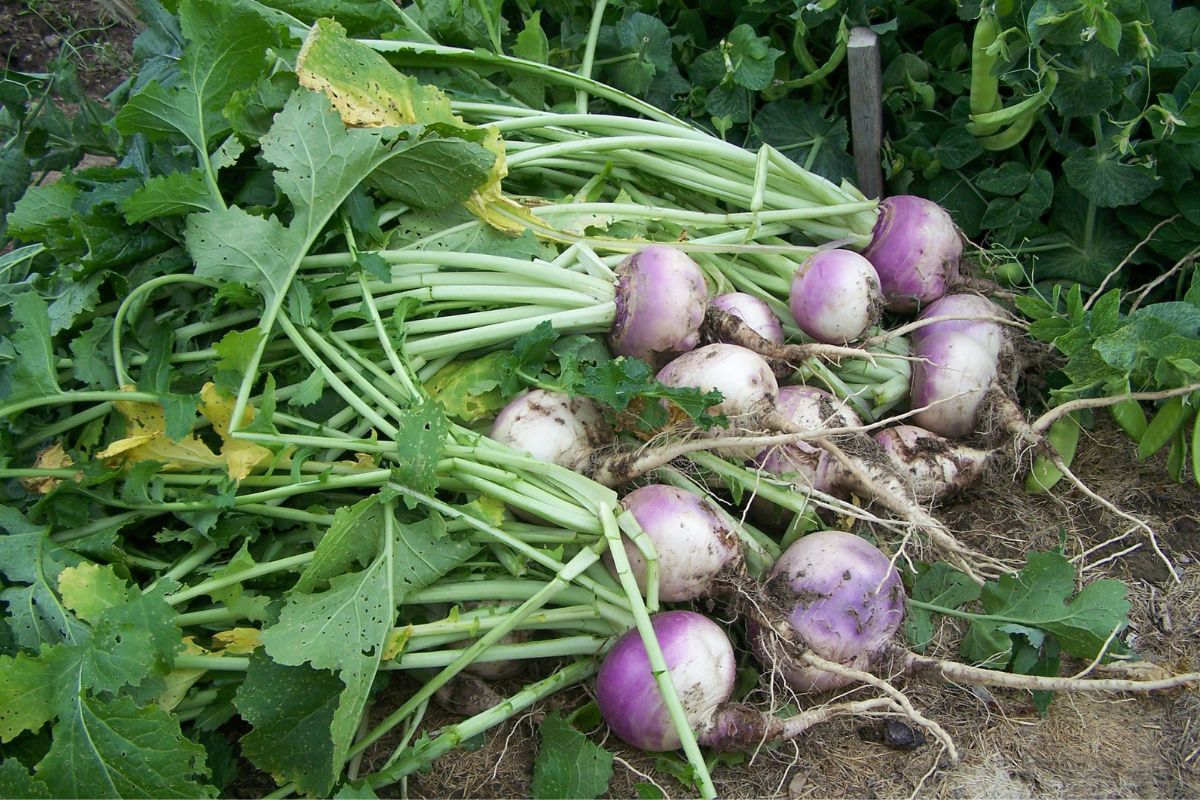
- Turnips
- Winter radishes
Contrary to what folks often think, sweet onions and winter storage onions aren't a root vegetables. This is also true of shallot and garlic bulbs.
Alliums are technically a bulb, and they don't last long the cold, cold temperatures root vegetables love.
In fact, onions and garlic will decay faster in very cold, very humid conditions. Just like winter squashes, they prefer a dry location.
I share my tutorials below on the best ways to store crops that last longer in a dry place.
How to Harvest, Dry and Store Hardneck Garlic
How to Harvest, Cure and Store Onions for Winter
Simple Guide to Curing and Storing Winter Squash
Your Guide to Curing, Storing and Using Pumpkins
How to Choose Vegetable Types for Storage
If you're a gardener who wants to grow and store your own root vegetables, be sure to grow varieties that are labeled as winter keepers or storage varieties. Often, root vegetables with excellent storage qualities are heirlooms.
Watch the Video Tutorial
How to Store Fresh Root Vegetables
Step 1: Harvest at the Right Time
Knowing when to harvest root vegetables is important if you are putting them in a clamp, basement storage room or a cold room.
Most roots can handle a light frost. But you'll want to harvest beets, potatoes and turnips before a heavy frost falls.
Parsnips and carrots are usually sweetened by a hard frost, so some folks intentionally leave them in the garden as long as possible. Just don't let the tops of the roots actually freeze, or they'll go soft and mushy.
Most root vegetables should go directly from the garden to their winter storage quarters. The exception would be potatoes.
Potatoes are a bit different from root vegetables. They're actually a tuber and should be handled differently than root vegetables. They should be spread out to cure at room temperature before going into storage.
I teach you how to cure and store potatoes in my article here: How to Cure and Store Potatoes for Winter
Step 2: Remove Leafy Greens
Unless you're leaving root vegetables in their original garden beds, you need to remove green leafy tops before putting roots into storage. If you don't, the foliage and moist stems will rot, and ruin the entire stash of vegetables.
To avoid this, trim green tops within an inch of the root vegetable itself.
Don't waste time washing your root vegetables. They're going to be stored in a dirt, so they'll be dirty when you pull them out.
Step 3: Set Damaged Roots Aside (and immature ones too)
As you trim the tops from your vegetables, keep an eye out for small roots. Immature roots won't last very long in storage, and are best used up immediately.
Also watch for damaged roots, because they shouldn't go into food storage. You've heard the expression it only takes one bad apple to spoil the barrel?
With cold storage techniques, it's really important to only put fully mature, high quality vegetables into storage.
Here's a list of things you should look out for.
- worm or bug holes
- scabs, cracks or spots where decay has set in
- carrots, parsnips or long roots that snapped off during harvest
- slices or cuts from a shovel
You can still eat damaged roots along with undersized ones. Wash them up and store in your fridge in the crisper drawer, or in a plastic bag. Use these ones first, before they spoil.
Step 4: Put Root Vegetables into Storage
After your root vegetable have been harvested, green tops have been trimmed, it's time to put the root vegetables into storage.
In the Clamp
Dig a hole and nestle your root vegetables in it. You can put roots directly down on the dirt floor, or you can pile them in plastic totes or metal bins. Remember to insulate the top with straw mulch or dry leaves, and make sure the clamp will shed rain.
In the Cold Room
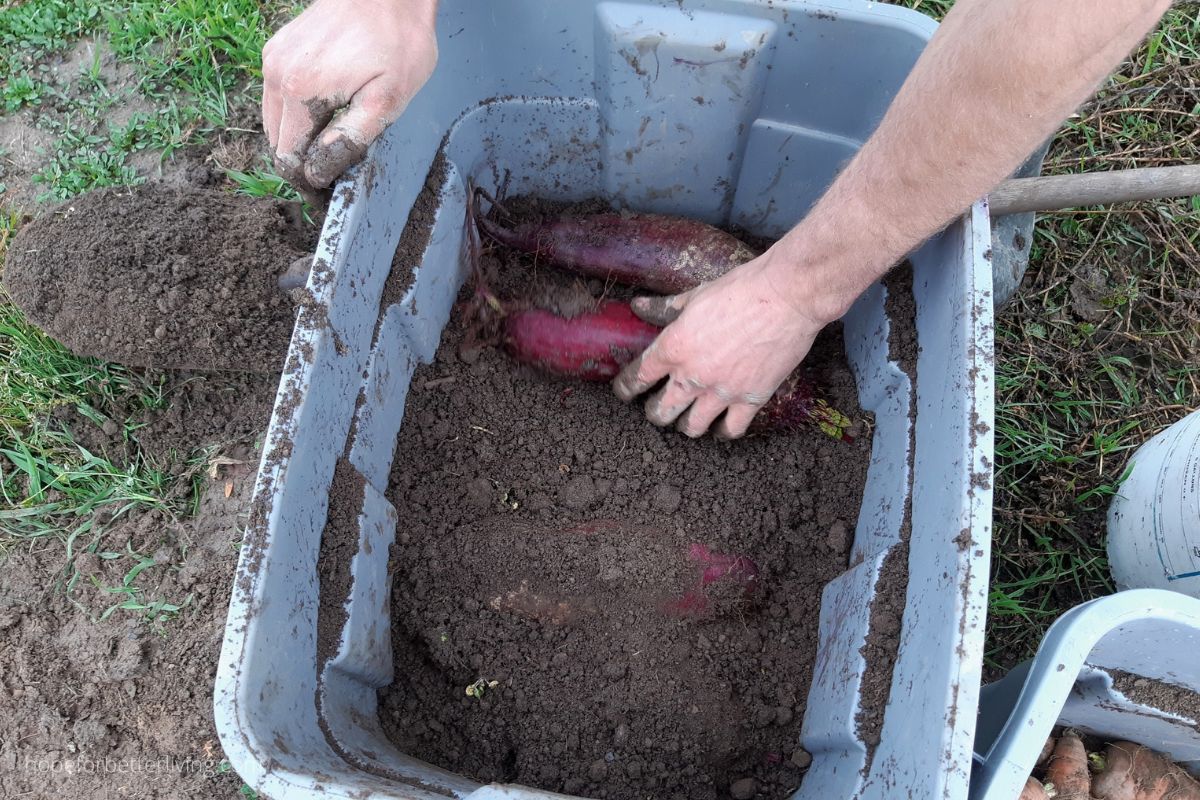
When storing root vegetables in a cold room (basement or otherwise), vegetables will last longer if you layer them in damp sand, peat moss or soil.
You can use soil from your garden beds. Just make sure the dirt isn't saturated with water, because too much moisture will cause the roots to rot.
Helpful tip: to test soil for moisture, gather some into your hand and squeeze it into a log. If you open your hand and the log falls apart, the soil is too dry. If it falls apart when you poke it with finger, that's about right. If it doesn't fall apart when poked, the soil it too moist.
Here's how to layer root vegetables with soil in a bin, tote or box.
- Put down a 1-2 inch layer of dirt in a plastic tote or metal bin.
- On top of this, put down a single layer of vegetables, with space between each root.
- Cover the roots with about 1-2 inches of soil, and put down another single layer.
- Finish each bin with a 3-4 inch layer of soil before putting them in your cold room.
Helpful tip: only fill your bins 3/4 full so they're light enough to move, and so you can dig out root vegetables without spilling dirt all over your cold room floor!
Step 5: Use Roots and Watch for Decay
Once your roots are in cold storage, you can use them immediately (but if you have damaged roots in the refrigerator, be sure to use those first)!
As the winter stretches on, you might feel something squishy as you dig up beets, carrots or parsnips. This is a sign that something is rotting underneath the soil.
Go ahead and remove the rotting root and soil around it, so the decay doesn't spread and ruin the bin.
Questions Folks Ask
Can I store root vegetables if I don't have a basement or cold room?
Yes. The key thing is having cool temperatures (ideally near the 30-40F or 0-5C), and to avoid freezing your roots! I personally know folks who overwinter root vegetables in the following places.
- crawl space under a single story house
- a shallow clamp inside a small hoop house
- in the garden under a pile of leaves
- on the floor of a pump house
- in a crawl space under a barn floor
Should I store root vegetables in wood or cardboard boxes?
I like to store root vegetables in plastic totes or boxes that won't mold or deteriorate. Both cardboard and wooden boxes will, especially when they hold moist soil for months at a time.
Whether you use a clamp or store roots in a cold room, I recommend using something sturdy that you can easily lug around.
Is it a good idea to also store potatoes in moist soil?
I've never tried, because it's completely unnecessary in my climate!
Potatoes keep remarkably well in a plastic gunny sack (somewhat like onions or garlic that I store in a large paper bags). You don't need to add moisture, because potatoes are tubers (not roots).
Should I try overwintering root vegetables if I don't have ideal temperatures?
If you live where winters are mild (averaging 50F or 10C), you'll probably get best results by leaving roots in a covered garden bed.
Should you live in the south where even winters are warm, an upright refrigerator or walk-in cooler room would be best.
What does it mean if my roots go rubbery and floppy in storage?
Under ideal conditions, roots will last for a long, long time. But if they are going rubbery, here are some trouble shooting tips.
- Roots weren't fully mature (think undersize carrots and beets).
- Temperatures may not be cold enough.
- There isn't enough moisture for the roots and they're wilting like a flower.
Often, a lack of moisture is the problem.
I saw this firsthand in a family member's cold room in northern Canada. Up there, it's a struggle to keep things from freezing so folks don't like to overdo it on the moisture. But if you don't have enough moisture, carrots are particularly prone to going limp.


Hi! Thank you for sharing such great info. Do you put the lid on the rubber maid and seal it?
No, no lid. It is important that your veggies breathe and tha moisture doesn't build up either
I’m worried about including bugs and organisms that will happily munch the veg if I use soil directly from my yard. Have you ever used something like sand or peat instead? Thanks!
Hi Meisha!
Yes, you can use peat moss, sand and the like. I've never had a problem with bugs or unwanted organisms when I've used my garden soil
Really helpful tips. Could you tell me what is the temperature ideal for storing the bins? I don’t have a cold room...only two outdoor sheds. Are they too cold?
Ideally you want storage temps to be just above freezing or within the 34-40F range. If your veggies do freeze, they'll quickly spoil after they thaw out. Root veggies will keep for several months in warmer temps, but they probably won't last all winter. It really depends on temps in your shed!