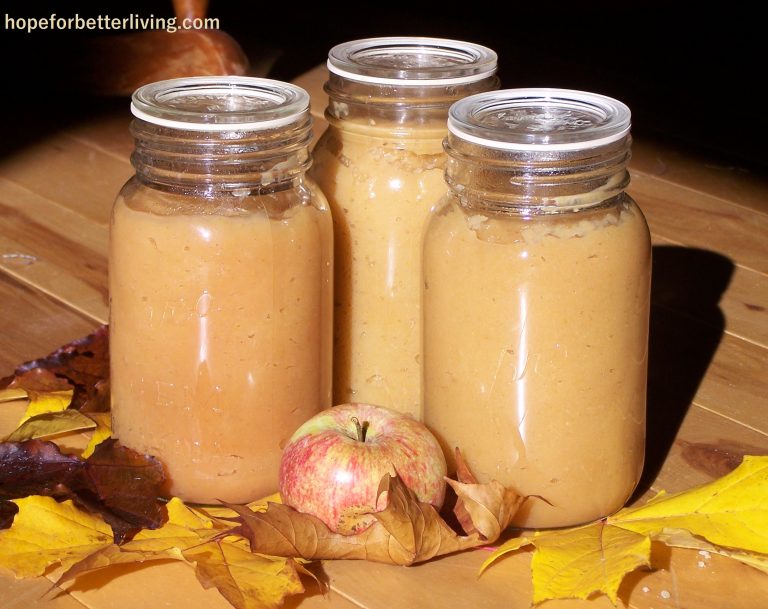
How to Make Apple Cider Syrup
Today I feel privileged to introduce you a very old, traditional recipe! While thumbing through a vintage cookbook, I happened upon a page with the title "Apple Cider Syrup." Intrigued, I couldn't help but read on. And after learning a bit more, I knew I had to implement this recipe into my fall preserving!
The apple did it again! How can such a simple fruit stir up such sentiment?

One whiff of this fruit and the memories come crowding back: the old tree climbed in bare feet, the green apples consumed that always led to a stomach ache, the fall harvest and cider pressing parties.
There was the apple butter only grandma could make. Her scrumptious apple pies. The applesauce with a 'secret ingredient.'
Interestingly enough, the nostalgia doesn't stop at personal memories. The apple was a staple that saw many of our ancestors through the difficult winter season!
I think of the hard-working pioneer woman who fed her family on this dried, then re-hydrated fruit. The root cellars that accompanied most homes, one wall lined by boxes of apples, the other with a shelf that held jugs of apple vinegar, crocks of pickled apples and likely, a jug or two of hard cider.
Who knows, but that apple cider syrup was among them?

A DELIGHTFUL EXPERIENCE WITH APPLE CIDER SYRUP
When I discovered this apple-based syrup recipe, I was determined to bring it back to life!
That harvest season I dedicated time and energy to that particular page in my old cookbook. Upon taking my first sip of apple cider syrup, I declared it a keeper! Truly delicious! With a tart but mildly sweet flavor, it was unique, unlike anything I'd ever tasted before. And made from nothing but apples!
Good things are meant to be shared. Here, I've outlined two methods for you so that anyone can make this recipe!
TWO TECHNIQUES AND NECESSARY INGREDIENTS
For the easiest method (#1), you'll need juice, fresh or frozen, from fresh pressed apples. If pressing your own apples isn't an option, see if your local grocery store carries pasteurized, refrigerated apple cider, free of preservatives and filtration.
The second (and longer) method affords similar results by cooking down apple pieces. Flavors are milder and color, lighter.
APPLE CIDER SYRUP: METHOD #1
For the first method you'll need:
- 1 gallon apple cider
- 1 cinnamon stick (optional)
- 2-3 cloves (optional)
- 2 Tbs of herbs (if using as a meat sauce)
Directions: pour apple juice into a pot and turn burner to high. Allow your cider to boil hard for 1 1/2-2 hours.
In the beginning, juices will be a murky brown color. This is normal! If a scum-like foam appears on the surface, skim it off with a spoon.
When juices are reduced by half, you can add cinnamon and cloves. If using, you can also add herbs. For ease of removal, secure the plant matter in a cloth before placing it in your syrup. Remove after 20-30 minutes to avoid imparting too much flavor!

Over time, the color tone of your syrup will deepen and take on a red hue.
Once the liquid has been reduced to approximately 1/4 the original content, watch closely and begin testing for thickness.
The consistency is entirely dependent on your personal preferences. But don't let it go too long, or you'll end up with a thick apple jelly!
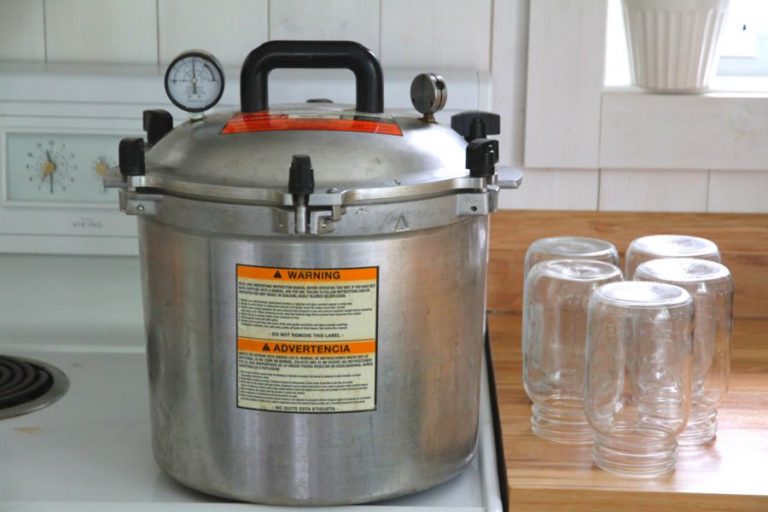
To test: spoon syrup into a small measuring cup. Place the cup in your freezer for several minutes. Once it has cooled, check it for thickness. If you are happy with it's consistency, hot syrup can be ladle into half pint (250ml) canning jars and processed in a water-bath canner according to your altitude.
At 2,000ft in elevation, it was necessary for me to process half pint jars (250 ml) for 15 minutes.
APPLE CIDER SYRUP: METHOD #2
If you have access to apples but not a cider press, this method will work for you. Instead of using apple juice, you can core apples and cook them down, achieving similar results.
You'll need:
- apple halves to fill a 3 gallon stockpot
- 1-1 1/2 C water
- 1 cinnamon stick (optional)
- 2-3 cloves (optional)
- 1-2 Tbs herbs
Directions: halve apples, removing the core. Leave peels on. Place apples and water in the bottom of a 3 gallon stockpot. Bring to a simmer and cover with lid. Gently cook until apples are pulpy and soft (approx 30 min).
Set out a bowl large enough to hold cooked-down apples and drape a straining cloth over it.
Pour apples and liquid into the cloth-lined bowl. Tie the cloth's corners together, then hang from a strong source to drip. Leave it for at least 8 hours. Be sure to set a bowl below to catch liquid.
Occasionally stop by and pour juices into a jar. Add a lid and refrigerate.
When (8 hrs later) all the juices have been released, return your liquid to a clean stock pot.
At this point you can add cinnamon and cloves, along with any herbs you may wish for. Simmer for 20-30 minutes, then strain the liquid to catch spices and herbs.
Test the syrup for thickness by placing a spoonful in a measuring cup. Place the cup in your freezer and chill for several minutes. If happy with the consistency, hot syrup can be ladled into half-pint (250 ml) canning jars.
Process according to altitude (see technique #1).
HOW TO USE APPLE CIDER SYRUP
Apple cider syrup can be used in a variety of ways. There's no end to it's creative uses!
Drizzle it over pancakes or waffles at the breakfast table. Whip it with honey and coconut oil to make an icing (or filler) for apple or carrot cake. Mix it into a mug of hot tea or even coffee.
If you infused herbs in the syrup (or even if you didn't!), use it to dress red meat. Go ahead and slather beef, lamb or venison with the goods! You can't go wrong!
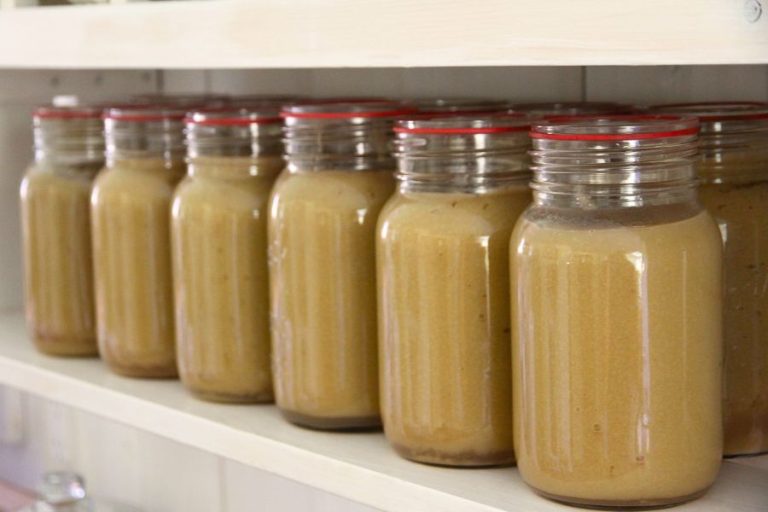
These little jars of goodness are so unique and well loved, they make a wonderful gift for almost any occasion!

Just in time! My apple trees are starting to drop. Thanks for bringing this recipe back to life from the generations of homesteaders who came before us.
Hope you enjoy making it! 🙂