Come See My Canning Room!
When my man and I designed the mountain cottage, we knew we needed a good set up for all our food handling and food preserving activities.
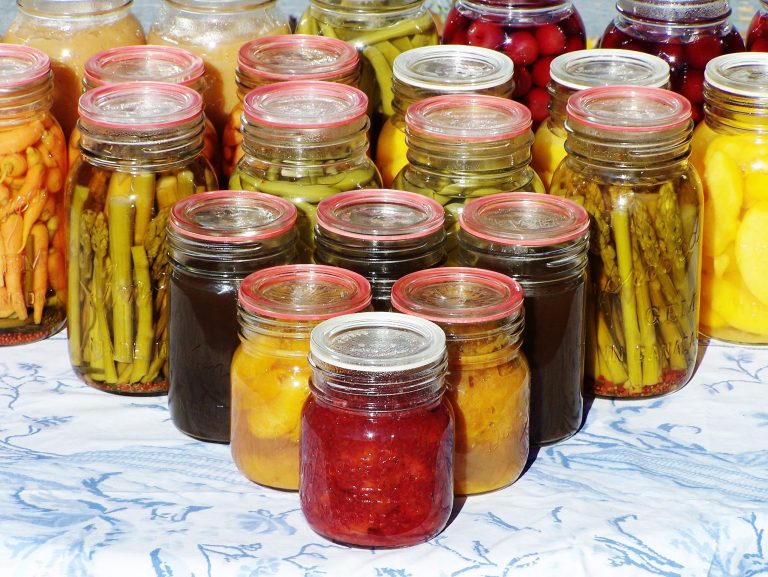
While we had plans for a root cellar (and still do!), I wanted a place just off the kitchen where I could keep our preserving equipment, the freezers, canned and fermented food items, our onions, garlic, pumpkins and winter squash.
Ideas slowly formulated in our minds, and eventually, we decided to build an 8x20 lean-to just off the north end of our home, easily accessible from the kitchen.
Seeing It All Come Together
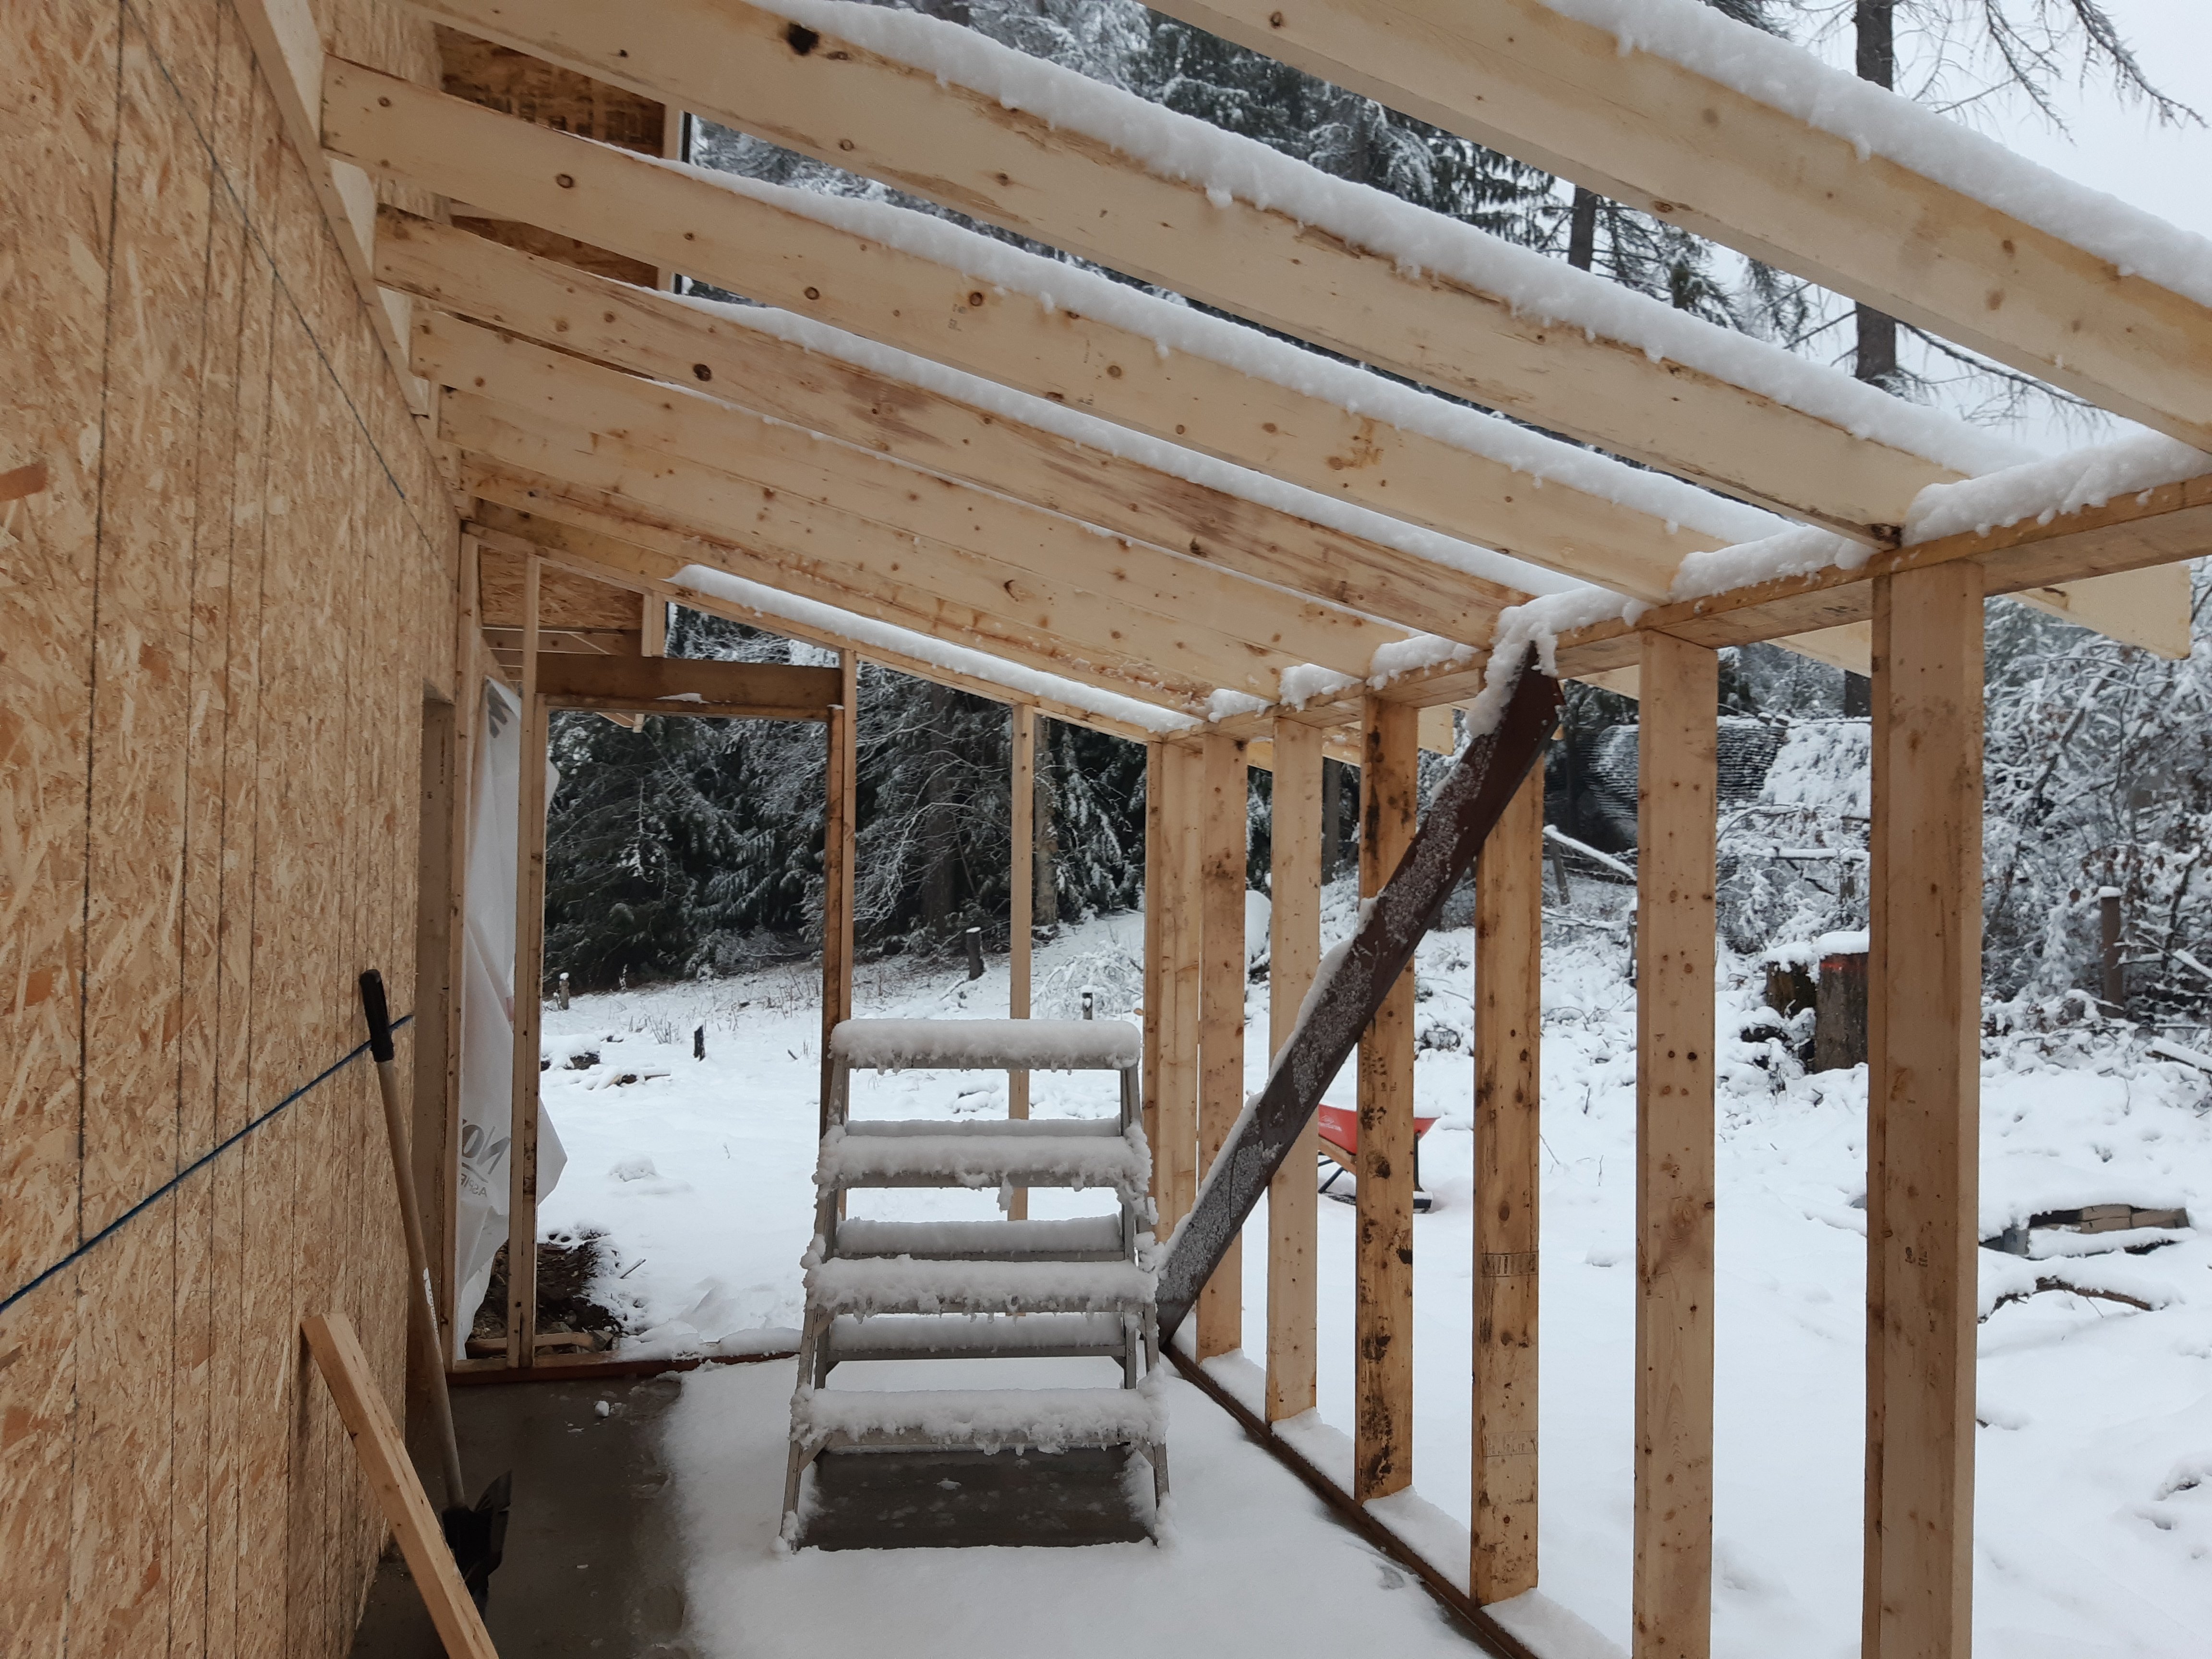
It was special, watching everything come together. I remember helping staking out the site, then leveling and packing gravel for the cold room floor. I remember standing on the concrete pad before the walls were in place, the day I had to brush snow from the trusses of this tiny room so we could put the roof on. And later on, I pulled the wires for all it's electrical boxes.
I can't believe it's finally unfolding before my eyes. It sat for a while, you know. We were busy, trying to make the mountain cottage livable. For a long time, the little canning room at the back of our lean-to was nothing more than a place where we stored our boxes and baggage.
Until recently, that is! With preserving season just around the corner, I wanted to be ready for it. Taking initiative, I began sorting and moving things out until the room was empty.
A White Coat of Paint
We had insulated and covered walls and ceiling with chipboard. Not exactly the material I'd choose for my “dream” canning room, but it was cheap and easy to tack into place.
We're all about getting it done, these days!
After slapping on a layer of primer, I painstakingly ran my roller over the chipboard, being sure to fill every crack with runny, white ceiling paint. It actually wasn't easy!
While I did want to brighten up the place, and I also wanted something wipe-able, just in case a ferment bubbled over or a canning jar broke and juices ran down the wall.
When the painting was done, it was time to put my man to work!

Building Shelves For My Canning Jars
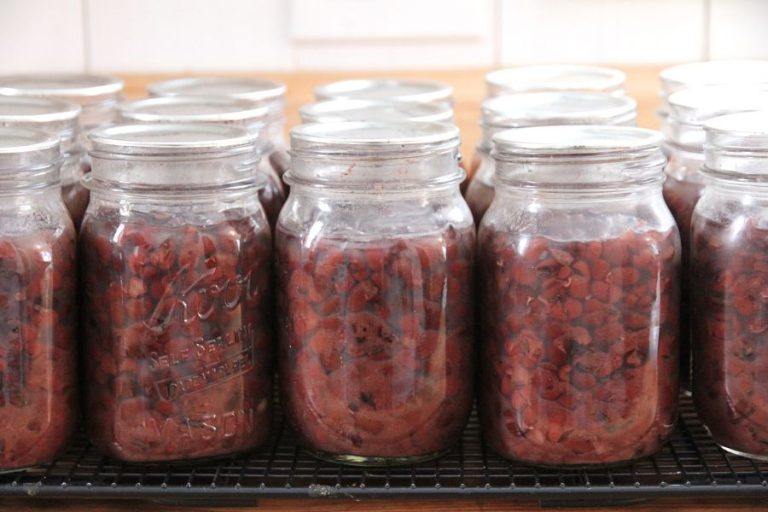
Do you know the secret to fitting hundreds of canning jars in an 8'x8' room? You've gotta build wide shelves, wide enough to hold 5-6 jars across.
My man built 3, very sturdy shelves along the north side of the canning room. I think they're pretty nifty, don't you?

All was going well, until I began unpacking. It was then that I realized my canning jar collection had grown! With over 600 jars, we needed yet another shelf!
Not wanting to add extra stress to my man's life, I built the second, smaller shelf myself, on the south side of the room. It's not as pretty as his work, but it does the trick!
This shelf catches the overflow of canning jars, is also a place where I can store my large fermenting containers, plus the large jugs/bottles I use for my homemade vinegar.
Like it?

Is This Space Finished?
Well, no. No it isn't. I'm toying with the idea of painting my shelves next spring. There's a door that needs to go in, to separate the canning room from the rest of the lean-to.

I'm also planning to fill in the extra space on the south side with a long, low work table. I know what I want, but we're going to have to build it ourselves. Which means (e-hem!) it won't happen for a while yet!
Above my work table, I'm going to have some open shelving for my dried herbs, tea blends and anything else I need might need a sturdy shelf for!
So no, this tiny space isn't finished!
Before it is, I'll likely be showing you the other portion of our cold room. I have to confess, it's not as exciting as canning jars, stoneware crocks and old bottles. But it does play an important role in preserving our home-raised food for the table!
I'll let you know, just as soon as we have it finished!
love your site but have a question. I can not read alot of the articles all the way because an ad pops up on the left side of the screen that blocks the content of your site. There is no where I can see how to turn this off. Could you tell me how?
Hey Tina!
I just started running ads and we're having some problems with it. The ad network team assured me this issue should be resolved in the next 48 hours.