• Skip to primary navigation
  • Skip to main content
  • Skip to primary sidebar
  • Skip to footer

a traditional life

traditional kitchen, garden and pantry

  • Home
  • Kitchen
    • decor & design
    • Natural Kitchen
  • Homemaking
  • Recipes
    • Tips & Tutorials
    • Fermenting
    • Good Recipes
  • Preserving
    • Dehydrating
    • Freezing
    • Pressure Canning
    • Waterbath Canning
    • Cold Room Storage
  • Farm & Garden
    • Country Life
    • Herbs & Flowers
    • Vegetable Garden
    • Small Creatures

How to Poach Duck Eggs

I am an affiliate for Amazon Services LLC Associates Program. Make a purchase through the links I share, and I’ll get a small commission, without it costing you extra. Thank you for your support!

March 23, 2017 by Autumn Leave a Comment

When the spring arrives on the farmstead, so does an increase in egg laying production. Spring is the time to experiment with eggs and in light of this fact, it’s high time I showed you how to poach a duck’s egg to perfection!

In my mind, it has no rival! Whites are firm and the yolks are a heavenly, creamy yellow that almost melts in your mouth. A bit of salt, a dash of freshly ground pepper…oh yes!

Let’s get into this, shall we?


What is a Poached Egg?

To poach an egg, you crack it into a pot of lightly boiling water. When cooked throughout, it is scooped from the hot water and placed in a bowl, sprinkled with salt and pepper. In most cases, its rapidly consumed!


How to Poach Duck Eggs to Perfection

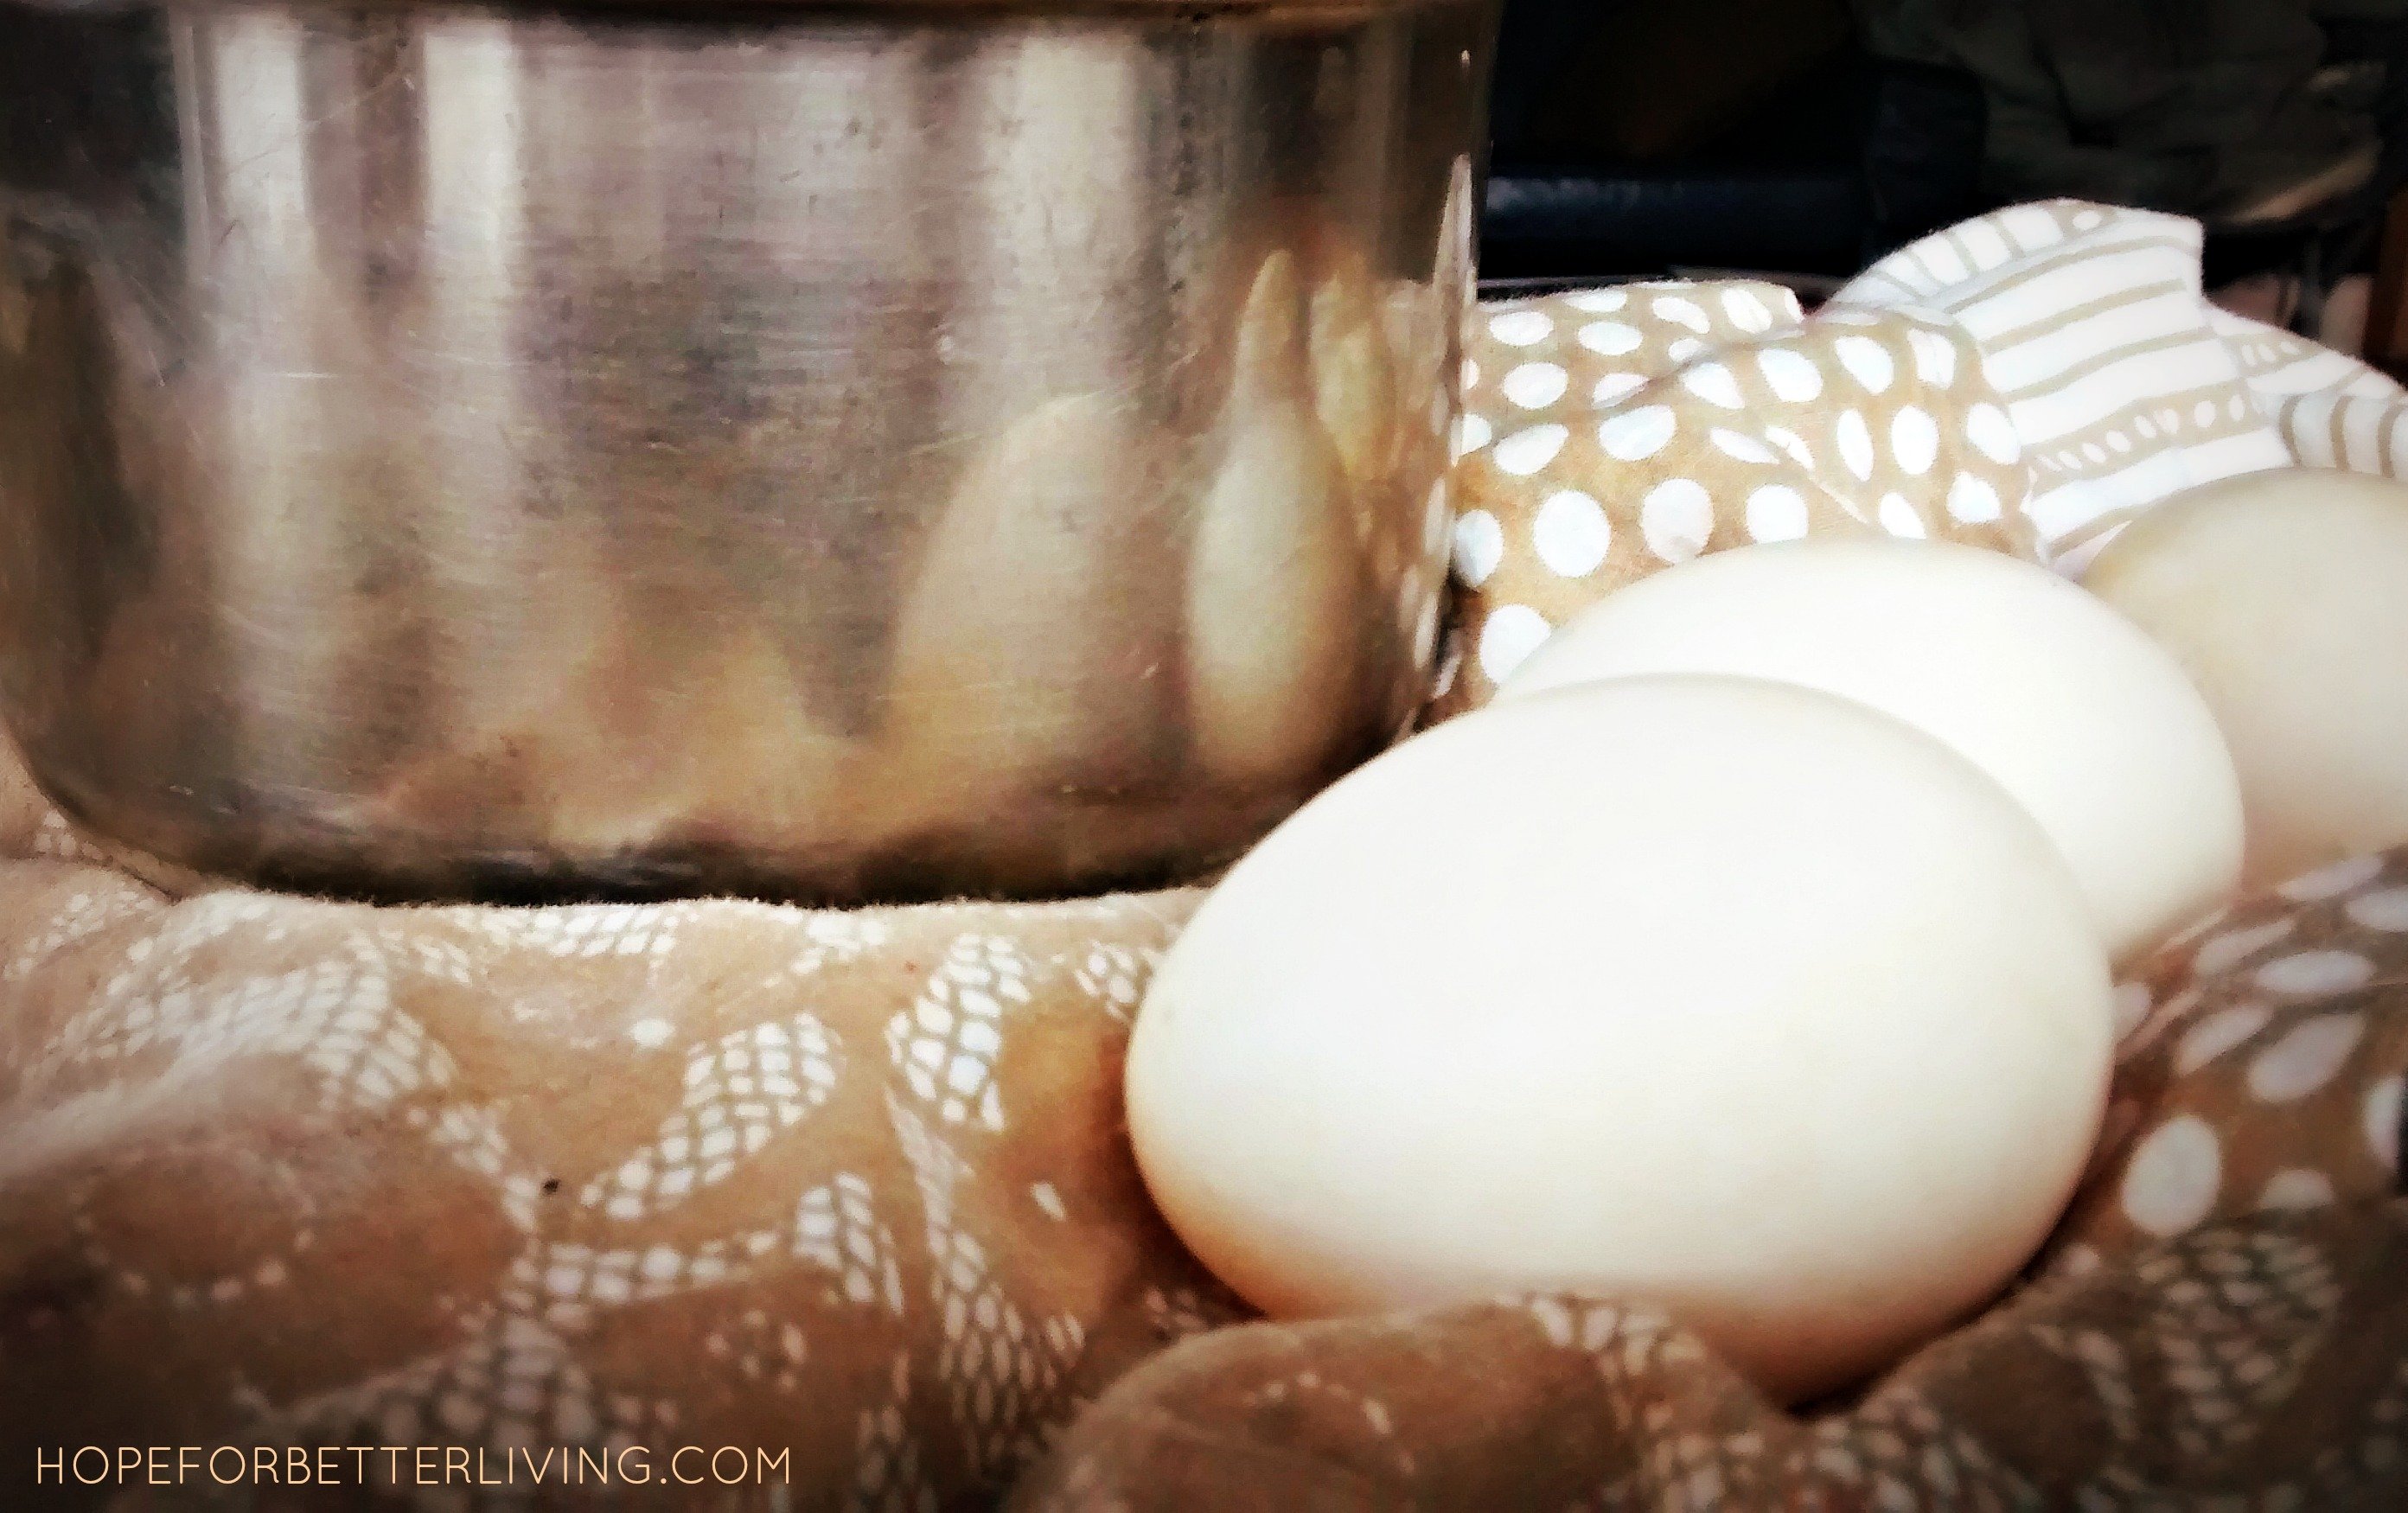
  1. Add 2 inches of water (enough to cover egg yolks) to a stainless steel pot and set to boil on the stove top.
  2. When water moves past a simmer into a boil, remove from heat.
  3. Quickly grab eggs and crack on the edge of pot.
  4. Gently deposit shell’s contents into pot by keeping hands as close to water as possible. Try to avoid jostling eggs whites around.
  5. Quickly add more if desired, but when the bottom of the pot is covered, stop.
  6. Return to heat and bring back to a light boil soon as possible. The goal is to keep eggs intact and to keep them from sticking to the bottom of pot.
  7. After a minute or two, an egg-white film will develop over the yolks.
  8. Don’t cover the pot with a lid or a boil-over is sure to occur! Simmer until done, approx 4-5 minutes.
  9. Take a skimming spoon and remove eggs, draining excess water off.
  10. Immediately rinse off pot and skimming spoon with hot, hot water or egg whites will stick. Rub with dish cloth or scrubbie to remove all residue.
  11. Enjoy your duck eggs! Sprinkle with pepper, salt or whatever suits your taste buds.


Save

Save

Save

Save

Share with someone else!

Previous Post: « 5 Ways for Urban Dwellers to Access Fresh Produce (without a Grocery Store)
Next Post: How to Access Free-Range Chicken Without Raising It »

Reader Interactions

Leave a Reply Cancel reply

Your email address will not be published. Required fields are marked *

Recipe Rating


This site uses Akismet to reduce spam. Learn how your comment data is processed.

Primary Sidebar

  • Email
  • Pinterest
  • YouTube

hey you!

hey you!

I'm Autumn. Join me in the simple cottage life and learn how to keep a traditional kitchen, garden and pantry!

  • Ad Free Login
  • Privacy Policy
  • Disclosure
  • Ad Free Subscription

Footer

Shop Amazon

I am an affiliate for Amazon Services LLC Associates Program. Make a purchase and I’ll receive a small commission.

Go HERE to shop USA

Hey you!

I'm Autumn. Join me in the simple cottage life and learn how to keep a traditional kitchen, garden and pantry! Read More…

Copyright © 2023 · Midnight theme