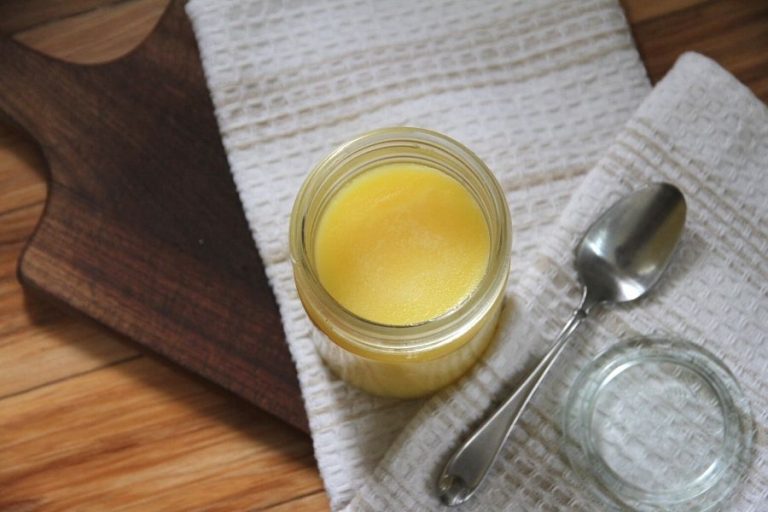
Make Yogurt at Home: Raw and Pasteurized Method
It's very easy to make yogurt at home. Contrary to what I used to believe, you actually don't need special ingredients or unique equipment! In this blog post, I'm going to show you how to make both raw and pasteurized yogurt in your own kitchen!
How to Make Yogurt at Home
Traditionally, yogurt was made with warm milk from the home dairy. Women didn't have thermometers in those days (obviously), and each family made yogurt a bit differently. This “family knowledge” was passed down from parents to children and was a learned skill.
It's different for you and I today! Very few of us had mothers who taught us how to make yogurt at home. And most of us will have to purchase our milk at the grocery store, along with a yogurt that has the right bacteria cultures for a starter.
In this day and age, we rely on the internet to teach us what we didn't learn from parents. It may not be second nature to you, but the process is simple and over time, you will discover what works best for you.
To learn how to make yogurt, just keep reading or watch my most recent youtube video!
Ingredients You'll Need
To make your own yogurt, you only need two ingredients: milk (either raw or pasteurized) and store-bought yogurt with active bacteria cultures.
Really. That's all!
Equipment You'll Need
When it comes to equipment, you'll need a pot to warm your milk, a thermometer for gauging temperatures, glass jars to hold your culturing milk and also a cooler for keeping things warm!
Here's how the process works.
Step 1: Source Yogurt With Active Bacteria Cultures
It doesn't really matter which brand you choose. The key thing is that you read the ingredient label and make sure the yogurt contains active bacteria cultures. Without the culture, your milk won't become yogurt!
How much do you need? For 1 gallon of milk, you'll need approx 8 Tablespoons of yogurt (126 gm or 127 ml).
Buy your yogurt. And buy your milk, if needed.
Step 2: Warm Your Milk
After you've decided on how much milk you're going to work with, pour it into a large pot and slowly warm it up on the stove under medium-low heat.
There are two types of yogurt you can create and each type is dependent on a particular temperature range.
If you are lucky enough to have a source of raw dairy and desire to create a raw milk yogurt, you should only heat the milk to 110F (43C). It won't take long!
However, if you are working with already pasteurized milk or desire to create a pasteurized yogurt? Heat the milk until it reaches 200F (93C). Be sure to stir often to avoid burning the milk on the bottom! A double boiler isn't a bad idea when working with large amounts of milk.
Longer ago, women literally dipped their hand in the milk to test for proper temperatures. They just knew. In your case, I recommend getting a cooking thermometer. I personally use this one for my yogurt making!
Step 3: Clean Jars and Lids
As you wait for your milk to heat up, gather and wash glass canning jars in hot, soapy water! You can make yogurt in pint (500ml), quart (1 litre), or even half-gallon (2 litre) jars.
While you certainly can use old canning lids and bands on the jars, I like using these lids because they come in one piece!

Step 4: Add Yogurt With Active Bacteria Cultures
If you are making raw milk yogurt, you can ladle warm milk into clean jars as soon as it reaches the proper temperature! Culture starter can be added immediately.
However, when working with pasteurized milk, you must allow it cool down, lest you kill the yogurt bacteria culture. Use your thermometer to check the temperature. Once it reaches the 115-120F (43-49C) range, it's time to add your yogurt with live bacteria cultures.
Here's the ratio of milk to culture starter:
Pints (500 ml): 1 Tablespoon of yogurt
Quarts (1 litre): 2 Tablespoons of yogurt
Half gallon (2 litres) 4 Tablespoons of yogurt
Be sure to stir the yogurt in until it has dissolved! Fasten lids into place and then, put your milk in warm place and so the bacteria culture can go into action!
Step 5: Find A Warm Environment
There are many ways to create a warm environment for your yogurt! I'll list a few ideas here.
-
Turn your oven light on at the beginning of the process and once everything is finished, set the yogurt inside to culture.
-
Wrap your jars in several layers of towel and leave them to work in a warm location.
-
Set your yogurt on a shelf above a wood stove.
-
Fill a cooler with warm water and set your jars in it.
I must confess, the last option is my favorite! Take a cooler and add 115-130F (43-54C) water to it. Make sure your jar lids are fastened tight, then place each jar into the warm water. Ideally, the water should come within 2-3 inches of the top of your jar. Leave the lid exposed.
Close the cooler's lid and leave it in a warm location. Let things sit for 12 hours, then remove jars from the cooler.
Tip: the longer you leave it to ferment in warm temperatures, the more tangy your yogurt will be!
Step 6: Refrigerate and Use
Once your yogurt is finished, remove it from the cooler. I like to spread a towel and the counter and set my jars there to dry. After this, I place them in the refrigerator!
If you wish to customize the flavor of your yogurt, you can pour it into a kitchen blender and add in honey, jams, maple syrup or berry sauce.
Just be sure to hold some plain stuff back so you can use it as starter for your NEXT batch of homemade yogurt!


This was the best, most succinct directions for raw milk yogurt I've ever seen. Thank you for being quick and clear in your instruction! I'm signing up for the newsletter or whatever else you have because I love a quick and dirty lesson without a lot of fluff.
I'm looking forward to trying this the raw milk way. I've done pasteurized milk before and I've also used raw milk but thought I had to super-heat it. Glad to see I don't .
Blessings!
I’m interested in making yogurt with low-temp pasteurized milk. Would it be better to follow the raw milk directions or the pasteurized directions?
Raw milk directions! 🙂
Hi! Thank you for all the information! I’m wondering: if using an already pasteurized milk, what is the purpose of heating the first time around? …Why would that be necessary ?
Milk needs to be warmed to activate the fermenting process and allow the bacteria culture to work and turn the milk into yogurt. 🙂
It’s not necessary. I make yogurt from pasteurized milk but I only heat it to 115 degrees and then add culture. No need to heat way up again. That was already done when it was packaged.
I was wondering if you have any tips for making thicker yogurt? Mine tends to come out runnier then I like. Still good but I’m hoping to improve. Thanks!
I usually just gather up my yogurt in a cloth and let some of the whey drip through, until I have a thick, fatty yogurt. 🙂
What I do is once my yogurt is finished fermenting, I take a colander that I lined with several sheets of cheese cloth and set it over top of another large bowl . And then set the whole thing covered into the refrigerator for another 24 hours. This allows the whey to drain from your yogurt and what is left is a thicker creamier Greek yogurt. The longer you let it sit and drain the thicker it will get.. and this is actually called yogurt cheese, similar to cream cheese.
I didn't realize it was called yogurt cheese. I do the same thing but with a clean flour sack towel to line the colander instead of cheese cloth. I then safe the leftover whey for baking or mixing in soups or smoothies.