Basics on Making & Pressure Canning Bone Broth
Bone broth is a staple in many frugal and health conscious homes. Try it once and you'll understand why! What's that? You don't know how? Then let me walk you through the basics on making and pressure canning bone broth!
What Is Bone Broth Made From?
Bone broth is made from bones of mammals, poultry and even fish. By simmering bones in water for long periods of time, nutrients and minerals are leached out into the liquid, resulting in a highly nutritious broth.
Helpful tip: if you want to add a lot of collagen to your diet, try making my easy chicken feet broth for an extra kick in your diet!
How to Store Bones
If you don't butcher your own animals, you can use baked or roasted bones for making broth. After cooking your meat, pull the bones out, pop them into a Ziploc bag and toss your collection in the freezer. Keep adding to the bag and once you have enough to fill a pot, you can create a broth.
Those who butcher and process their own meat have it easy! When dealing with large animals I recommend setting the bones aside. Use a saw to cut them into manageable lengths, then freeze until you have time to make bone broth.
Are you a hunter? You can use wild game bones in the same way. However, be cautious with deer! If you live in an area that has experienced an outbreak of Chronic Wasting Disease, always get your animal tested! This disease can be transmitted to humans and you should be especially wary of using the bones.
How to Make Bone Broth
While the making of bone broth is a long process, its very simple! Cover the bones with water and simmer for 8-48 hours on your stove top. I love using our outdoor gas stove for this purpose!
Add water to your pot every 3-4 hours to ensure the bones are always covered. You may wish to add a glug of vinegar, some salt, favorite herbs or seasonings. Some people even add veggies for a richer flavor!
Once you are happy with the strength of the broth, it should be strained through a cloth to catch small bones and bits of meat. Because pressure canning recipes are for broth only, be sure your liquid doesn't contain solids.
Also strain off the fats and oils; they aren't safe to pressure can!

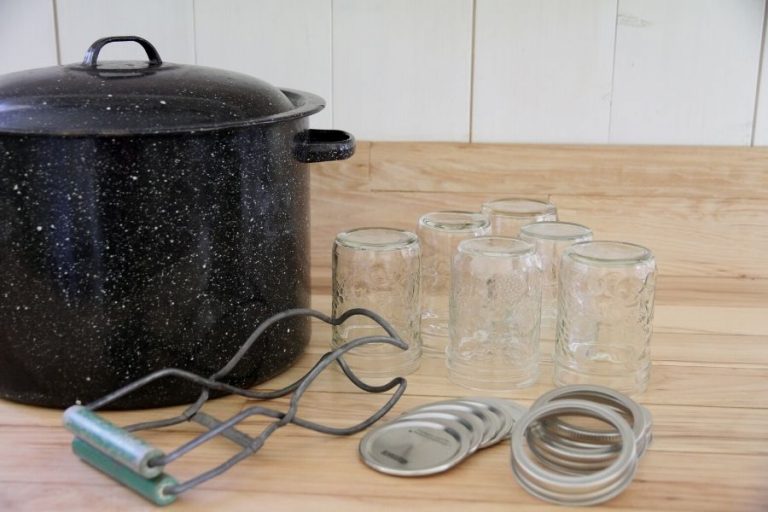
How to Pressure Can Bone Broth
If you don't have time to process your broth immediately, it can be refrigerated for up to 10 days. If refrigerating, allow broth to cool before doing so.
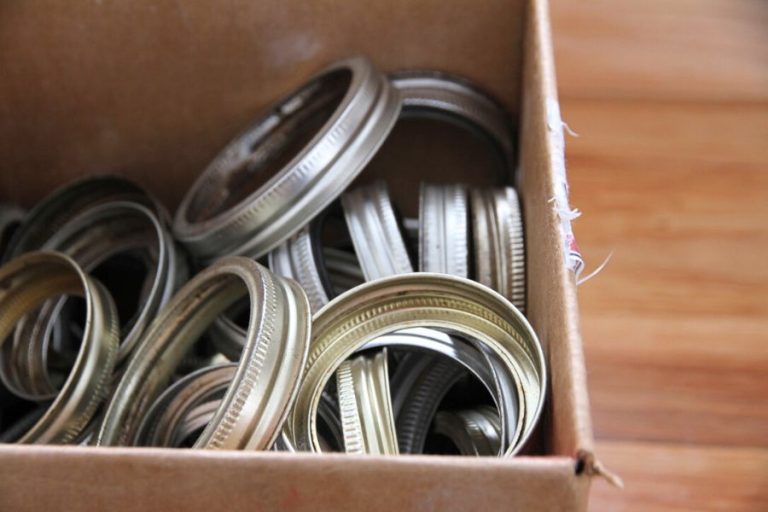
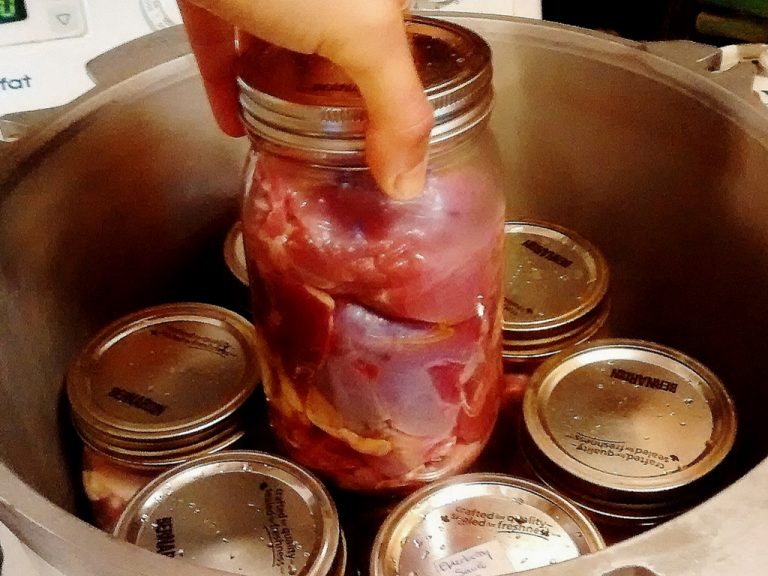
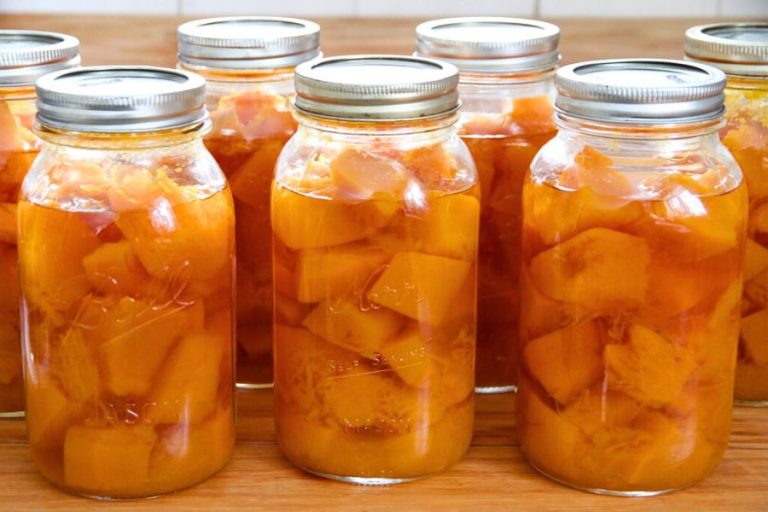
When you are ready to process the broth, heat it to a rolling boil and set your timer for 10 minutes. Ladle hot liquid into hot canning jars and process in a pressure-canner according to the instructions that came with your manual.
I use a weighted gauge pressure canner. At 2,000 ft in elevation I must (according to my pressure-canner’s instructions) process quarts at 15 lbs pressure for 25 minutes.
Allow the canner's pressure to return to 0 before removing the lid. Gently lift the jars out and set them aside to cool. Test seals after 12 hrs have passed. Those that failed should be refrigerated. The rest can be stored in your pantry!

How to Use Bone Broth
The obvious way to use your broth is as a base in soups, stews and chili. We also use it in gravies and meat pies. Sometimes, I poach morning breakfast eggs in the broth. Get creative! It's there for you, whenever you need it!