How to Pressure Can Green Beans with Flavor
When it comes to preserving vegetables, I usually prefer to use my freezer. There's something fresh-like about frozen produce, something you don't get with home canned food! And in the face of saying such, I must also tell you: I do still pressure can green beans in small amounts every year.
I readily confess that when I first began doing so, I didn't enjoy the bland flavor! After a while, I almost gave up and totally would have, had I not discovered how to pressure can green beans with flavor! Today, this is the only recipe we use in our home!

HOW TO PRESSURE CAN GREEN BEANS WITH FLAVOR
You'll need:
- 9 lbs of green beans (or enough to fill 9, pint (500ml) jars)
- 2 peeled garlic cloves per jar
- pinch of dried dill seed per jar
- 1/2 tsp salt per jar
- 10 C (2 litres) of water
Directions: pour 10 C of water into a pot and bring to a boil on the stovetop. Meanwhile, wash your jars and prepare canning equipment.
Once it has boiled, keep the water hot until ready to use.
In the bottom of each pint jar, place garlic cloves, dill seed and salt.
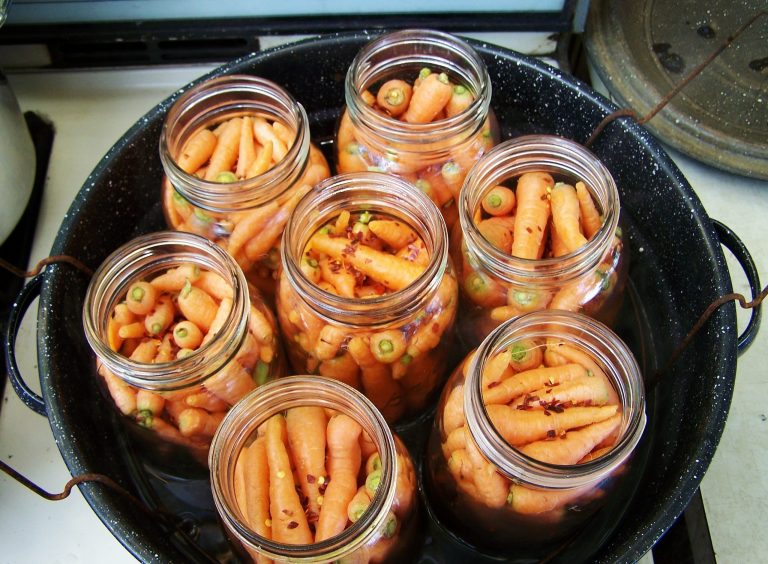
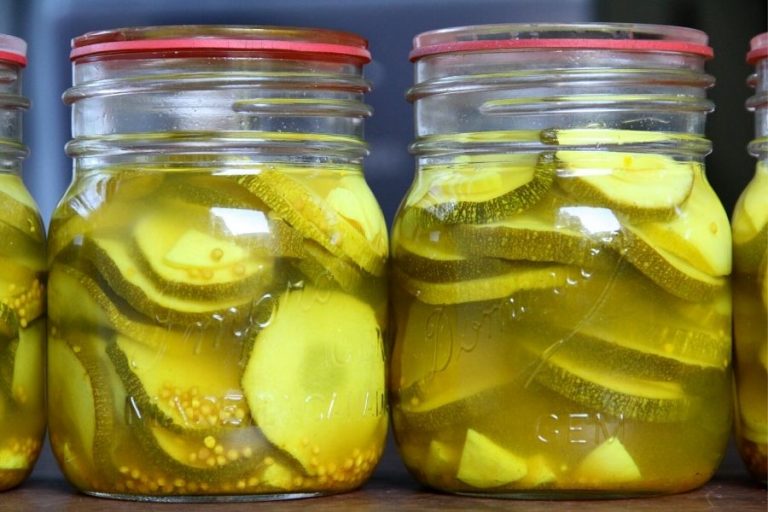
Important note: I used to can green beans in quart jars (as shown in photos), until I realized they required longer processing times. In order to serve a 'firmer' bean at my dinner table, I now preserve my green beans in pint (500 ml) jars.
Wash your beans and string, if needed. Remove the ends. Snap each bean into halves or thirds, filling jars as you go. Be sure to leave 1 inch of headspace.
Once you have finished filling the jars, it's time to add hot water!
Slowly, so as to avoid cracking the glass jar, ladle hot water over the green beans.
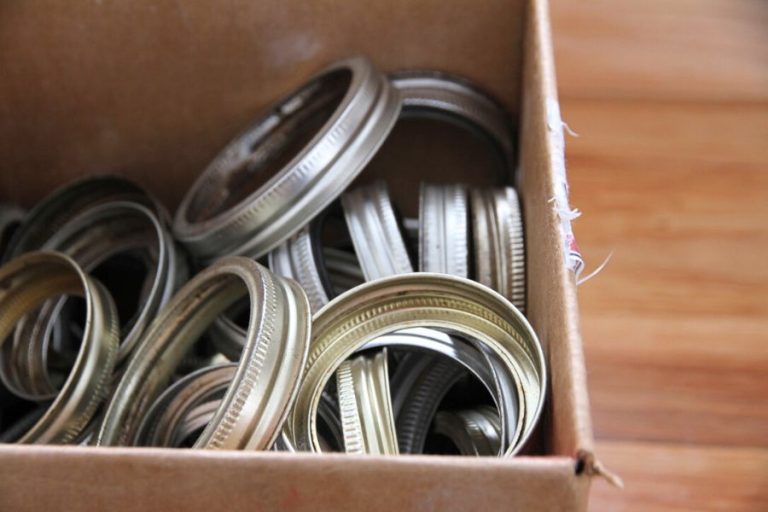
Fill until there's only 1/2 inch of head space in each jar. Wipe the glass rims clean, then put canning lids in place. Tighten bands to fingertip tightness.
Add water to the pressure canner as directed in your owner's manual. Gently set filled and lidded jars in the bottom. Process according to your manual and altitude. If you are uncertain about how to pressure can beans, you can find current answers to your questions at the National Center for Home Food Preservation.
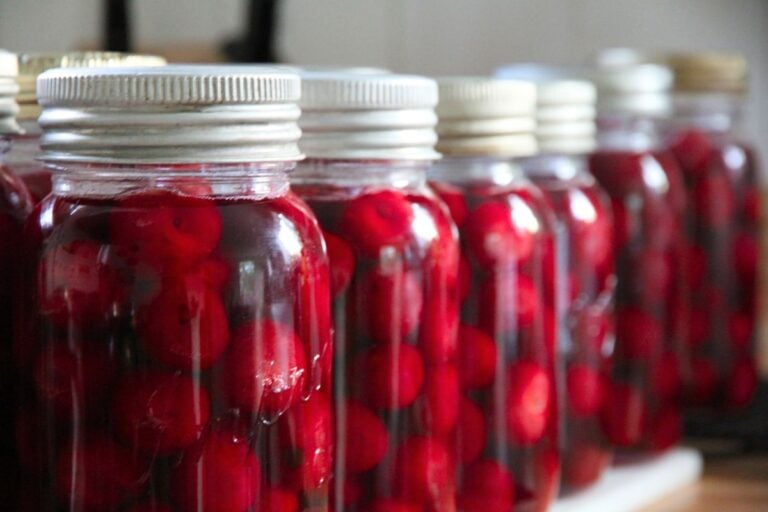
After processing and waiting for pressure to return to 0, remove jars from your canner. Let them sit for 24 hours before disturbing. Then, check each one for a good seal. If they pass your inspection, remove the band and store goods in your pantry or root cellar.
To be used at your leisure (or at the rushed dinner hour!).