Fermented Pickled Carrots Recipe (with 3 variations)
Learn how to make fermented carrots for a delicious snack, using store bought carrots, fresh carrots from the garden, or even young carrots you've thinned from your garden beds!
Fermented carrots are a tasty treat you can quickly prep in your kitchen for a side dish or go-to snack.
It doesn't take long to create a brine or prep your carrots. And after you put everything together, all you have to do is wait for good bacteria to work.
Push your carrots to back of your kitchen counter and after a few weeks, you'll have pickled carrots loaded with that tangy flavor you can only get with lacto-fermented vegetables!
But you don't have to make plain, fermented pickled carrots. I'm going to give you 3 variations in flavoring, so you can change things up in your kitchen!
Where to Get Carrots for Fermenting
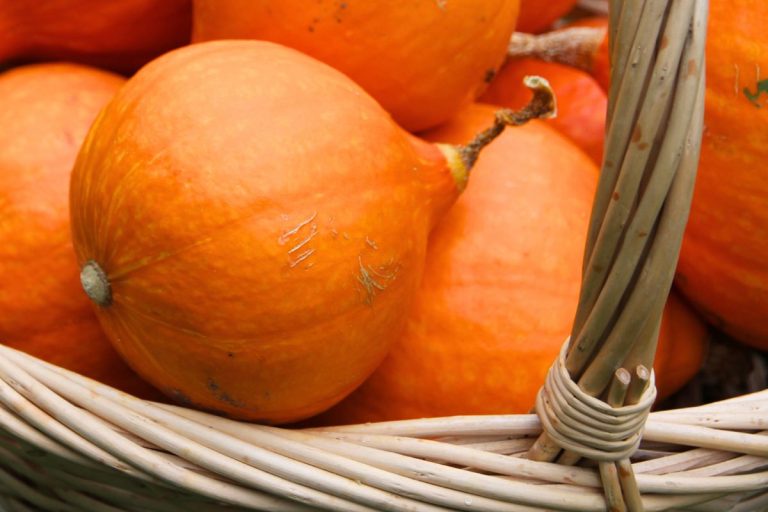
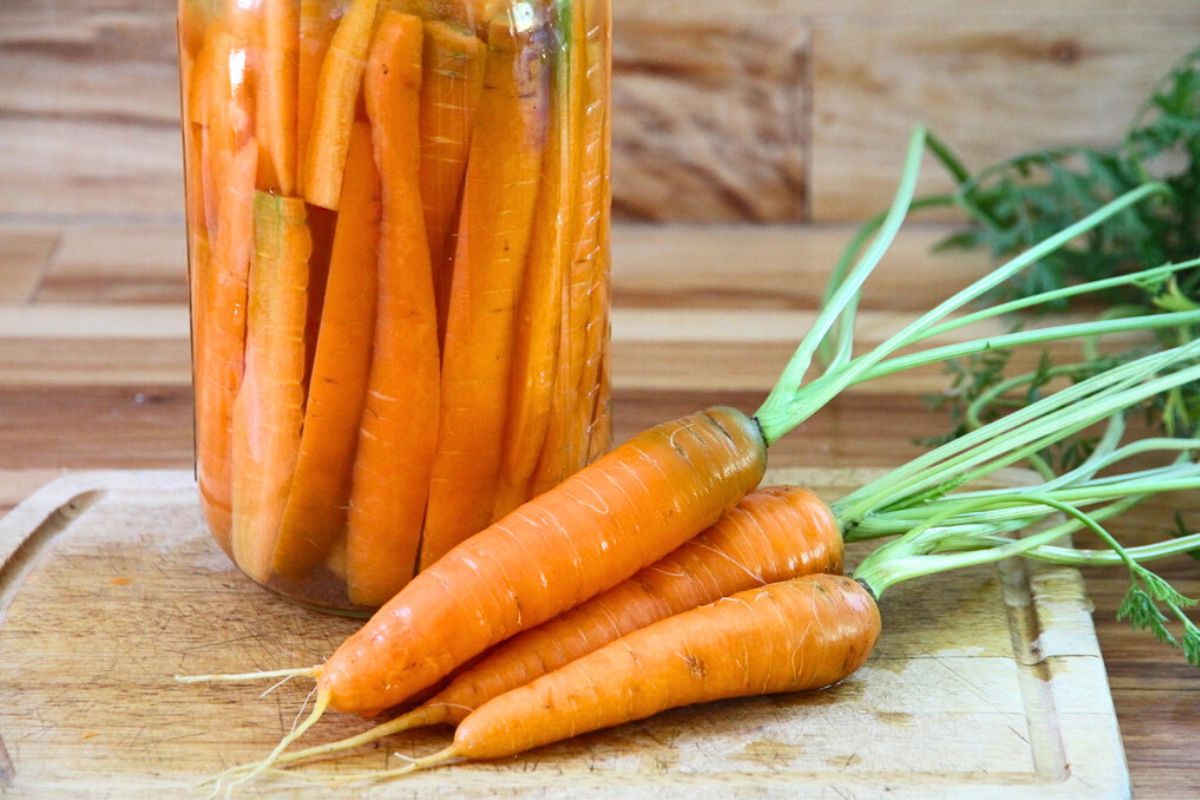
If you can, try to use organic carrots for fermenting. Better still, get freshly harvested roots from a local grower or (even better) your own garden!
You just can't beat the taste of home grown carrots. Whether you eat them fresh, cook them in butter or use them to make easy fermented carrots, the flavor is rich.
Fresh roots are the best for making lacto-fermented carrots, because they have full flavor and are rich in vitamins and minerals. They also have intensified sugars which makes a stronger ferment.
Helpful tip: if you're a gardener, try fermenting the little carrots you thin from your carrot beds. They have all the sweetness of the carrot that makes for a bold and delicious ferment!
Tools You'll Need
- half gallon jar (2 litre) with lid
- wooden spoon for stirring
- wood cutting board
- large kitchen knife
- optional: glass fermentation weights
- casserole dish
Helpful tip: glass weights aren't necessary, but they can be nice if you're struggling to keep your carrots submerged under the salty brine.
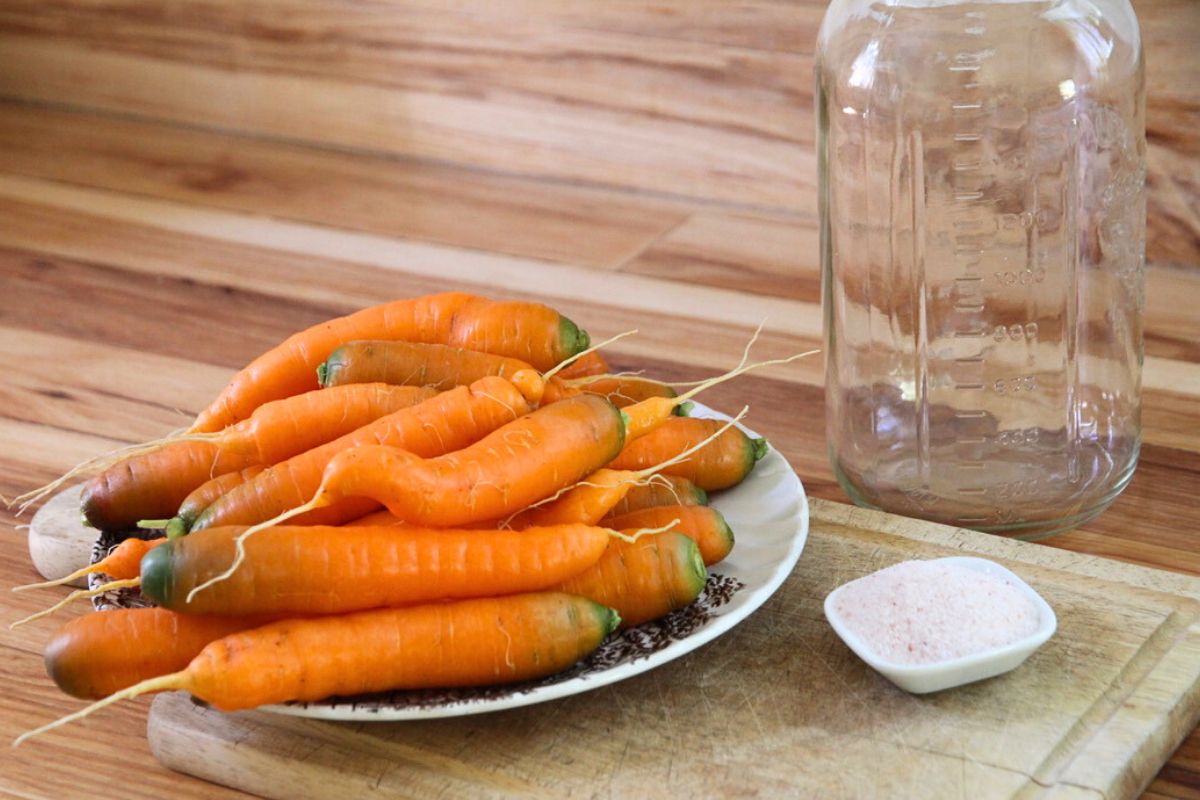
Ingredients
- 3 tablespoons of salt (I use sea salt or Himalayan)
- 4 cups of water
- organic carrots
- mature carrots: 2.25 pounds (1 kg)
- small thinned carrots from garden: 1.9 pounds (900 gm)
- optional: garlic, ginger, hot peppers, etc
Key Components for Fermenting Carrots
Fermenting is an ancient method of pickling, that easily outdates home canning. Keep fermented food in a cool place, and it'll last for months.
The key to a strong ferment laden with good bacteria is 1) water, 2) salt, 3) proper temperatures.
Water
Carrots need to be submerged under water for this type of fermenting. Water draws juices from your carrots, so good bacteria have food to feed on.
If your water has too much chlorine or fluoride, it can slow or kill lactic acid bacteria. Always use non-chlorinated water, or at least filtered water for your fermenting projects.
Salt
Without salt, your carrots will spoil. Salt helps water draw juices from the root vegetables, so good bacteria have sugars and nutrients to feed on.
It also keeps bad bacteria away, until healthy bacteria have a chance to take over and dominate the jar. Using more salt will increase the strength and sourness of your finished ferment.
Helpful tip: if you like additional sourness, add an extra tablespoon of salt to this recipe for extra zing!
Temperatures
Most folks don't realize temperatures play a HUGE role in the lacto-fermentation process! The various bacteria groups thrive under particular temperature ranges.
When fermenting carrots or other root vegetables, you want to leave jars of carrots to ferment at room temperature, which should range from 65-75F (18-24C).
If your home gets hotter than that, your carrots may spoil and develop slime on the surface of the brine.
And if you drop below the 60-65F (16-18C), beneficial bacteria will be slow to take hold and your carrots might spoil before fermenting.
Now don't worry! A bit of fluctuating won't hurt. Temperatures can go a bit lower or higher than the ideal, as long as they don't stay there.
How to Make a Salt Brine
Unlike so many folks think, you don't need to add vinegar to your brine. So skip the white vinegar or apple cider vinegar! Salt and water will do the trick.
For a quick brine, measure cold water into a glass jar and add your salt.
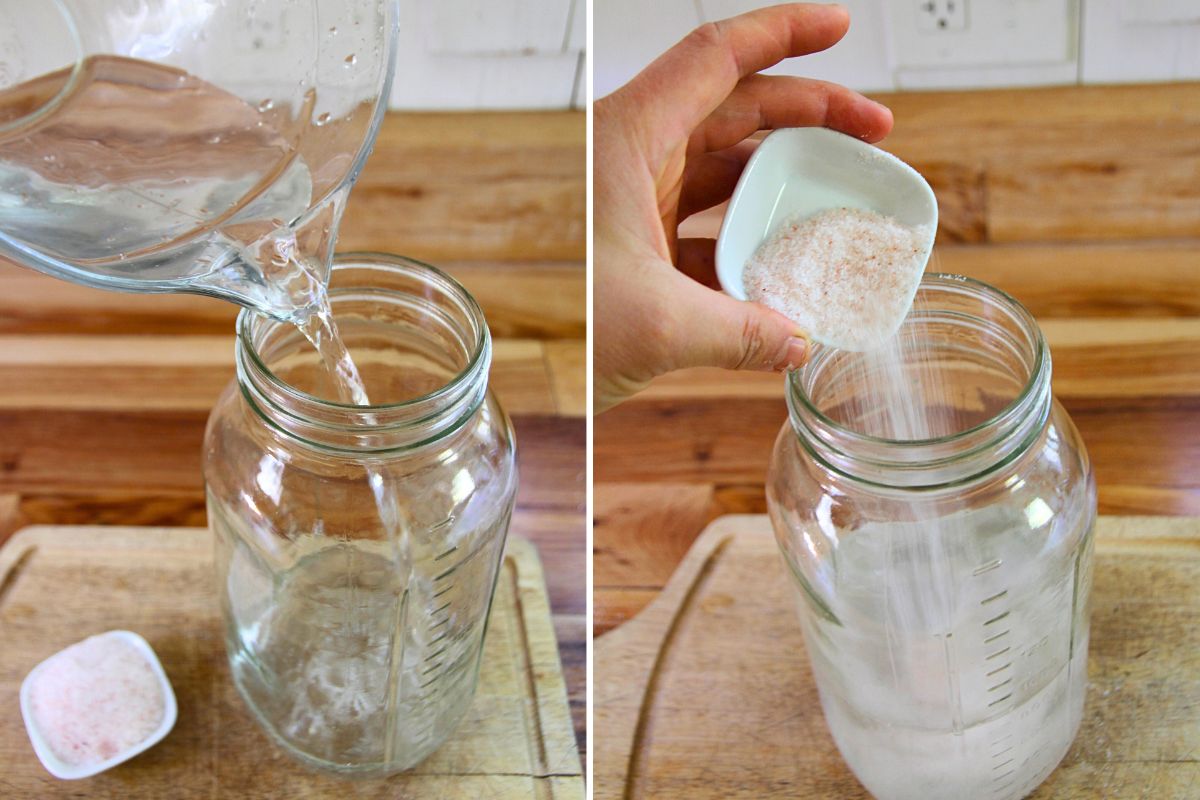
Give the salt water a good stir with a wooden spoon, then let things sit while you prepare your carrots.
Don't worry! The salt will dissolve, especially if you give it another quick stir before adding carrots.
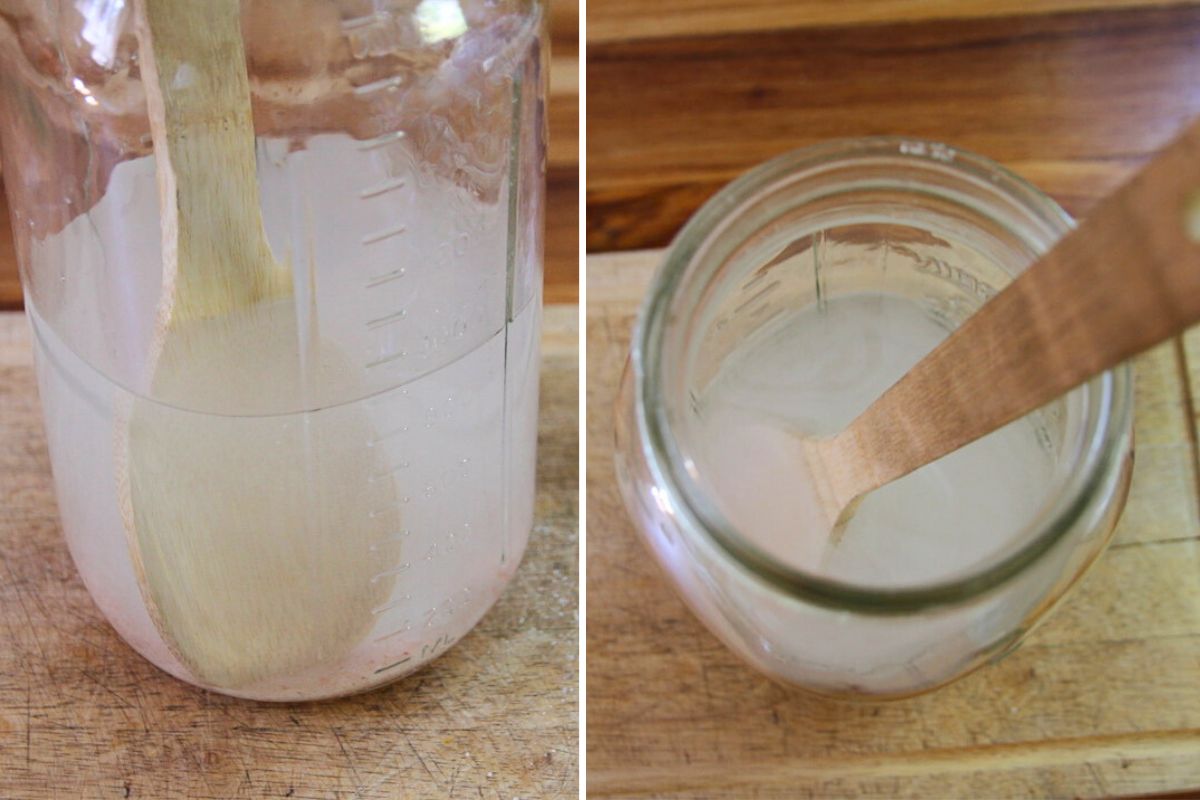
Helpful tip: if you don't want to measure water, just fill the jar half-full, and that should be close enough. You can always top things off with water, or pour a bit off.
Tips for Preparing Carrots
Grocery Store Carrots: always peel carrots from the grocery store. Skins often carry bad flavor from sprays and treatment, and you don't need that in your ferment!
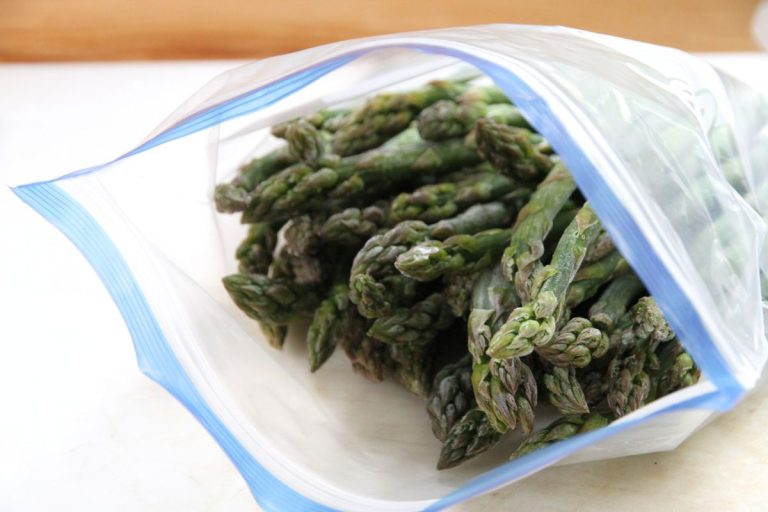
Fresh Carrots: always scrub carrots to remove dirt before you stuff jars. This goes for full size roots, or finger-size carrot thinnings from the garden.
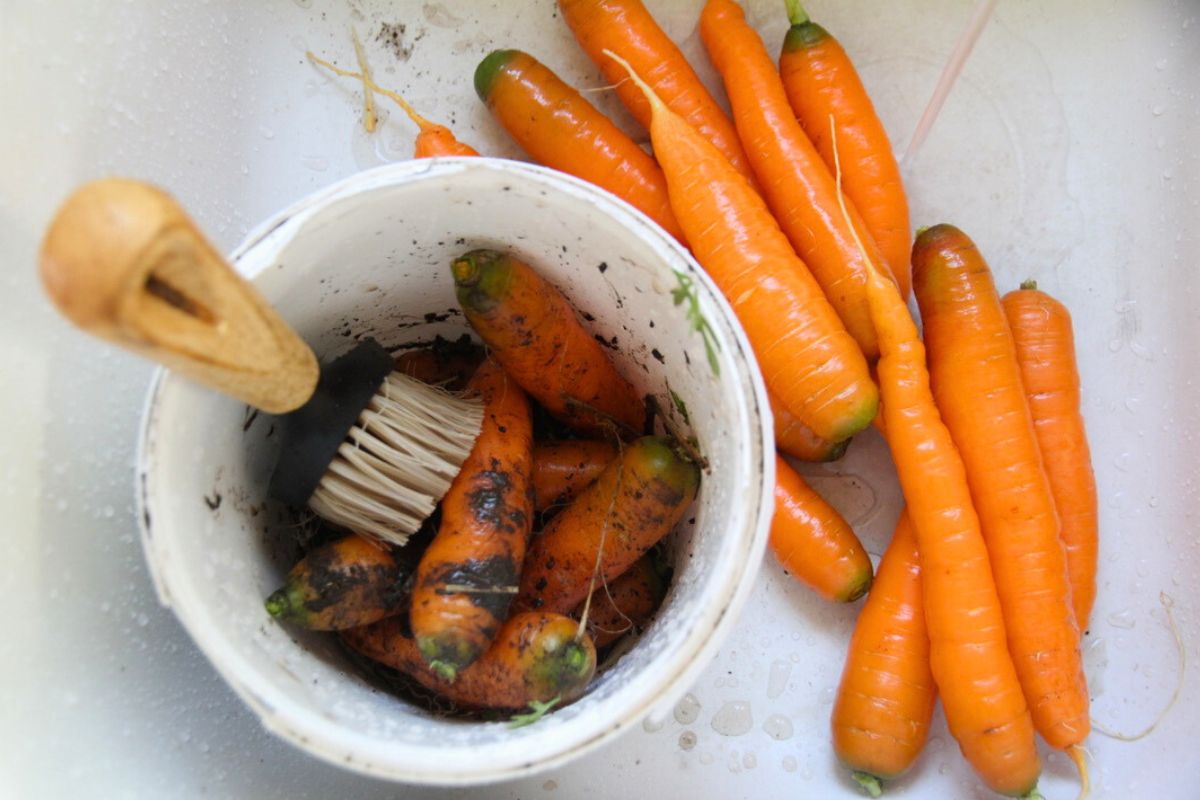
- As a precaution against dirt, cut off the top of each carrot, where the greens were attached.
- Remove any wispy, string-like roots that might float to the surface of your brine and mold.
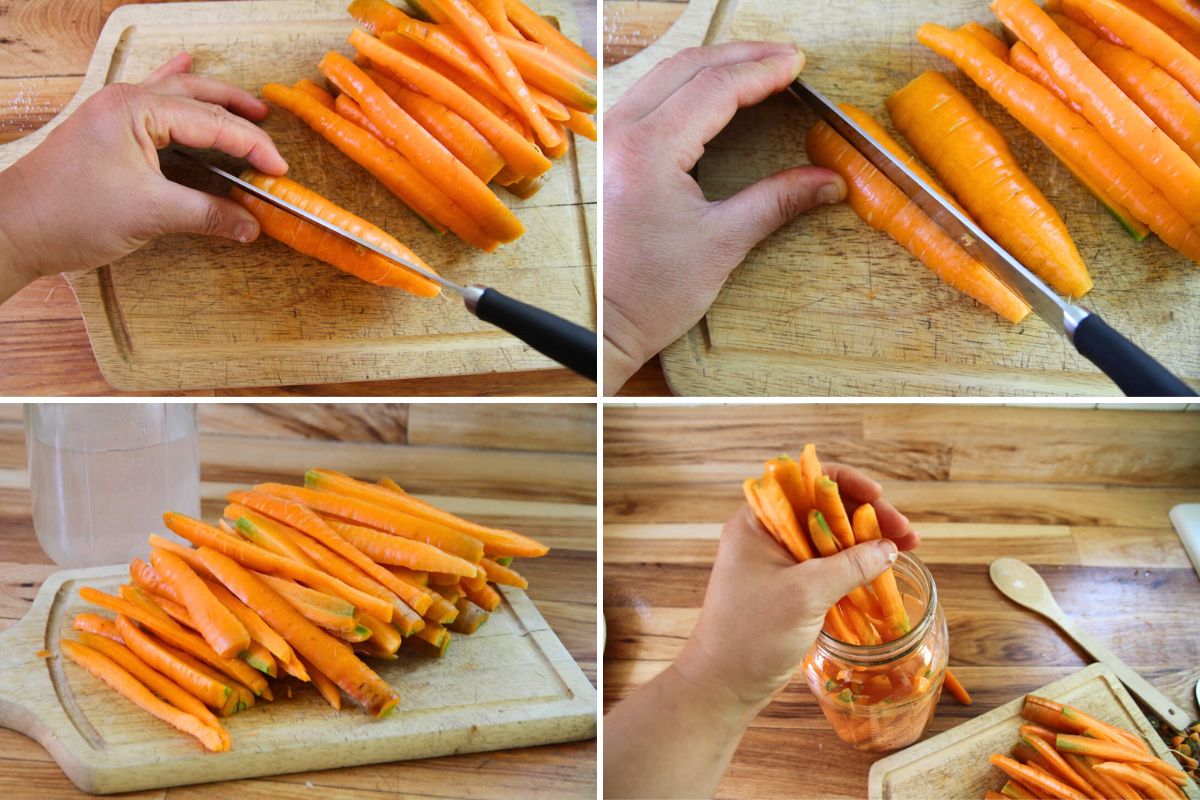
- Slice roots into carrot sticks, so water can easily draw out juices (exception are finger-size carrot thinnings from the garden).
Tips for Filling Jars
- You don't need to boil water to make a brine; just stir salt into cold water and let it dissolve while you prep carrots.
- If you plan to use ginger, garlic, hot peppers or fresh herbs for additional flavor, drop them into the jar of salt water before adding carrots, so they don't float.
- Slice carrots to whatever length you desire.
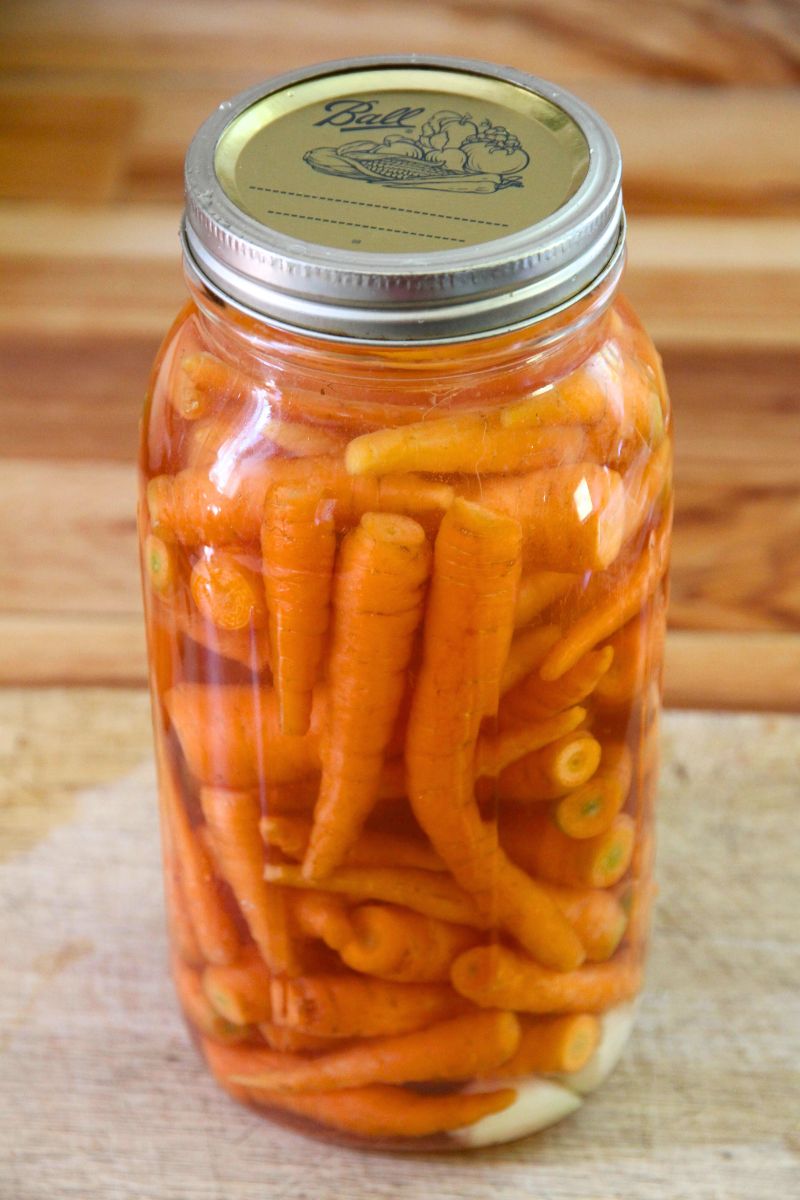
- Stuff as many carrots sticks into the jar as possible; the tightness won't soften the carrots (as it can with dill pickles).
- Try to arrange carrots in a way that keeps everything submerged under the liquid. But if this doesn't work, you can always use a fermenting weight.
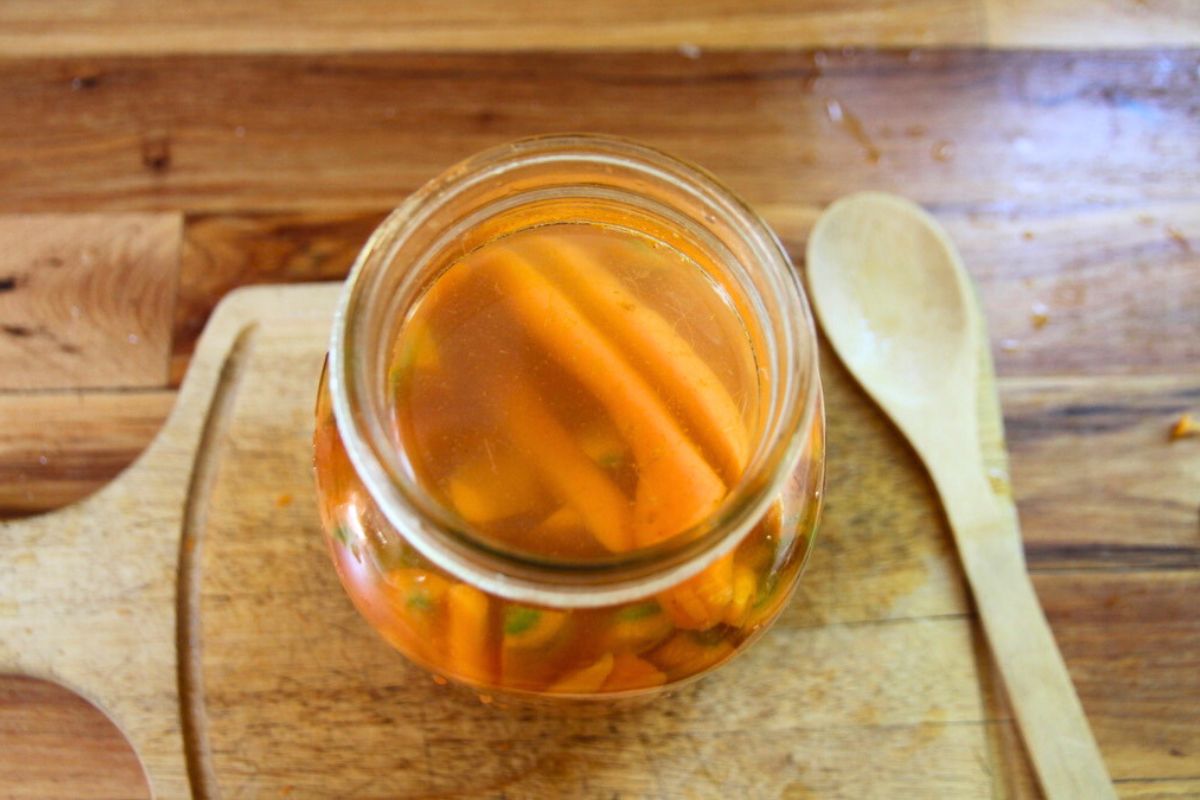
- If you come up short on brine, add water until you have about an inch of open space at the top of the jar.
- Too much brine? Pour some off, until you have about an inch of headspace (open space) at the top of your jar.
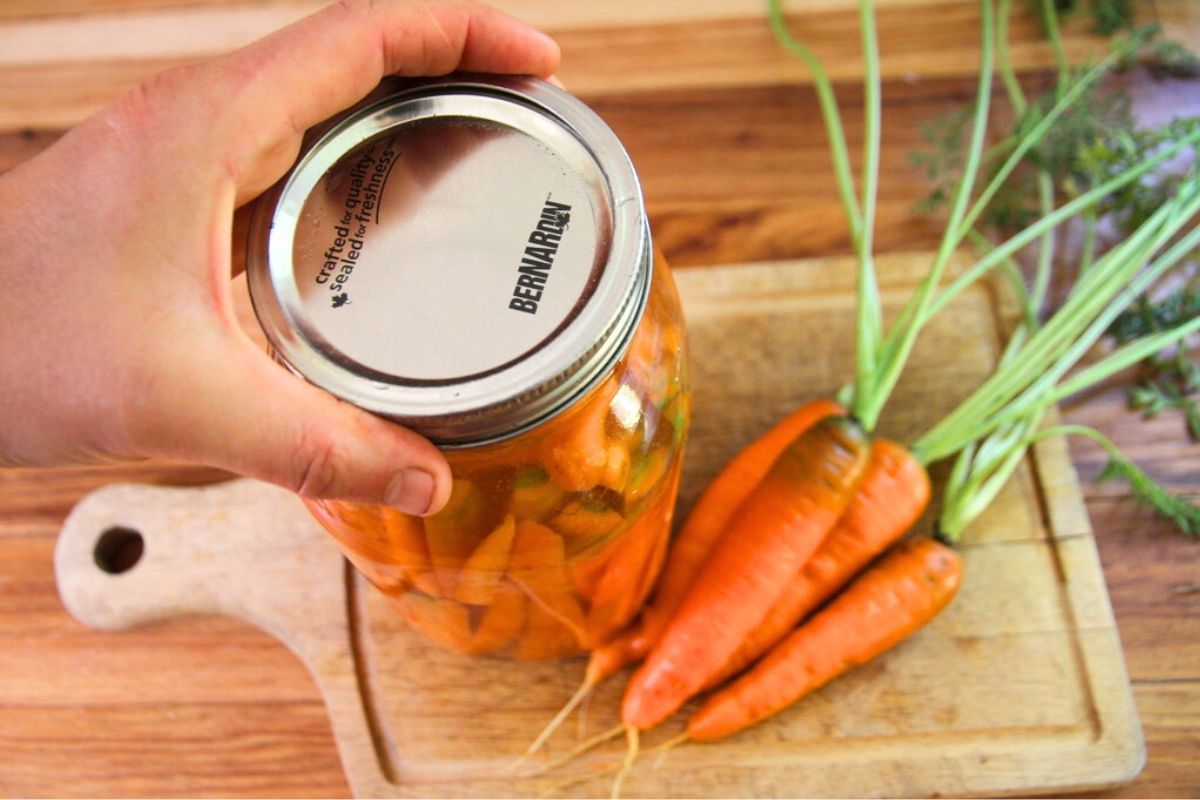
A Bit About Fermenting Lids
If you look around, you'll find folks recommending all different types of fermentation lids. If you've had problems with mold in the past, an airlock lid can be a good idea. They're also great if you don't want to worry about releasing carbon dioxide.
In my kitchen, I just use canning lids and bands. I also use white plastic lids from my local hardware store that are similar to the ones I linked here for you.
Tips for Fermenting Carrots
- Make sure your lid is tightly fastened so fruit flies can't get into the jar.
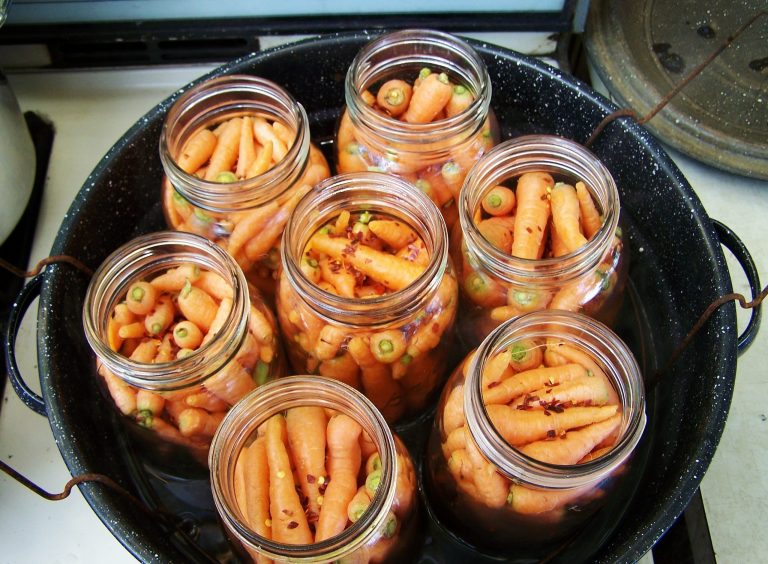
- Always place your fermenting jars in a baking dish, in case you have a vigorous ferment that bubbles over.
- Store vegetables out of direct sunlight to preserve nutrients.
- Don't let the temperature in your kitchen go higher than 75F (24C) for more than a day, or your carrots might spoil and smell rotten.
- When pressure builds in the jar, be sure to loosen the lid every other day and release the build up of carbon dioxide (an airlock will naturally release this for you).
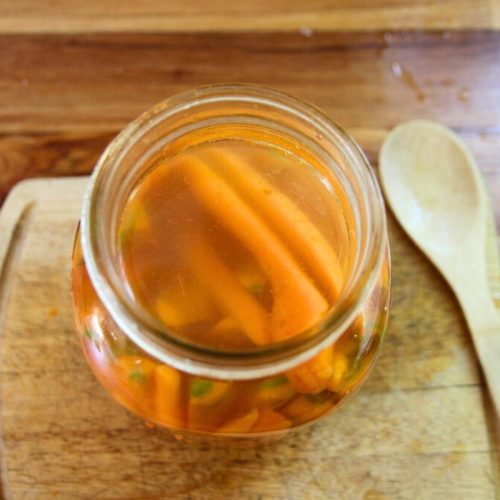
- You'll know the good bacteria are working when you see bubbles inside the jar, and the water starts turning cloudy from carrot juices.
- Don't over ferment your carrots (more than 4-6 weeks) or they may loose their crunch.
- To stop the fermenting process, pop jars into your refrigerator and the cold will slow everything down.
How Long to Ferment Carrots
In most cases, 21 days of fermentation will be long enough.
However, if you wish to ferment carrots for longer, you certainly can! Go ahead and leave them out for 30 days or more. Just be sure to check the flavor every few days, so it doesn't get too strong for you and your family members!
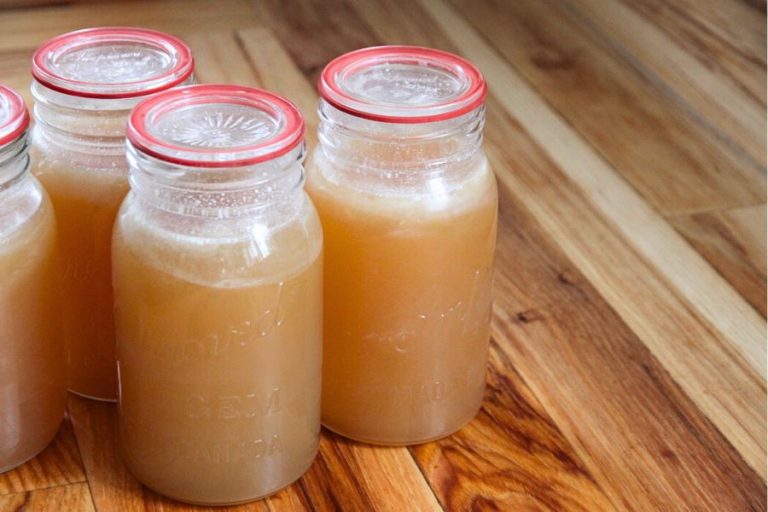
Best Ways to Store Fermented Carrots
When you're happy with the flavor of your ferment, go ahead and pop the jar into your fridge. Cold temperatures slow the growth of bacteria, and your fermented carrot sticks will last a long time in that chilly environment (6+ months).
3 Delicious Additions to Pickled Carrots
You don't have to pickle plain carrots. If you like additional flavor, try adding one of the following options to your half gallon (2 litre) jar.
- Add 4-6 peeled garlic cloves to your jar of carrots
- Peel and slice 4-6 inches of ginger root
- Halve 2-3 jalapeno peppers and remove seeds before dropping into your jar of carrots.
Unless you're using an airlock lid, I would caution you from adding items like mustard seeds, dried dill seed (fresh dill is ok), hot pepper flakes or coriander seeds.
Everything needs to be submerged under your brine, or you might have issues with mold.
Tiny seeds and dry flakes tend to float, so unless you pre-soak them, I'd recommend skipping these things if you're a beginner or have issues with mold in your home.
How to Use Pickled Carrots
- charcuterie board
- on a veggie tray
- with fermented hard boiled eggs
- side dish for homemade burgers or egg salad sandwiches
Fermented Pickled Carrots Recipe
Equipment
- 1 half gallon jar (1 litre)
- wooden spoon for stirring
- wood Cutting board
- large kitchen knife
- casserole dish
- optional: fermenting weights
Ingredients
- 3 Tablespoons sea or himalayan salt
- 4 cups water
- 2.25 pounds or 1 kg carrots
- 1.9 pounds or 900 gm carrots
Optional for Additional Flavor
- 4-6 peeled garlic cloves
- 6 inches ginger root
- 2-3 jalapeno peppers
Instructions
- Make a brine by measuring salt and cold water into a glass jar.
- Stir a few times to help salt dissolve faster, and set the jar aside while you prep carrots.
- Store Bought Carrots: peel your carrots and trim ends
- Fresh Garden Carrots: trim the green top off and remove any string-like roots.
- Carrot Thinnings: scrub carrots clean and trim both ends. You don't need to slice roots that are finger size or smaller. Ferment them whole!
- Slice carrots into halves and then quarters, until you've cut them all to size.
- Give your brine another stir to make sure all the salt has dissolved.
- Prepare and add any flavorings you want to the jar (garlic, ginger or jalapenos).
- Stuff the jar full of carrot slices, leaving 1 inch of open space at the top of your. jar.
- Make sure carrots are fully submerged under the salt brine (add a weight, if needed).
- Screw your lid into place and set the jar on a baking dish or tray, in case the ferment bubbles over.
- Keep your jar on the kitchen counter, where you can watch it and break the seal every day or two.
- Ferment for 21 days, or until you're happy with the flavor.
- Refrigerate for 4-6 months and use as needed.