Easy Way to Plant Carrots from Seed
Discover the easy way to plant carrot from seed, so you can grow more carrots with less effort. These tips will help you cut back on the work that comes with growing carrots at home.
When I first started gardening as an adult, I had to find ways to save on work and time. Living with a chronic illness is no joke, and my energy was (and still is) limited.
Gardening is simple...but it isn't easy!
Not being one to compromise, I began searching for ways to cut back on the work load that comes with growing my own vegetables.
Especially when it comes to planting and growing carrots from seed!
While you never can get rid of the work entirely, I have found some shortcuts that help me grow hundreds of pounds of carrots every year, in spite of my limitations.
Carrots aren't easy, and many gardeners have struggles with this tasty root vegetable.
Why Carrots Can Be Difficult to Grow from Seed
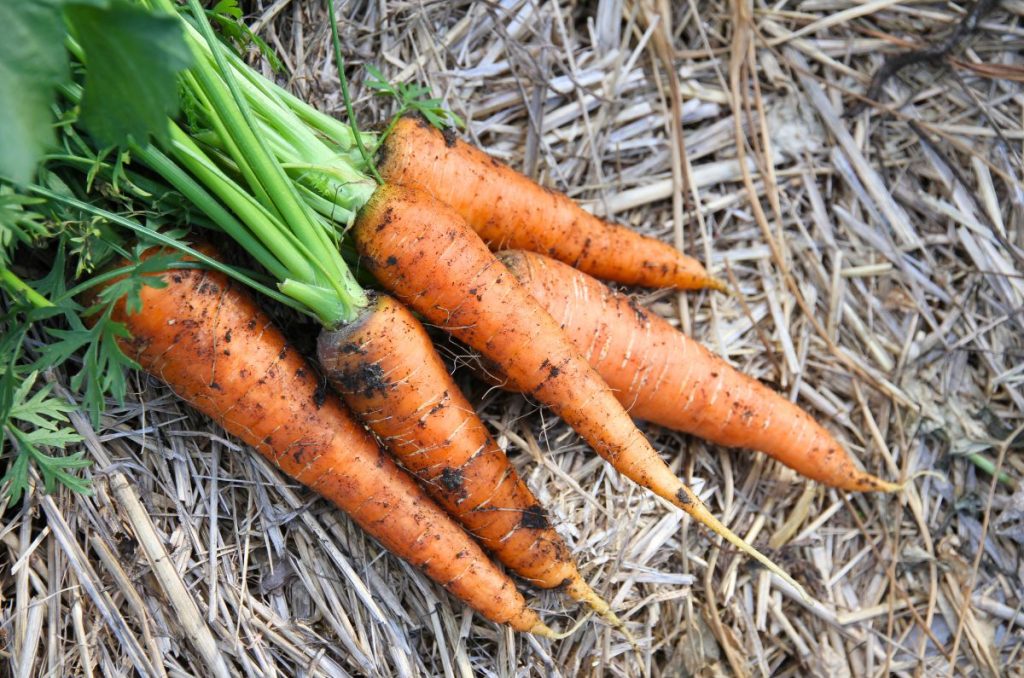
I have a love-hate relationship with carrots. You can't beat the flavor of a homegrown carrot. And it's tedious to plant, thin and care for these orange roots.
Here are some of the reasons gardeners often struggle with planting and growing carrots from seed.
- Carrot seeds are tiny and as a result, it's easy to sow them too thick.
- Carrot seeds must be lightly covered with soil, or they may not germinate at all.
- It can be a challenge to keep lightly-covered seeds moist, so they actually sprout.
- Seeds are slow to germinate and seedlings remain quite small the first 4-6 weeks, which gives weeds plenty of time to grow.
- Carrots need to be thinned several times, so they have room for roots to expand.
I love (eating) homegrown carrots.
In spite of the challenges that exist with growing them, I've found a few ways to eliminate some of the work load.
The techniques I'm going to show you will save time and effort. It's the only way I grow carrots now!
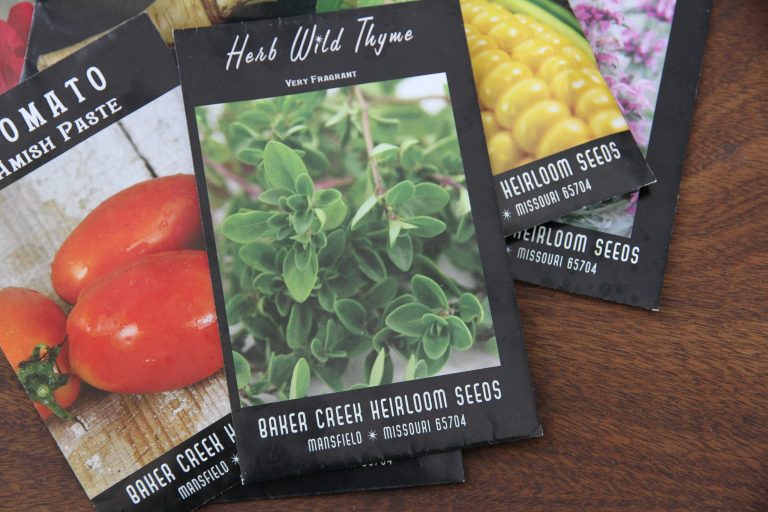
Tips on Choosing the Best Carrots for Your Garden
To grow great carrots, you need to choose varieties that will do well in your garden soil.
Yes, some varieties of carrots are better suited to particular soil types! I walk you through it all below.
Best Carrot Varieties for Clay Soil
If you have clay soil, you'll want to grow shorter, thicker carrot varieties.
Stubbier carrots are more likely to do well in clay soil (they put their energy into grow outwards instead of downward), whereas longer types may have split ends if they meet too much resistance from the soil.
Here are some varieties you can try if you have this issue.
- Atlas (also Paris Market Carrot and other round root types)
- Chantenay
- Danvers
- Kuroda
- Scarlet Horn
Carrot Varieties for Loamy Soil
If you have loose, loamy soil, you can grow any type of carrot you'd like!
But you specifically have the option of growing carrots that are long and slender. These will do well in loamy soil, because it's easy for the tap root to penetrate the dirt and descend downward.
Here's some carrot varieties that have a longer tap root and need that loamy soil to grow to their full potential.
- Dragon
- Imperator
- Mokum
- Nantes
- Yellow Stone
Types of Carrots for Stony Soil
You can grow carrots in stony soil, but you may not get slender, tapering roots you're accustomed to. Instead, carrots may split at the end and you'll have 3-4 roots on one carrot top.
If you have issues with rocks in your garden, I'd recommend growing the same varieties that do well in clay soils (see above).
Tips for Easy Planting and Growing Carrots
- Always loosen garden soil before planting; carrots thrive in loose dirt.
- Plant carrots whenever you put in cool weather crops (2-3 weeks before last average frost date).
- Always mulch your garden bed before planting carrots.
- When sowing seed, error on the side of under-planting, rather than over-planting.
- Always scatter loose soil over carrot seeds free-hand style, so you get the light covering carrots need.
- Keep things moist until seedlings have taken hold and are rapidly growing.
Easy Way to Plant Carrots from Seed
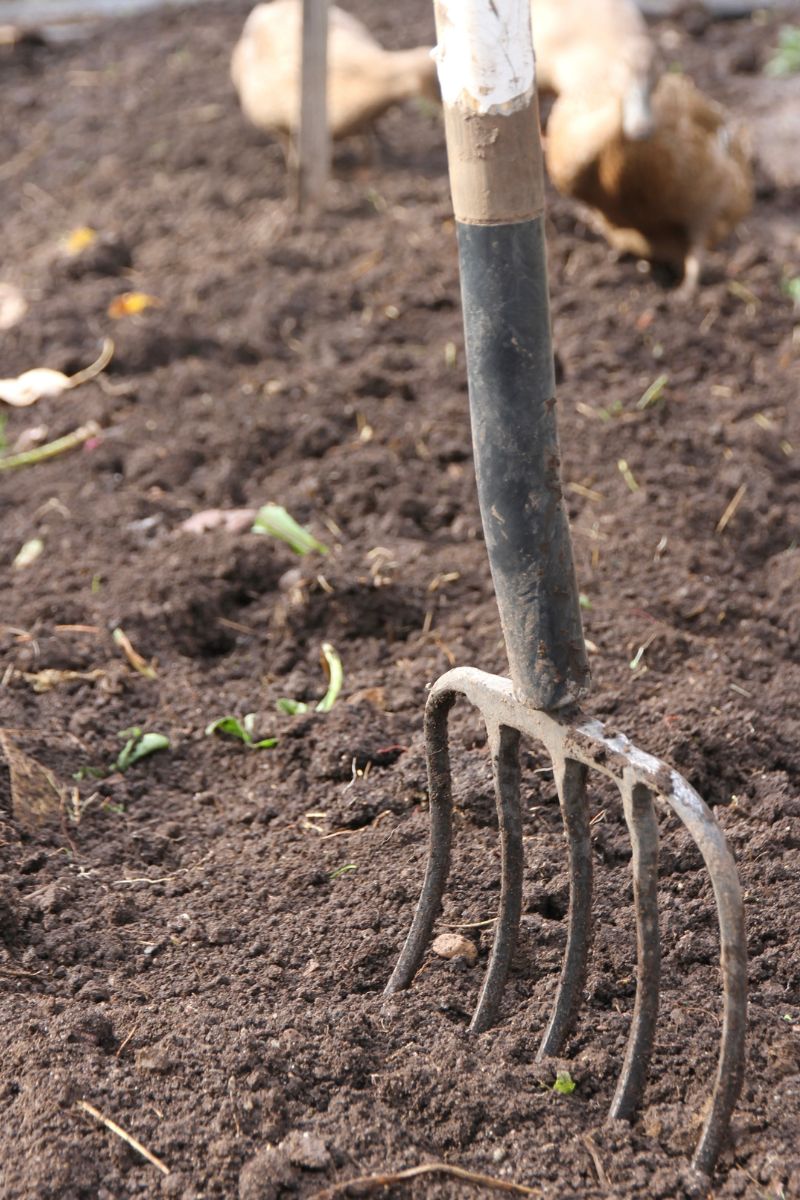
Step 1: Prepare the Garden Soil for Planting
Before planting carrot seeds, work your garden beds over with a pitchfork or broad fork. Your carrots will form better if they have loose soil.
While you're at it, pull the weeds too.
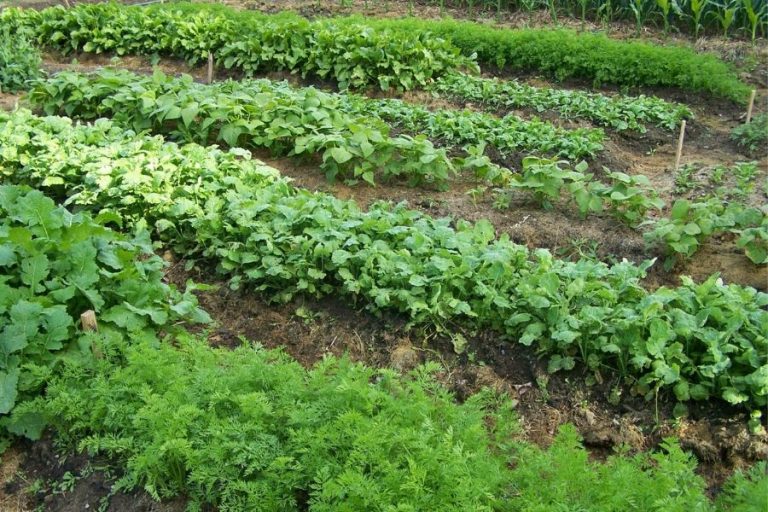
Step 2: Shape Wide Garden Beds for Carrots
If you want to maximize space in the garden, grow your carrots in wide garden beds.
You don't need a structure or wooden frame. Just pile loose soil into free-standing garden beds that are 6-8 inches high, and at least 24 inches wide. Carrots will love the loose, slippery soil!
Helpful tip: don't make beds wider than you can reach, or thinning can be a real pain!
These garden beds can be just a few feet long, or run the length of your garden.
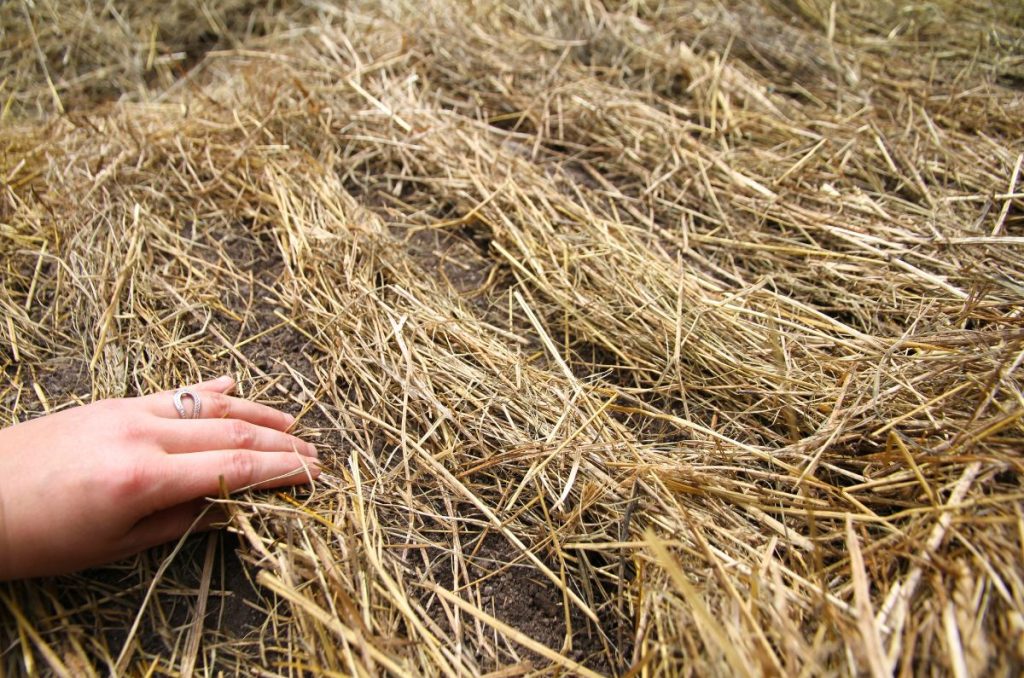
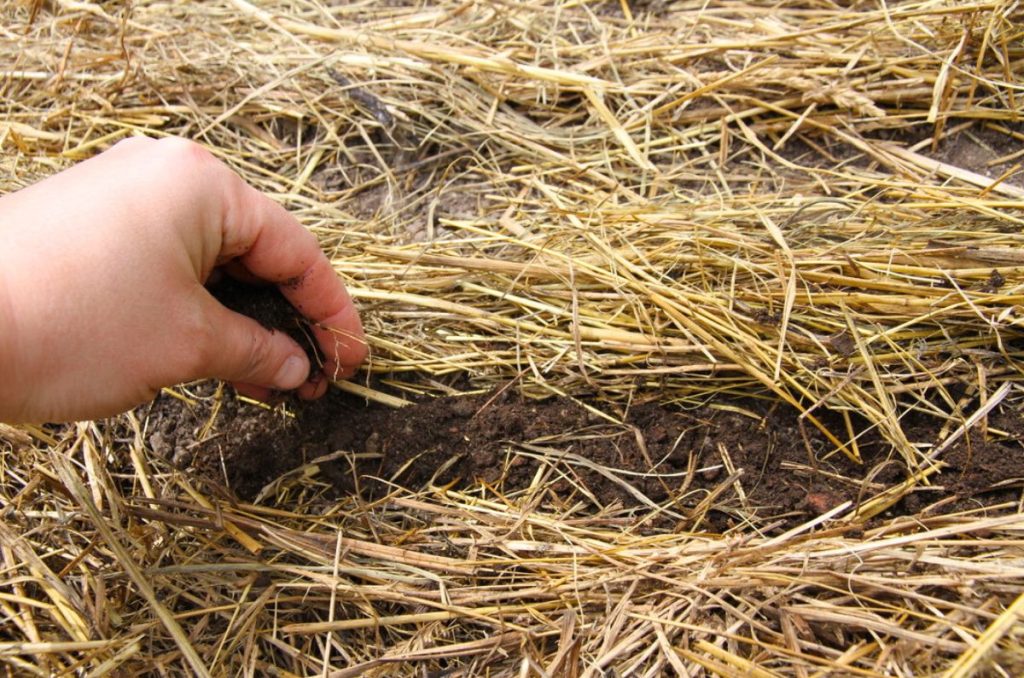
Step 3: Mulch Your Free-Standing Garden Beds
Always mulch your garden beds with 1-2 inches of straw before planting carrot seeds.
Tip: be sure to shake flakes of straw above the garden beds, so the straw breaks up and even covers the soil.
Around here, we like to mulch with straw. It doesn't get moldy like hay, and is usually free of weeds and unwanted seeds.
Mulch the top of your beds and the sloping sides, down to the pathways or walkways.
Interesting fact: mulch will keep the weeds down until your seedings have to mature. The straw will help keep soil moist and add extra nutrients to the carrots as it breaks down.

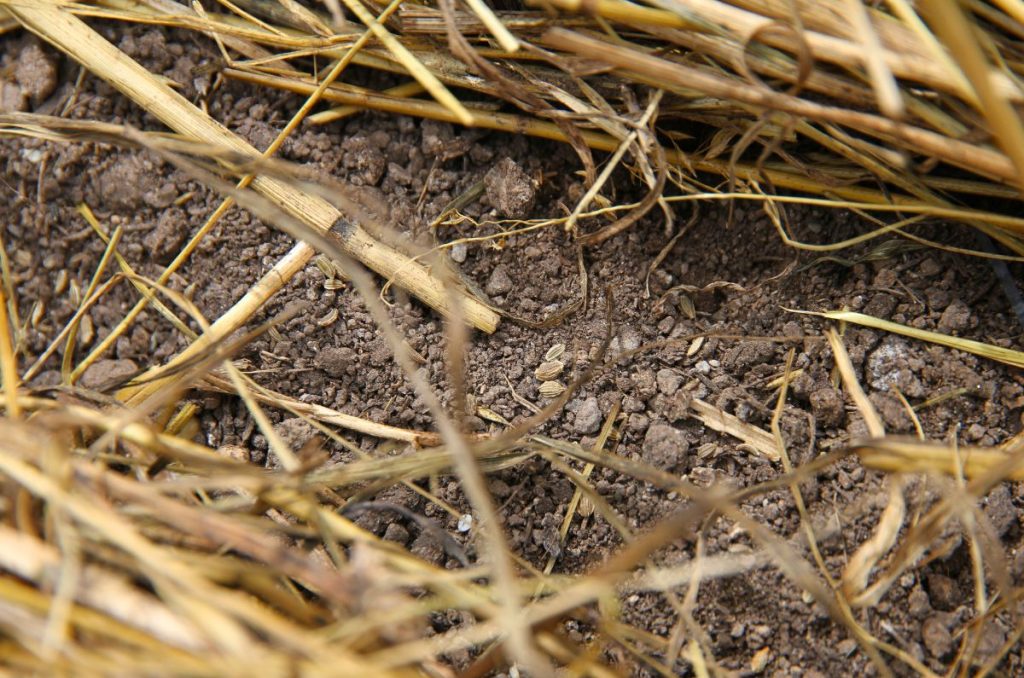
Step 4: Create Rows in the Mulch for Planting
Don't plant seeds directly into the mulch. Use both hands to part the mulch into rows, until you're down to bare earth.
Like this.
Do space the rows as needed for your carrot variety. If you don't know what this is, check on the back of your seed packet for specifics.
Make rows across the width of your entire garden bed before planting.
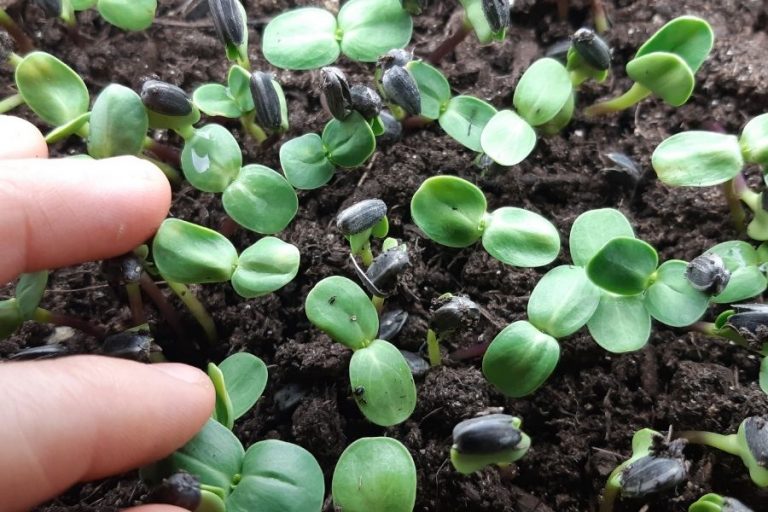
Step 5: Plant Carrot Seeds
Take your carrot seeds and lightly sprinkle them down the rows, on open earth. I like to use my thumb and pointer finger to pinch seed and drop it as I go.
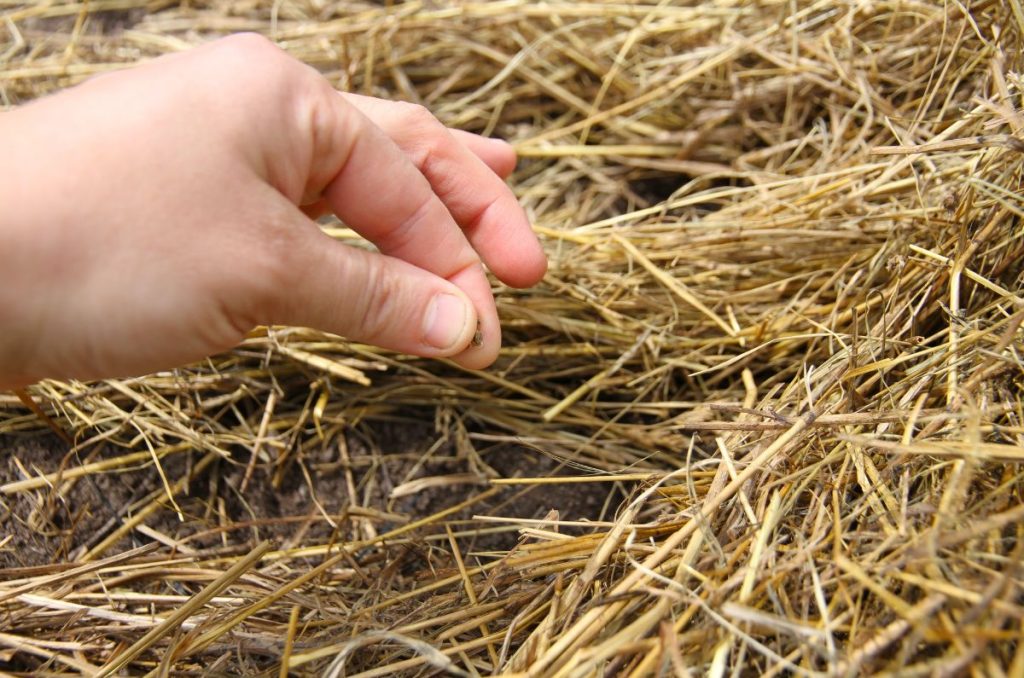
Remember to plant lightly, and keep the seed in the rows you've created.
Don't worry about covering the seeds, until you've planted an entire bed.
Step 6: Lightly Cover Carrot Seeds with Soil
With this technique, you don't bury seeds in a trench. Carrot seeds are lying on top of the soil, and all you have to do is lightly cover them with loose dirt.
I like to scoop up moist soil in a bucket and break up any clumps. Then I can carry the bucket with me as I lightly sprinkle this soil over every row.
Carrots seeds need to be covered with approximately 1/8 inch of dirt.
Step 7: Water Your Carrot Beds
Carrot beds need to be moist, or the seeds won't germinate.
If you aren't expecting rain, be sure to water the carrots every day for the first 7-12 days.
I can't stress this enough. If your carrot seeds don't sprout, it's likely because you didn't keep the soil moist enough. Remember: they only have a very light covering of soil and are susceptible to drying out!
Straw mulch will help retain moisture.

Step 8: Thin Carrots When Seedlings Are Several Inches Tall
Carrots have to be thinned as they grow, or the roots won't develop.
While you can do this any time, it's best to thin seedlings when they are 4-5 inches tall.
Ideally, carrot seedlings would be thinned so individual plants are 2 inches apart. That being said, I never manage to perfectly thin my carrots the first time!
I often end up doing a second thinning when orange carrot roots are the size of my thumb.
Helpful tip: thin carrots just after you've watered the garden (especially if you have heavy soil). The tiny roots will be easy to pull up and you won't have to fight them.

When to Harvest Carrots
You can harvest carrots at any size, but mature size is somewhat dependent on the variety.
Short, stubby carrots that grow well in clay soil will be fatter than your long, tapering, loam-loving carrots. Just check the particulars for you carrot variety, and go by that for harvest date.
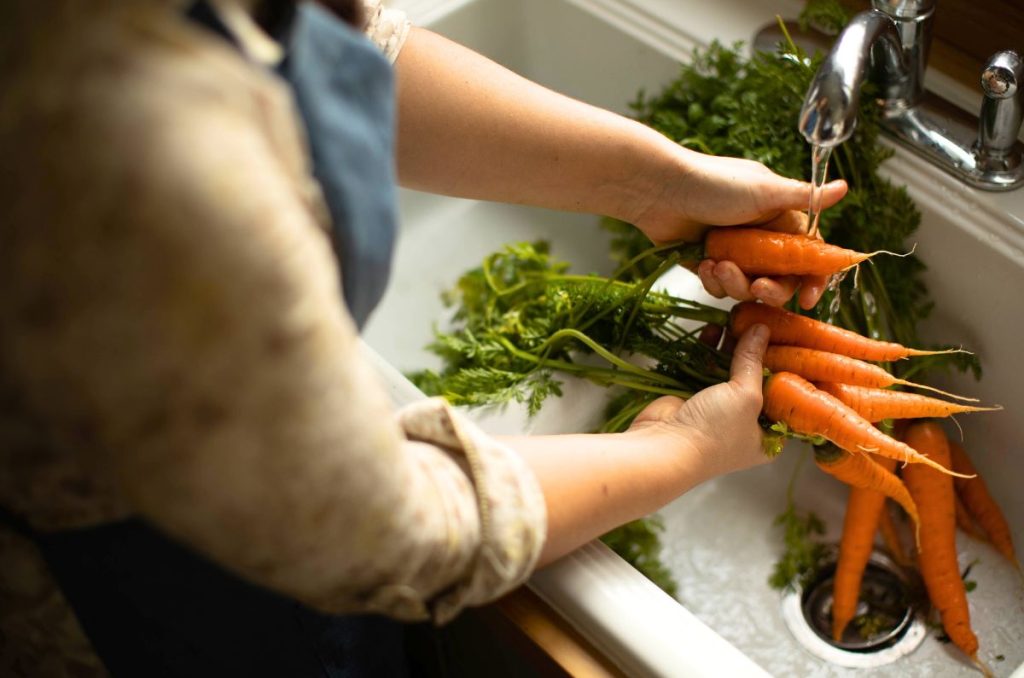
How to Harvest Carrots
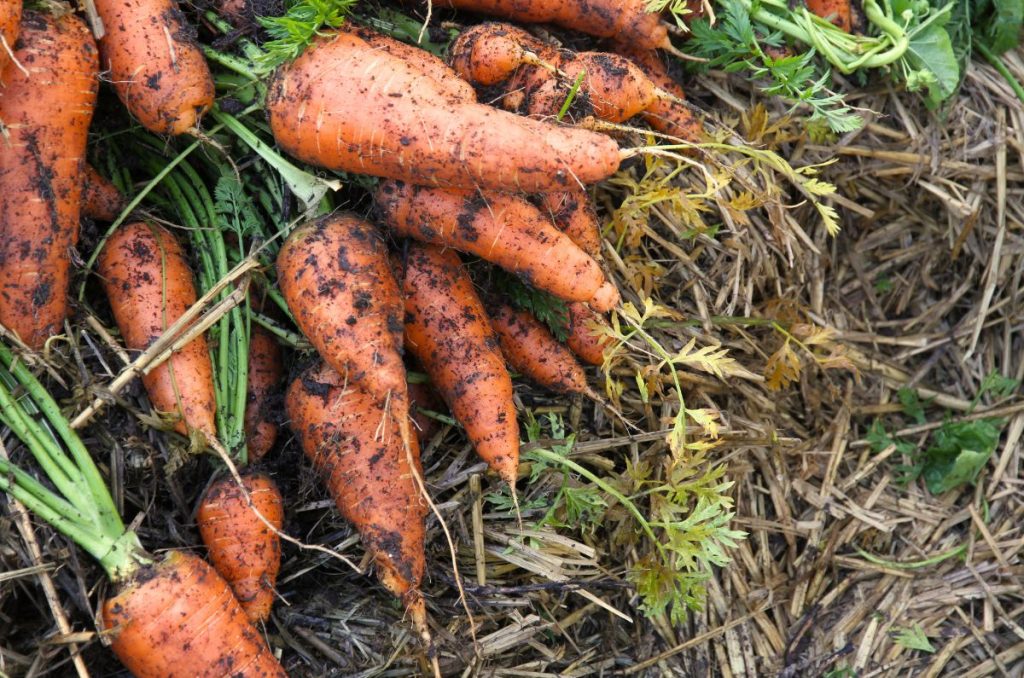
Your carrots can be harvested and used throughout late summer-late fall.
Carrots with shallow roots can often be pulled out of the earth by their green tops. But if you tug at carrots with deeper tap roots, they'll likely snap off in the earth.
In this case, go ahead and loosen the dirt with a pitch fork, shovel or garden fork. You should be able to pull each orange root from the soil without any damage.

How to Preserve Carrots for Winter
There are several ways you can preserve homegrown carrots.
If you live in a very hot climate, you can freeze or pressure can carrots.
Have mild winter temperatures that are cold, but don't dip below freezing? Leave carrots in the garden and harvest as needed!
Or, if you only occasionally have freezing temperatures, you can cover the carrots with a layer of fresh, clean straw or even leaves. Throw a tarp over the row and weigh it down with rocks. Dig as needed.
But if you have really cold weather throughout the winter months, I'd recommend putting carrots into cold storage (like we do). I teach you how to store carrots in a cold room here.
When it's all said and done, growing vegetables always takes work on your part. But I love using this method for growing carrots, because they thrive and I get better results while doing less work.