Easy Recipe for Whole Fermented Garlic Cloves
Looking for a great way to preserve raw garlic? Try putting up organic garlic using this easy recipe for whole fermented garlic cloves!

In my kitchen, I preserve our home grown garlic in a variety of ways. During the winter months, I store whole bulbs of home grown garlic in my cold room. But when spring comes and garlic begins to sprout, I have to turn to other methods of home food preservation.
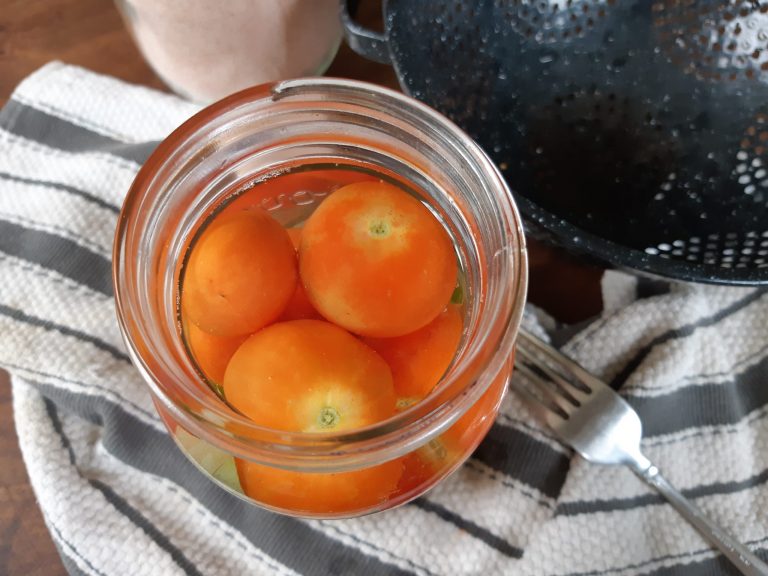
Some years, I dehydrate raw cloves. Other times, I mince and freeze them. When I need to put it up fast, I cover cloves in raw apple cider vinegar and refrigerate.
And sometimes, I preserve garlic using a fermenting process. When refrigerated, fermented garlic will last for months.
Here's my favorite easy recipe for whole fermented garlic cloves!
Why You'll Like Lacto-fermented Garlic
The fermentation process does wonderful things to whole garlic cloves. Here's what you'll love about it!
- Fermenting is a quick way to preserve whole cloves of garlic.
- It's very easy to ferment fresh garlic cloves in your kitchen; no special equipment is needed!
- Lacto-fermented garlic cloves are loaded with good bacteria that is easily absorbed by your body.
- You can use fermented garlic just like you would fresh stuff.
- Fermented garlic will keep for a half a year or more in the refrigerator.
Tools You'll Need
- kitchen knife
- cutting board
- quart glass jar
- fermentation weight
- lid
Ingredient List
- filtered water
- salt
- 8-10 garlic heads
- optional: fresh herbs
Watch the Video Tutorial
Easy Fermented Garlic Recipe
Step 1: Break Up Whole Heads of Garlic
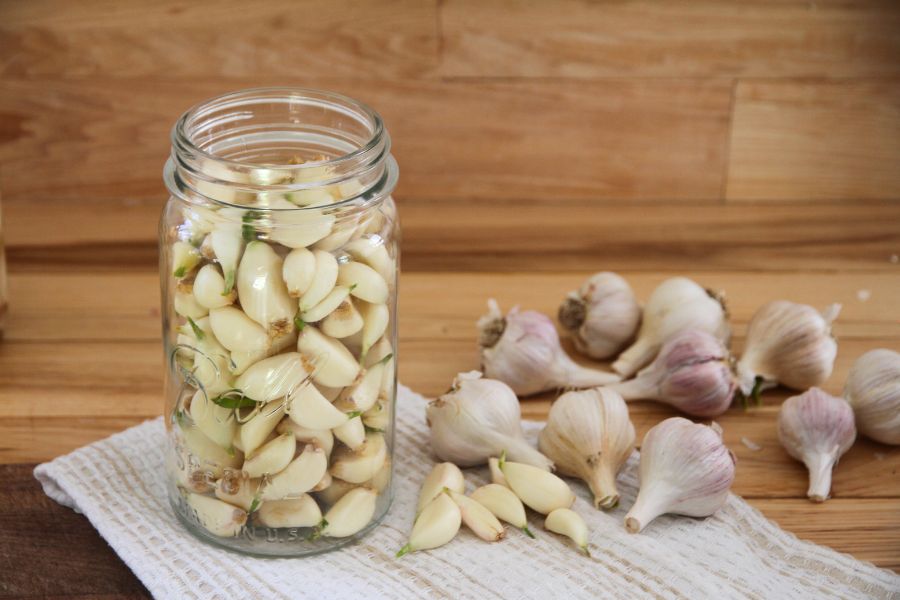
Take your whole heads of garlic and remove the outer papery peel. Break bulbs up and separate each clove of garlic.
Step 2: Peel Your Garlic Cloves
Use your favorite peeling process to remove the papery peel from individual garlic clove. I like to toss peeled ones into a bowl as I go!
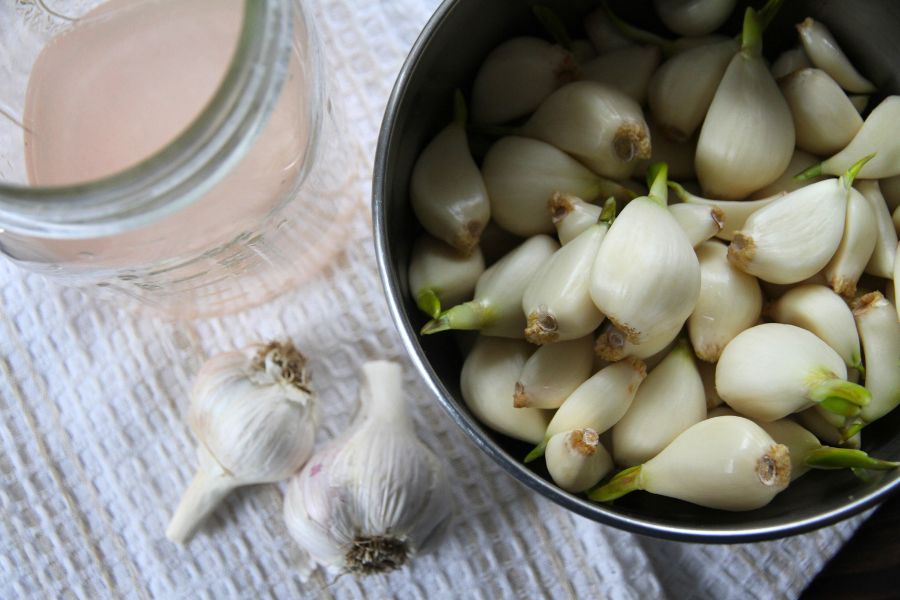
Step 3: Create a Salt Brine
Measure half of your water into a quart-size jar (or a pint jar if you're halving the recipe). Also measure out salt and let it sit for a minute or two before you stir to dissolve.
Step 4: Add Fresh Garlic Cloves to the Brine
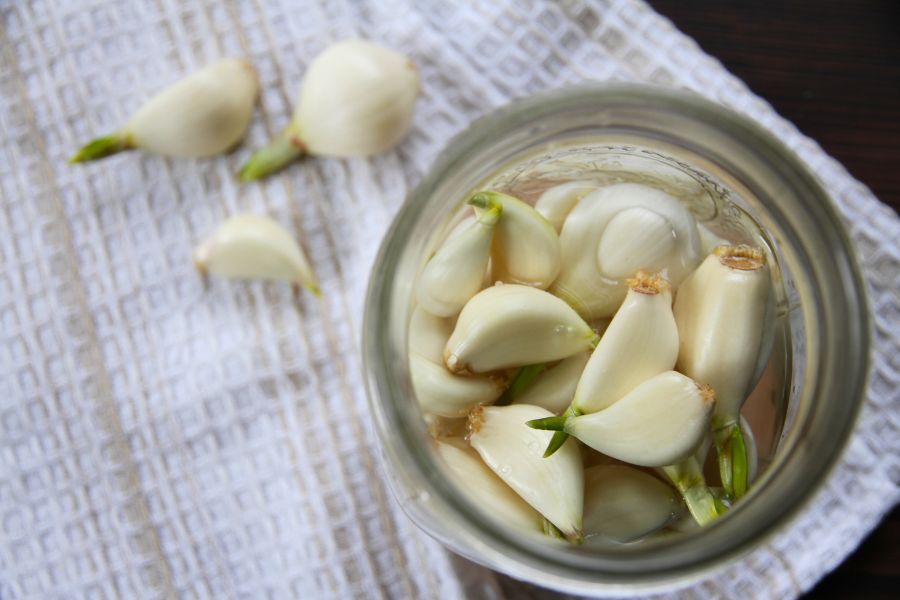
If you want to use fresh herbs for flavoring, add them to your glass jar. Then add garlic, until it comes within an inch of the jar's rim.
Step 5: Place Glass Weights on Top of Garlic
Pop glass weights on top of your garlic to keep cloves submerged after you top the jar off with water.
Step 6: Top Off with Filtered Water
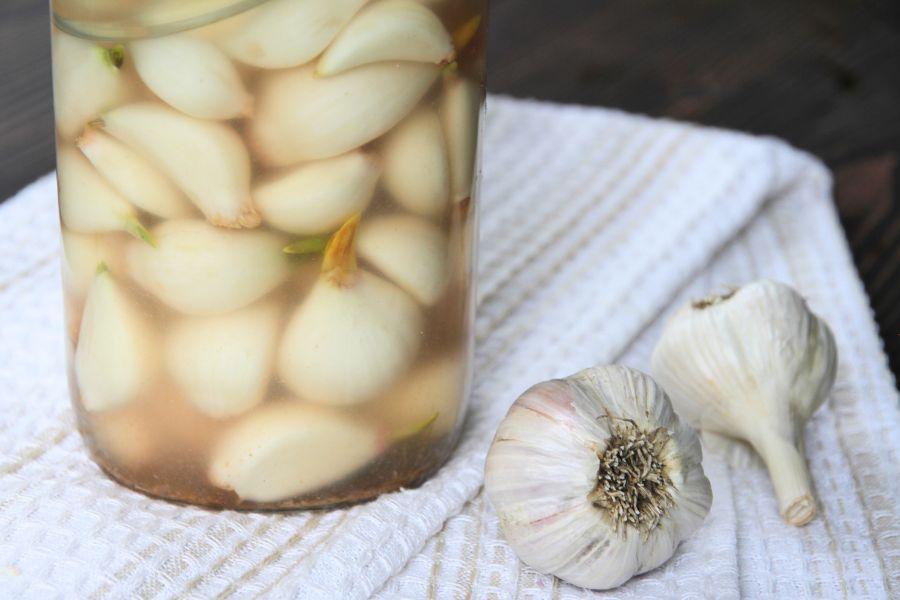
With the glass weights in place, top the jar off with filtered water, making sure all the garlic is under the brine.
Step 7: Ferment Garlic for 14-21 Days
Cover the jar with a canning lid and lightly screw a metal canning band into place. Let the garlic ferment for several weeks. And be sure to break the seal every other day during the first week, just to make sure carbon dioxide doesn't build up!
Step 8: Store in a Cool Place
Fermented garlic can be stored in the refrigerator for 6+ months.
How to Use Fermented Garlic
Whether you're making homemade pasta sauces, sautéing meat, making salad dressings, homemade condiments or even using garlic for its medicinal properties, you can use fermented garlic just like fresh garlic!
Read more about garlic here:
How to Grow Your Own Organic Garlic
How to Preserve Garlic in Apple Cider Vinegar
How to Freeze Fresh Garlic for Easy Use
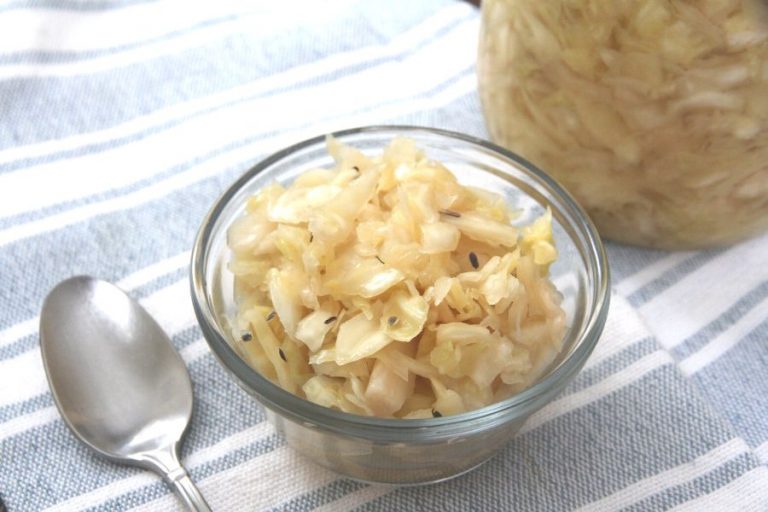
Cabbage and Garlic Sauerkraut Recipe

Your Questions Answered
Is it ok to ferment sprouted garlic?
As long as your sprouted garlic is fresh and without blemish, it's totally ok to ferment it!
Can I use my favorite airlock lids for fermenting garlic?
I usually just use canning lids or my water-locking crock for fermenting, but if you have airlock lids that you love, feel free to use them instead.
If my pickling brine changes from clear to a green color, is my garlic still good?
Your garlic brine will naturally turn cloudy and may take on a slightly green color, particularly if your garlic has started to sprout! There's nothing wrong with this and your garlic should still be good.
My garlic is turning a blue color; what should I do?
It's not uncommon for fermented garlic to go through slight color changes. White cloves may take on a light green color or even a dull, grey-blue. This is all normal and it's nothing to worry about!
Do I need to worry about botulism forming in my fermented garlic?
The only way clostridium botulinum (botulism) can grow is when your food is confined to an anaerobic environment. Canned food and foods covered with olive oil are prime candidates. Because fermented food is exposed to oxygen in one form or another, there is no real risk of botulism.
How do I tell if my fermented garlic turns bad?
If your garlic goes bad, it will likely happen during the fermenting process. If you find slime or mold on the surface of your fermenting brine, or if the ferment smells putrid, throw it out.
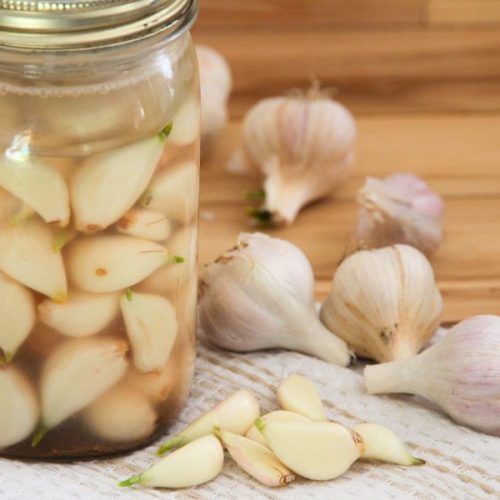
Whole Fermented Garlic Cloves Recipe
Equipment
- sharp kitchen knife
- cutting board
- 1 quart jar
- 1-2 fermenting weights
- 1 lid
Ingredients
- 2 cups filtered water (or slightly more)
- 2 tablespoons sea salt
- 8-10 heads fresh garlic
Instructions
- Peel garlic cloves.
- Measure salt into your jar and add half the water.
- Stir to dissolve salt, then add garlic cloves.
- Place glass weights on top of garlic.
- Top up jar with water, leaving about 1/2 inch of headspace at the top.
- Cover with lid and leave it to ferment at the back of your kitchen counter for 14-21 days.
- Loosen off the lid every other day to make sure no buildup of oxygen occurs in the jar.
- Once fermenting is complete, tighten lid and store the jar in your refrigerator up to 6 months or more.
- Use in the place of fresh garlic.