Collect Eggs for Hatching-The Basics You Should Know
Every spring, I start thinking about the farmyard flock and what we need from our poultry for the year. Because we raise birds for meat and egg production, spring is the season to collect eggs for hatching!
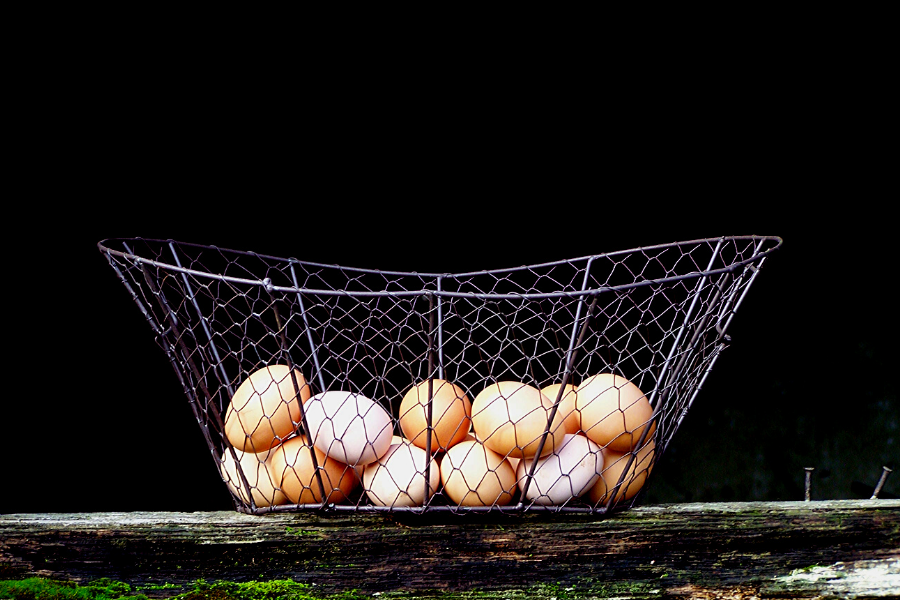
It doesn't matter if we're letting our hens do their own thing, or if we're relying on an incubator. Eggs are collected and held every spring until we have enough to start the incubation process. This way all our eggs hatch in a 3-4 day window. Nifty, hey?
Regardless of the type of poultry you keep, here's a tutorial on how to collect eggs for hatching!
Step 1: Prepare the Bird Pen
Clean eggs are the nicest to work with. Before you start collecting eggs for incubation purposes, it's a good idea to clean out the bird house, placing fresh litter on the floor and in the nesting boxes.
It's not just for ease of handling. Excessive mud or manure will clog the pores of an egg's shell. This is problem, because the pores supply oxygen to the baby bird as it develops. Open pores are also necessary for the release of carbon dioxide and moisture during the incubation process.
So do a spring cleaning of the bird pen!
Step 2: Properly Handle the Eggs
Clean eggs should be gently handled. Avoid running or sharp jarring motions as you carry them to your home.
If you have dirty eggs, don't wash them with water! By doing so, you remove the bloom, which is part of the shell's natural defense barrier. If this is washed away, bacteria can more easily enter the shell and destroy the egg's chance of hatching.

When dealing with dirty eggs, try rubbing them semi-clean with a dry cloth. And if this doesn't work, just eat those eggs for breakfast instead!
Tip 3: How to Store Your Egg Collection
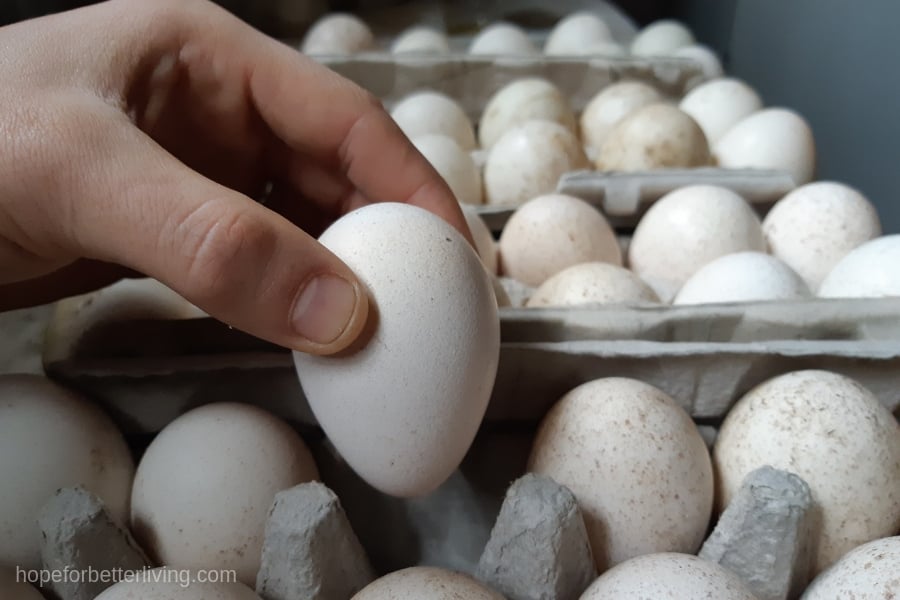
Experts say to store hatching eggs with the little end down. There are numerous reasons for this, an important one being so that the air sack (naturally found in the large end) doesn't rupture! Did you know that once a baby bird develops lungs, it uses the oxygen found in that sack? Handle your eggs gently and always store them with the large side, up!
The logical storage container would be the egg carton!
Tip 4: Proper Storage Temperatures
Whatever you do, don't refrigerate your eggs! Cold temperatures can kill the embryo inside. Instead, store them in a semi-cool place, around 50F. A basement room, your garage or even a cool place in the barn is ideal.
Tip 5: Don't Wait Too Long Before Incubating
It's recommended that you (or a hen) begin the incubation process within 12 days of collecting the first egg. You can keep them for longer, but the hatch-ability rate begins to drop after this.
I try to start the process no later than 14 days after the first egg is collected. Just my preference!

In Conclusion
That's how you collect eggs for hatching! The process is simple, but it's well worth your time and effort. Most poultry eggs take at least 21 days to hatch. That's a long time to monitor an incubator, for a hen to sit on the nest. Don't waste your time (or hers!), but do your part and you'll soon have fluffy little birdlets to show for it!


Hi! Do you turn your eggs that you are storing? I have seen a few people turn them while waiting to collect others. I’m not quite sure which way to turn if they are supposed to always be stored pointy side down. I hope this question makes sense. I’m a total newbie!
Hi Casey! If you are storing your eggs on their sides, I can see where turning could be helpful. But if you store them small side down, you shouldn't have to bother. And really, when a hen is laying up eggs for brooding, she may shift them a bit, but she doesn't turn them all every day. 🙂 I think the key thing is to not let the eggs sit for too long before incubating (12-14 day max). Let me know if you have more questions!