How to Decorate Open Shelves in Farmhouse Kitchen
Learn how to tastefully decorate open shelves in your farmhouse kitchen, while still being practical and efficiently using your space. These tips will help you create a beautiful, clutter-free look, while keeping items you need within easy reach!

Open shelves aren't a common choice for modern day kitchens. Most folks like to hide things behind closed doors, because their kitchens are often cluttered and overfilled.
While upper cabinets with doors are convenient, they can make the kitchen space feel boxy and closed in. This is especially true if you have a small kitchen!
When my man and I built our cottage farmhouse kitchen, I really wanted a light, airy vibe. Our space is relatively small, so we decided to put in upper open shelves.
I quickly discovered that open shelves made is easy to create a warm, welcoming environment in my kitchen space. It was also easy to create a unique style that was all my own.
But it wasn't just about the appearance.
Efficiency also matters to me, and I soon discovered that open shelves are extremely efficient.
If you use store everyday items on your shelves, you'll have easy access to dinner plates, mixing bowls, spices, cutting boards, drinking glass and the like.
Maybe I'm just a messy cook, but in previous homes I always left smudges of flour, butter or cooking grease on my upper cabinets!
Not so, with open shelves. Fewer cabinet doors=less mess in my kitchen!
Great as they are, there is one down side to open shelving.
Open shelves can easily look cluttered. This always takes away from the beautiful atmosphere most folks want to create in their farmhouse or cottage kitchen.
You have to be intentional with open shelving.
Here are some practical ways to style open shelves, with useful items and decorative objects alike.
Clutter Free Ways to Style Open Kitchen Shelving
Decide on a Vibe
I'm not big on "themes" in the kitchen (or any part of my house, for that matter). But I do think the atmosphere of a room is a big deal. So before you add items to open shelves, think about what kind of vibes you want to send.
Do you want your farmhouse kitchen to feel relaxed or formal? Rustic or luxurious? Spacious or cozy?
Maybe the vibe you want to capture fits into one of the following categories:
- Industrial and functional
- Sleek and modern, with efficiency as the main focus
- Like an old fashioned farmhouse kitchen
- Simple cottage with hints of country living
- Rustic french inspired
- Cottagecore with cuteness as the primary goal
It's important to keep your chosen "vibes" in mind when you add items to your open shelves. Otherwise things can quickly become busy and chaotic, with too much variety.
Choose a Color Scheme for Your Farmhouse Kitchen
The colors in your kitchen may change from season to season. And that's ok.
You don't need to be super matchy matchy.
Just remember that too many colors on an open shelf makes things hectic. And that's exactly what you don't want!
Here in my little cottage, I use greens, browns and occasionally, a grey blue.
Primarily Use Muted Tones
Color is lovely in the kitchen, but most of your items should be muted tones. This is especially true if you have a small kitchen!
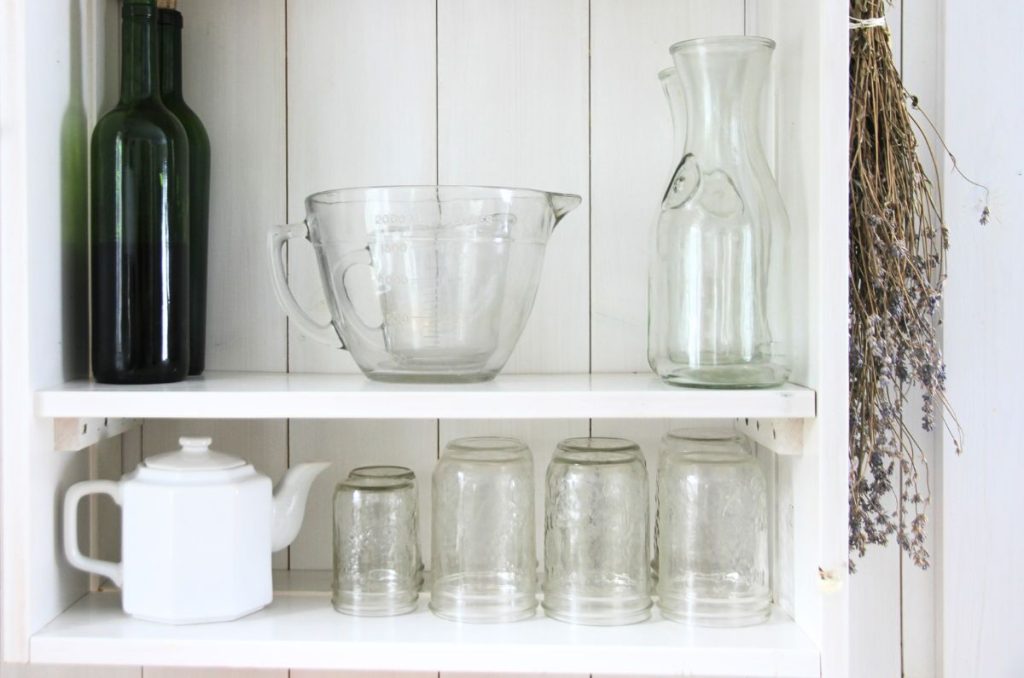
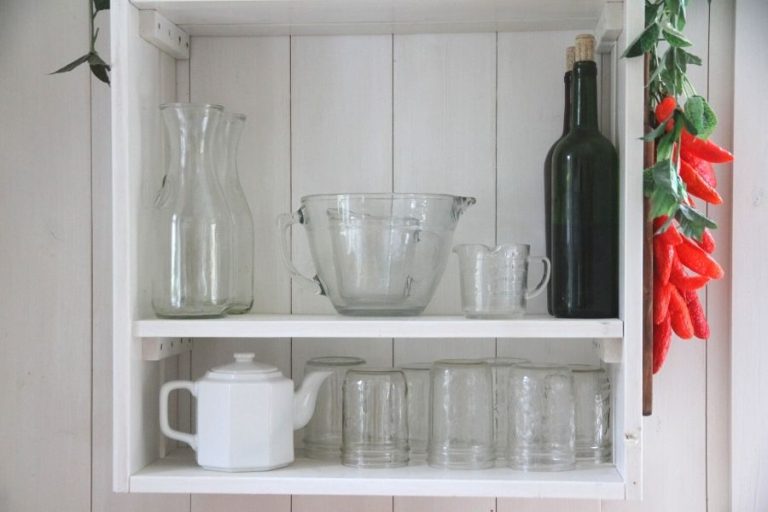
I've found that using clear glass and white dishes or china makes items fade into the background. And when you do add color, it makes a statement.
Strategically Use Colors
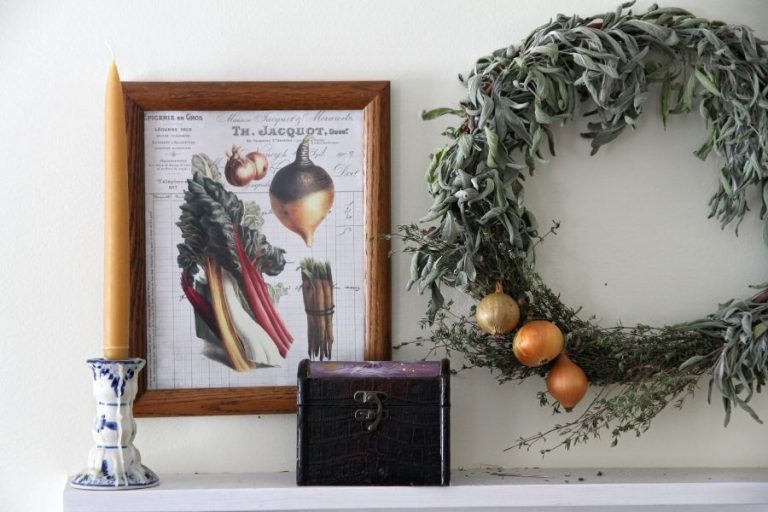
Pops of color are nice to use in the cottage farmhouse kitchen, especially when you want to draw the eye to a particular place.
Most of the time, you'll want to position the colorful item at eye height or higher, so it creates a real focal point.
Color is wonderful, but make sure you don't overdo it, or you'll create that busy, cluttered look.
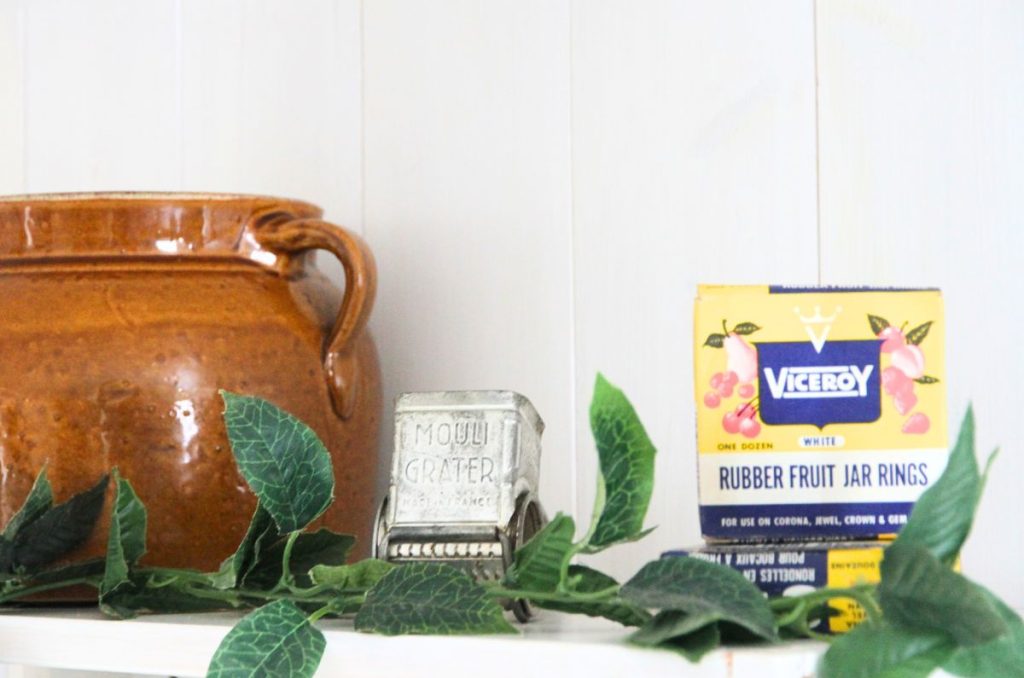
Decorate with Everyday Items
Don't ever be afraid to decorate your kitchen with functional items you use every day. In fact, if you're going for a farmhouse vibe, I recommend it!
With open shelving, usable items are easy to get at, and you can skip the greasy finger marks that so often appear on upper cupboard doors.
If you want a traditional look, check out my list of favorite things to display on open kitchen shelves:
- Everyday dishes or china, including:
- Bowls
- Dinner plates (all the plates, really)
- Platters
- Teacups or mugs
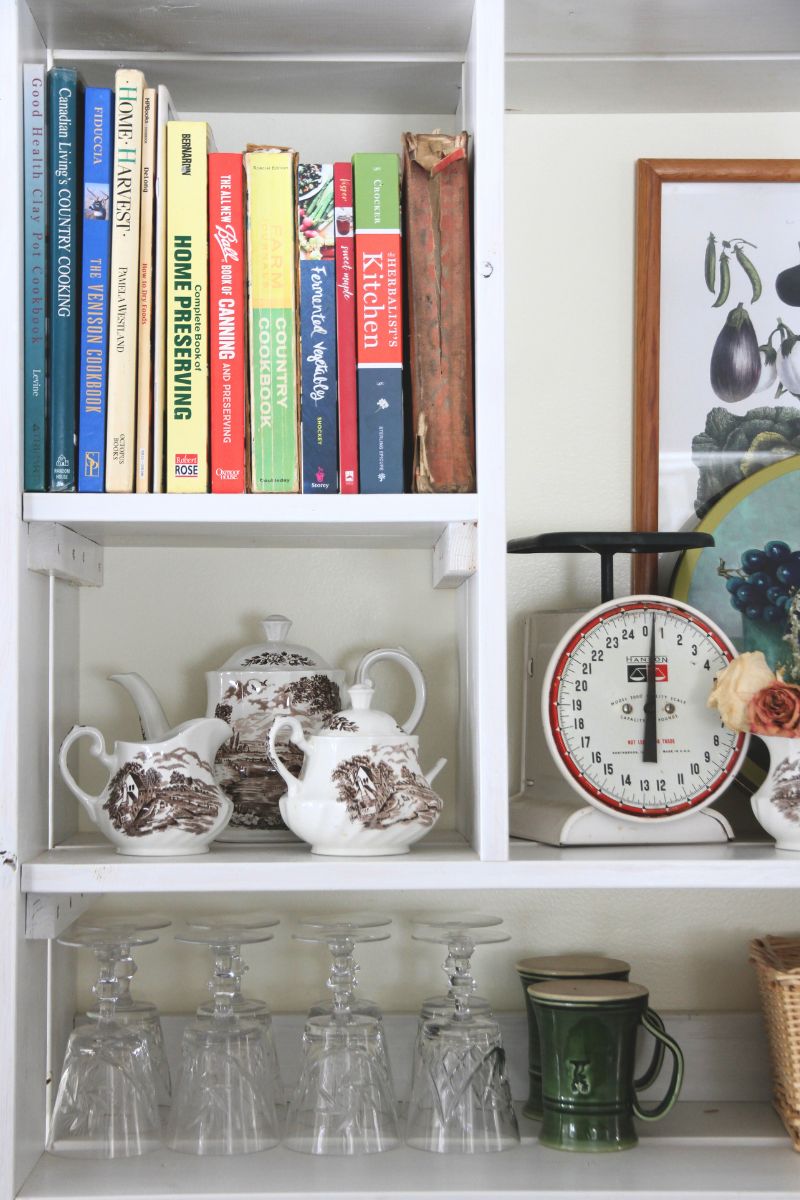
- Tea pots
- Gravy boat or cream pitchers
- Water glasses
- Glass pitchers or jugs
- Trio of stackable mixing bowls
- Cheese grater
- Cutting boards
- Cookbooks
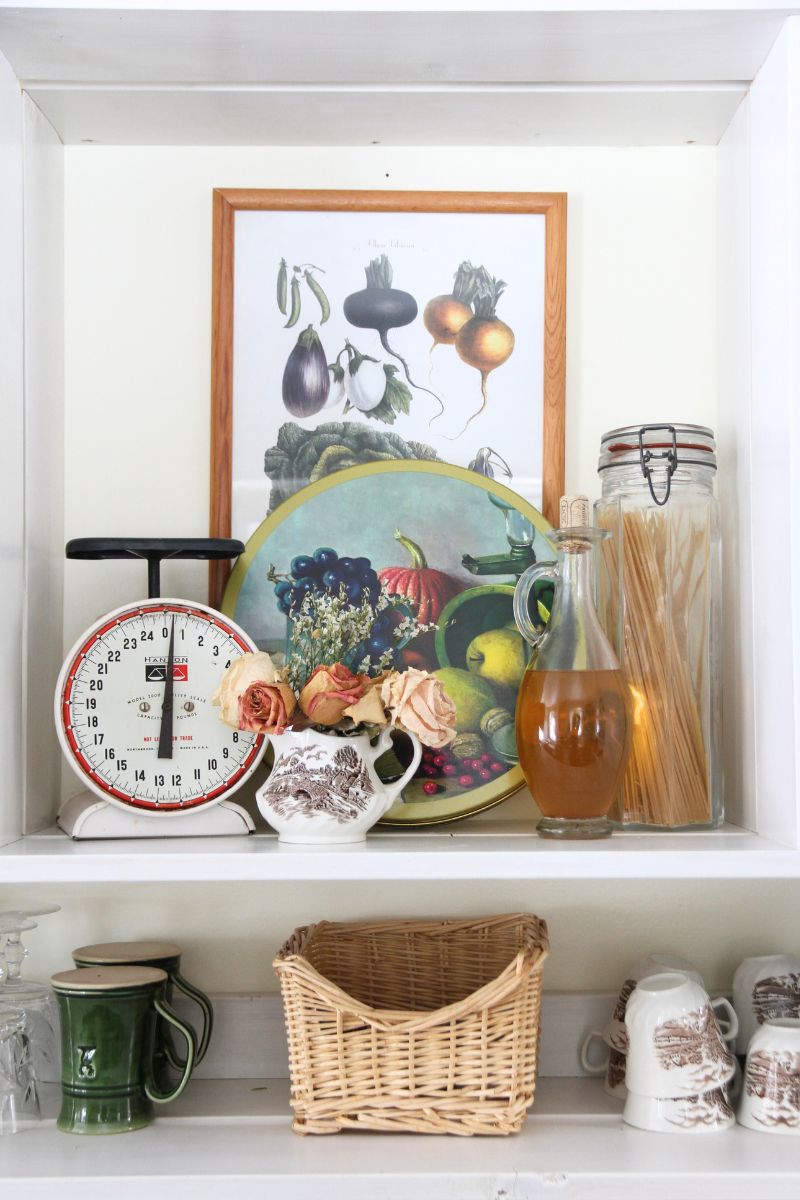
- Pretty bottles of vinegar and oil
Store Dry Goods in a Single Style of Container
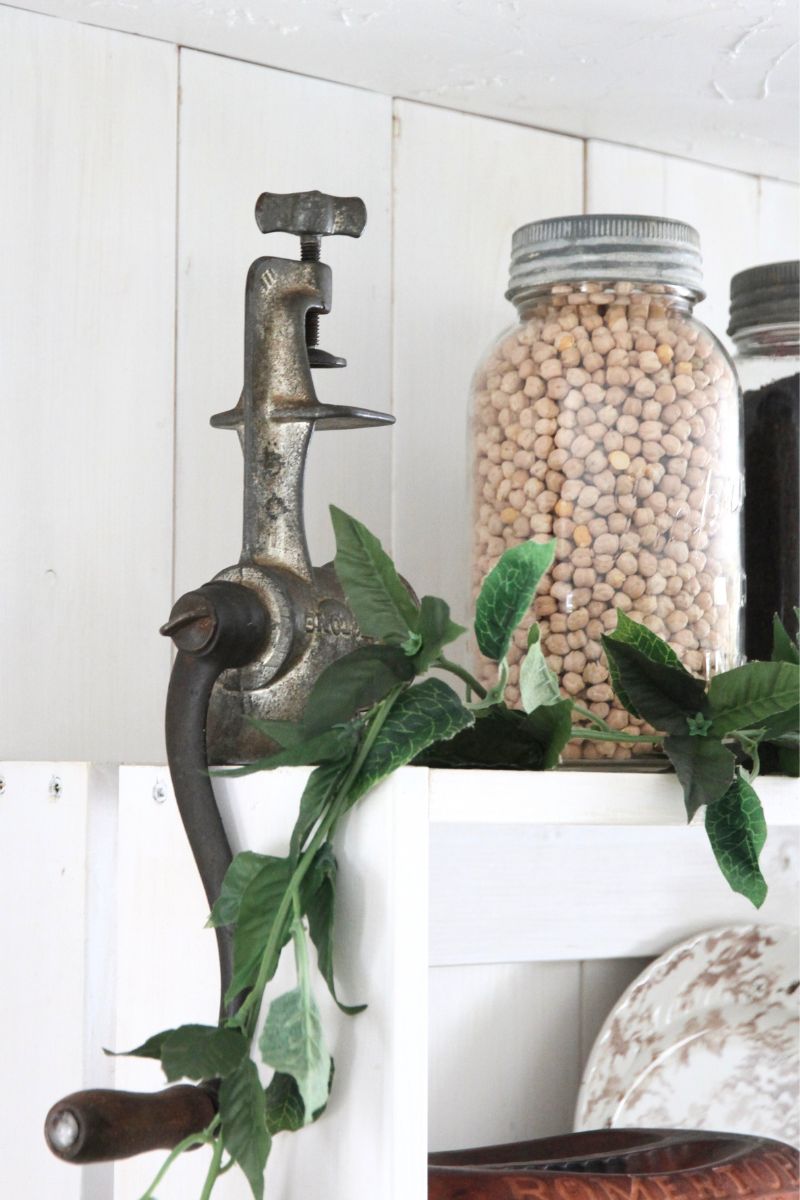
Dry foods look great on a kitchen shelf. In my space, I primarily use clear glass containers, because I think dry grains, legumes, fruit and tea are beautiful in the traditional kitchen.
Plus, they're easy to get at with open shelves!
If you keep foodstuff on display, it's important to stick to a particular style of kitchen storage container. For a cohesive look, you'll want group containers together that are the same 1) color, 2) shape, 3) height.
Hint: mason jars are wonderful food storage containers, and you can get them varying sizes. It's my go to!
You would be surprised how things blend together when you accomplish these 3 things!
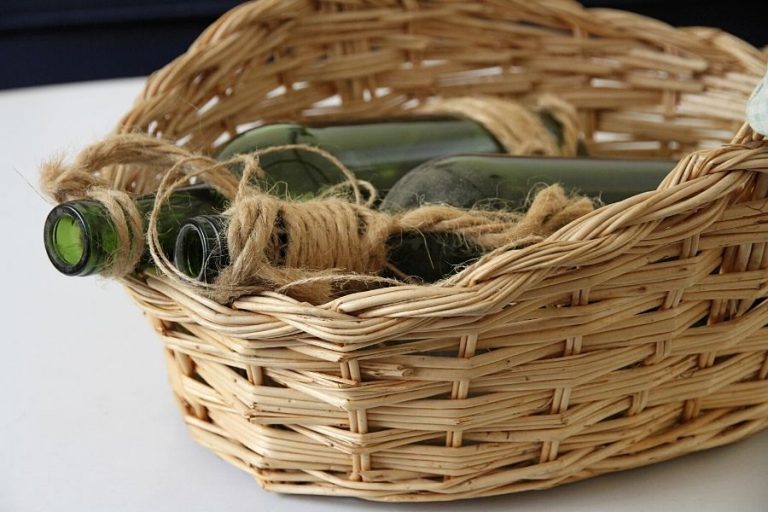
Use Baskets to Hide Small Items
Small items are wonderful for creating a layered look on your open shelves. But you don't want too many on display, or they'll clutter up your space.
In my kitchen, I keep small baking items (like baking powder, baking soda, vanilla, cinnamon, nutmeg, etc) in small jars.
I store those jars in a basket, so the tiny containers are hidden. You can also do this with cooking herbs, spices and tea blends.
It's very practical. Whenever you need something, you can pull the entire basket down, complete the task and return everything to shelf in one movement.
Oh, and did I mention? Baskets look amazing on open shelves!
Don't Overfill Your Open Shelves
If you've only had kitchen cabinets with doors in the past, you're probably accustomed to stuffing your shelves for maximum storage space.
Don't do this with open shelving.
When placing items on an open shelf, you want to create a distinct space between each item or item group, so everything looks tidy, spacious and organized.
This is especially true when you're displaying practical items that are used every day.
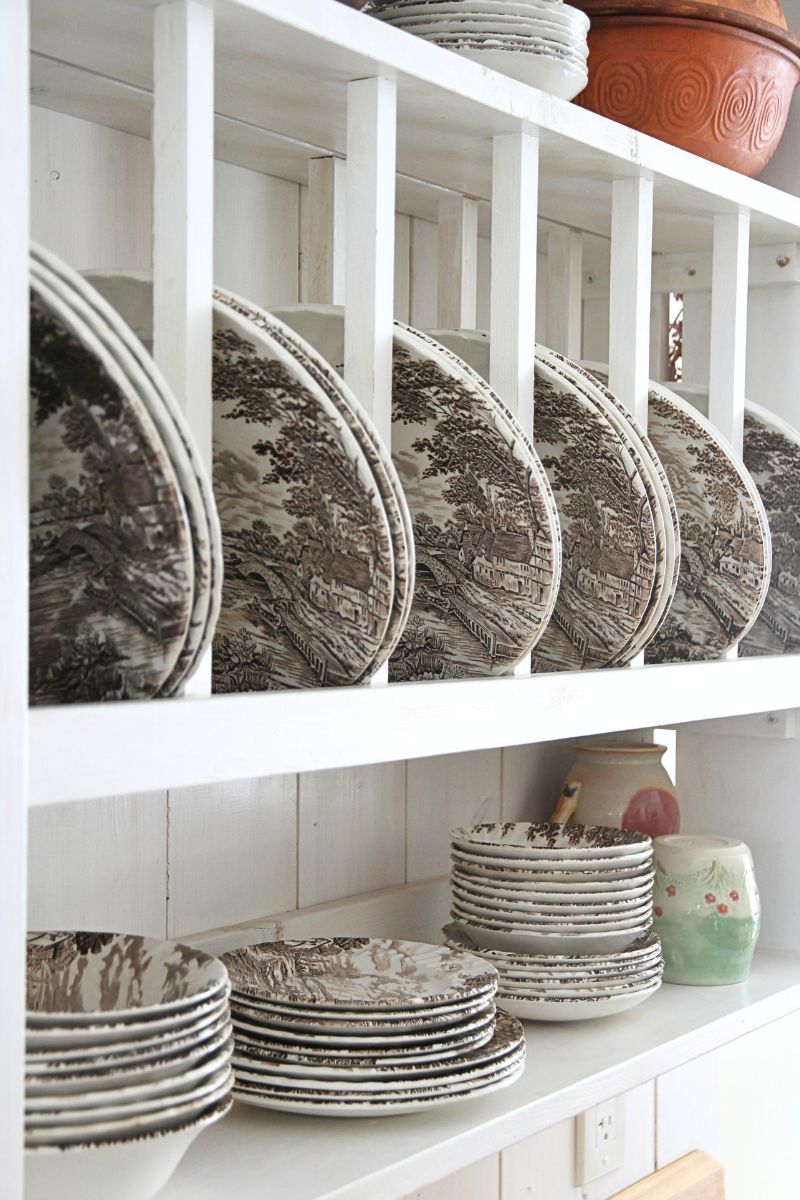
Store Big Items Up High and Smaller Items Down Low
The human eye naturally falls on items at head height. To create a clutter-free look, store big items higher up on the shelf.
Small plates, bowls, teacups and small food storage containers should be stored down low, where the eye isn't as quick to rest on them.
Its practical (dishes and containers are easy to reach) and these small items will be less noticeable when kept on the bottom of an open shelf.
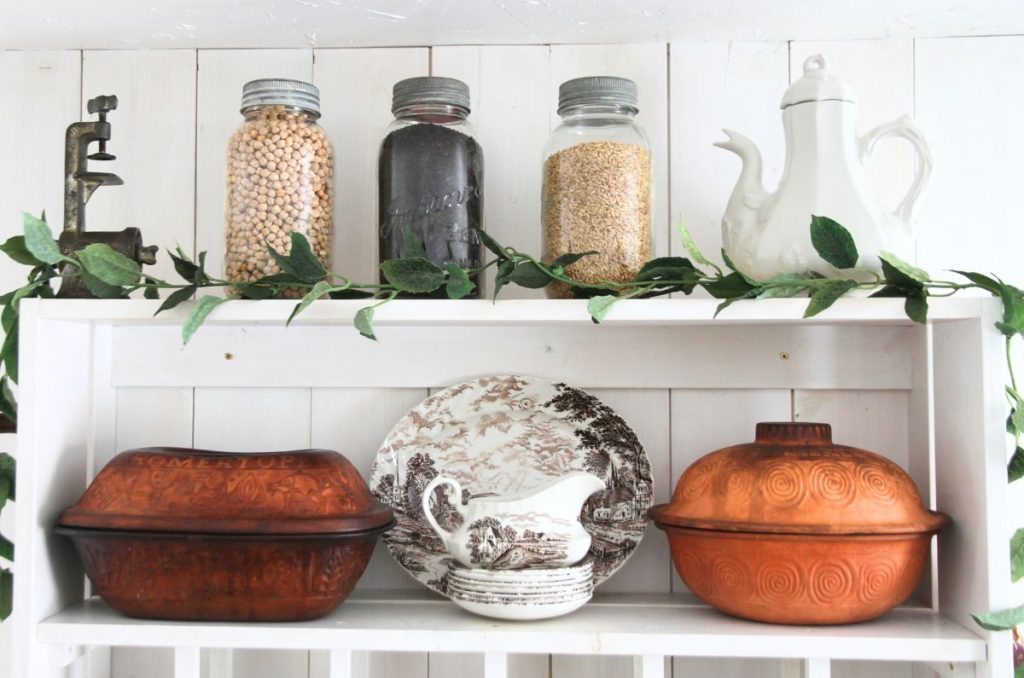
Use the Topmost Shelf to Display Decorative Items
Because the top shelf is hard to get at, it's the perfect place to display colorful and decorative items. Your eyes will naturally be drawn upward, so save it for statement pieces!
Unlike the functional areas of your open shelving, feel free to create layers in these spaces.
Have a Place for Everything
Nothing detracts from your beautiful open shelving like visual clutter, so have a place for everything. This includes kitchen decor and functional pieces alike!
You'll love the practical look of dishes, bowls and pitchers displayed on open shelving, but do take pains to be orderly in your arrangement of it.
Other Helpful Tips for Keeping an Organized Look
Here are a few other tips that will help you create beautiful, clutter-free open shelves in the kitchen!
- Store smaller items on your lower shelves, and increase in size as you work up toward the top shelf.
- Leave a little bit of space between groupings of items on your shelves for a curated look.
- Always store pantry items or dry goods in uniform containers.
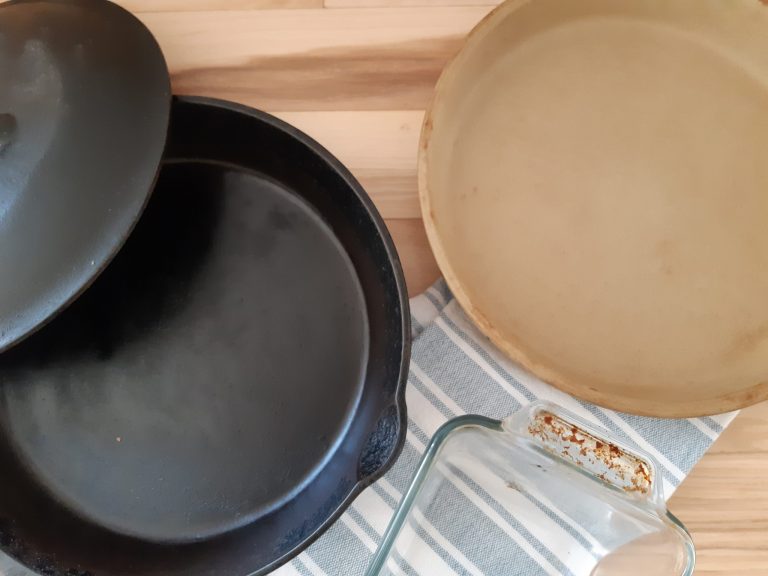
- Store pots and pans in the lower cabinets, unless they contribute to the look of your kitchen.
- Keep small and large appliances behind lower closed cabinets!
- If you find yourself using open shelves as a dumping ground, bring in another basket or container for those car keys, the mail, fingernail clippers, hair ties or whatever else ends up on your open shelving!

You have done a lovely job of arranging your open shelf cupboards. I love the way you put coolers, sizes of dishes and things together. It looks beautiful and easy to find what you want.
Thank you. 🙂 My #1 rule was that it had to be functional and make kitchen life easier. And #2 was that it couldn't look cluttered! I do love this space, so much.