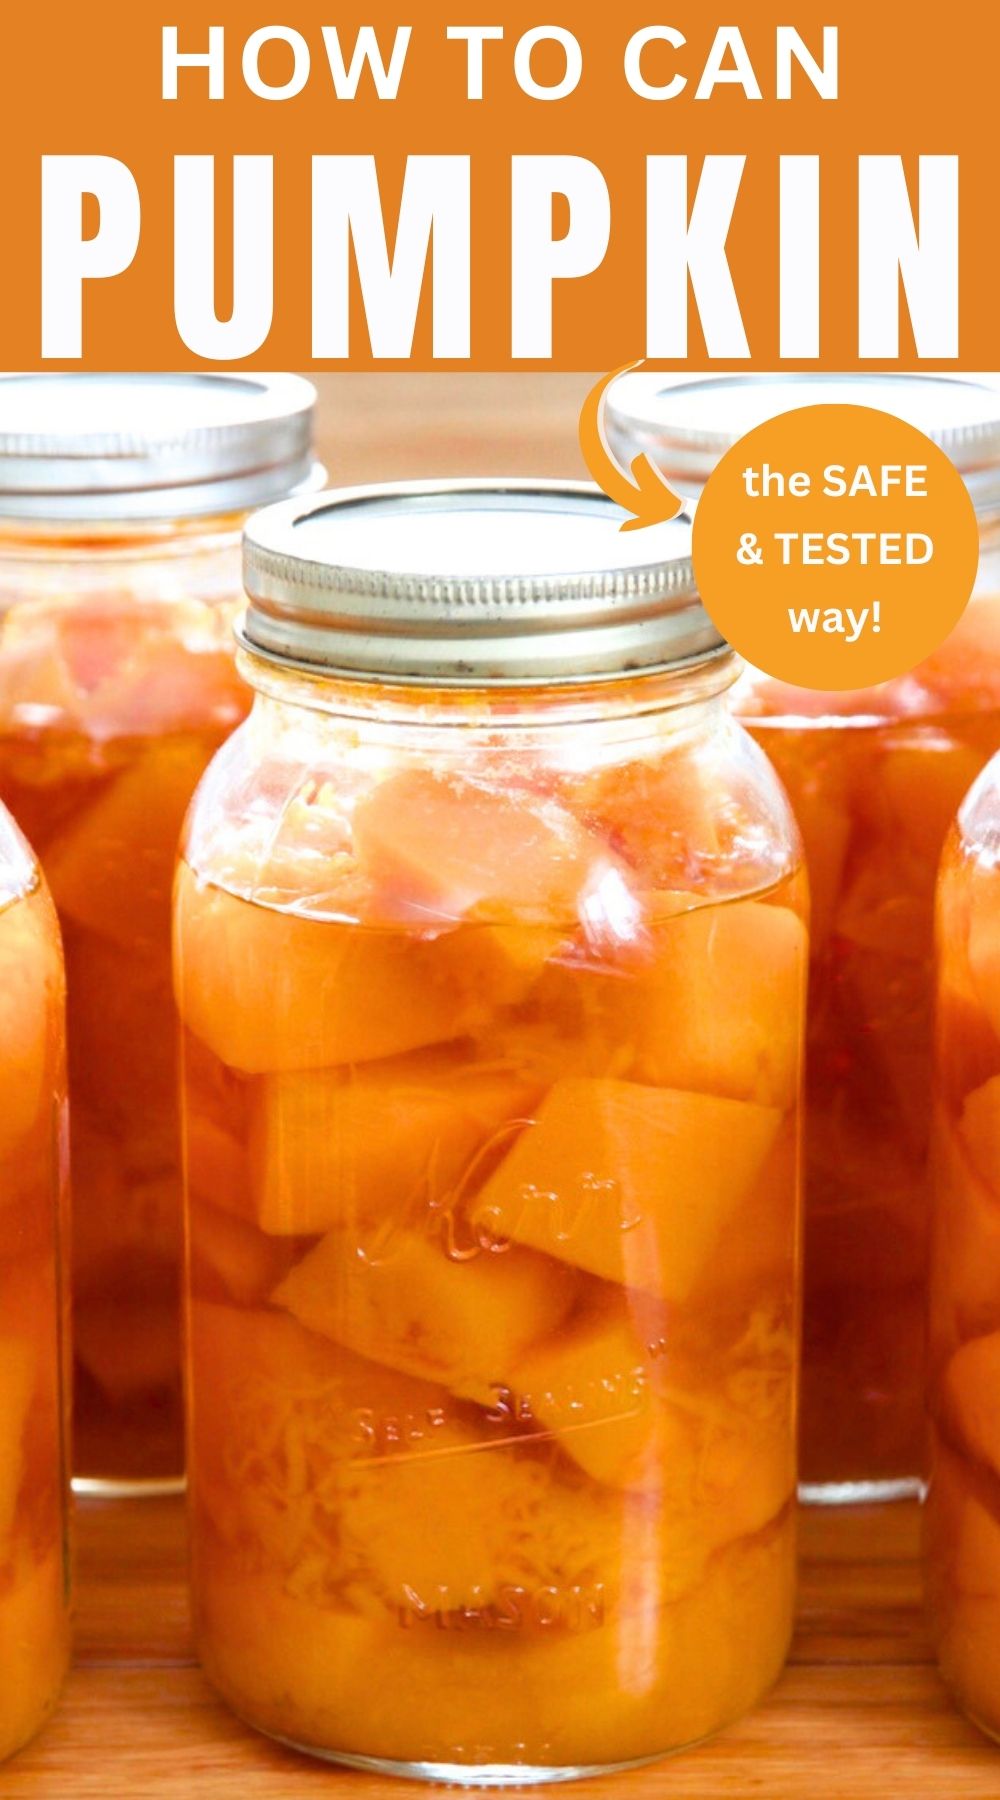
How to Can Fresh Pumpkin
Start canning pumpkin in your kitchen, so you can have your own pumpkin puree on hand throughout the year to use in your favorite recipes.

Whether you hope to make pumpkin pie filling, pumpkin bread, soup or even just pureed pumpkin for the baby, canning is the only way to preserve this vegetable (or is it a fruit?), so it's ready to go at the pop of a lid.
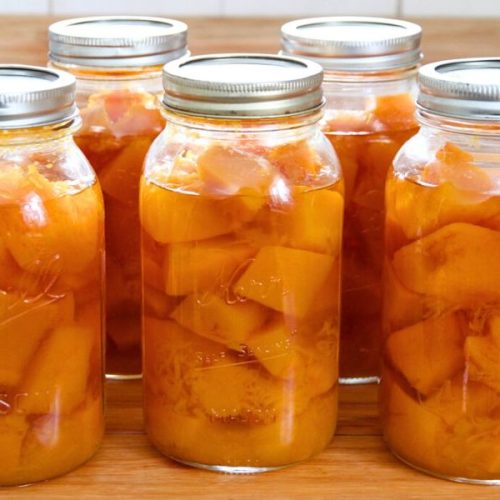
And while you can't safely can pumpkin in pureed form, it's nice to have canned chunks of pumpkin on hand that can be turned into puree in a minute or two.
You can buy pumpkins in the fall for home canning. But I like to grow my own in the gardens around our cottage. They're easy to plant from seed and mature nicely our northern climate, plus they're simple to harvest and store at the year's end.
In the past, I've primarily grown sugar pie pumpkins, but I would like to branch out soon and try some other varieties. I'm particularly interested in types that have thicker skin and will keep longer in cold storage.
You see, fall is a busy time of year around here, so I don't always get around to cooking and canning pumpkin until after the snow flies.
Thin skinned pumpkins (like the sugar pie variety) can lose their firm flesh as they sit on the shelf, waiting for me to pull my pressure canner out. So in my case, pumpkins with a tougher shell make a lot of sense.
But enough talk about growing pumpkins; here's what you need to know about making home-canned pumpkin!
Best Type of Pumpkin for Canning
When it comes to home canning, you want to be sure and use the right kind of pumpkin. There are two basic types.
Field pumpkins are common and are generally used for decorating, jack-o-lanterns and even animal feed. But they tend to have stringy flesh and bland flavor, so while they can be eaten, they aren't the best choice for canning.
Sugar pumpkins are usually smaller, have smooth flesh and are much sweeter in flavor. They're wonderful for all your canning, baking and cooking needs.
I love growing my own pumpkins and have made a quick list of heirloom sweet pumpkin types for your garden below. But if you don't have a garden?
Check for these same types at your local grocery store or farmers market fall-winter!
- Jarrahdale pumpkin
- Long Island Cheese Pumpkin
- Luxury Pie pumpkin
- Moranga pumpkins
- Musquee d'Hiver Provence
- Queensland Blue pumpkin
- Sugar pumpkins (also known as sugar pie pumpkins)
- Winter Luxury
Ingredient List
- whole pumpkin
- water
- optional: salt
FYI, you don't have to use salt when canning pumpkin. Totally up to you!
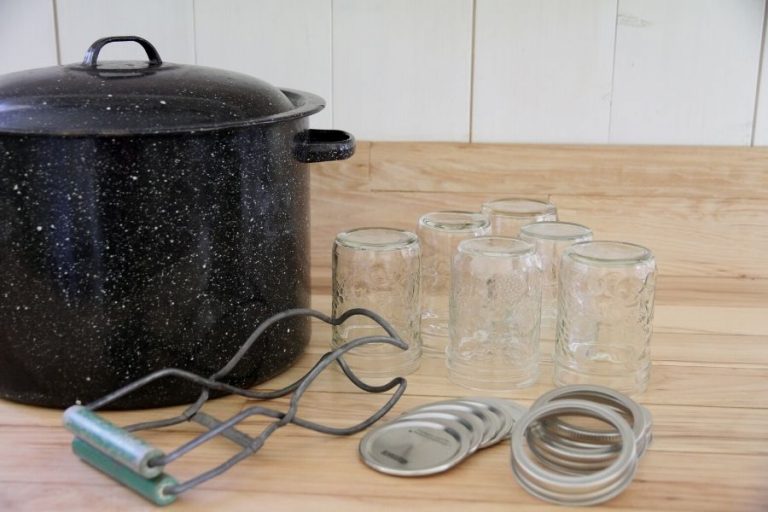
Tools You Need
- pressure canner
- large pot
- 7 quart canning jars
- 7 canning lids
- canning funnel
- jar lifter
- cooling rack
- cutting board
- large kitchen knife
- peeler
While this recipe is for quart jars, you can cut it in half and use pints for smaller jars of pumpkin.
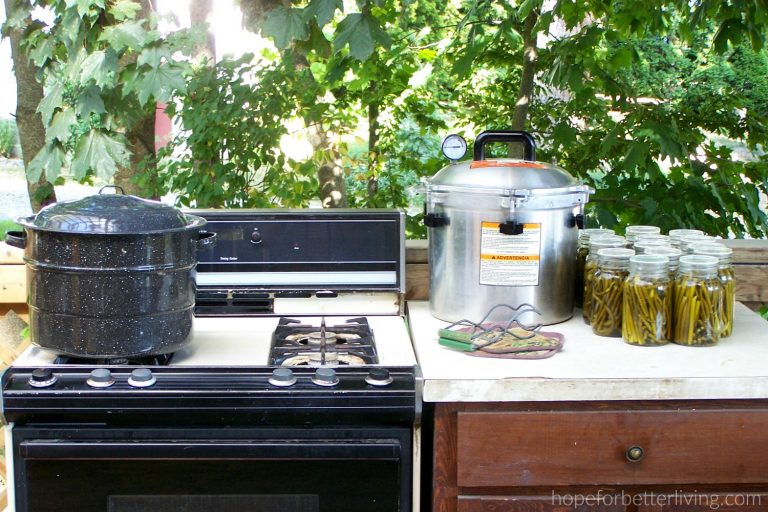
Because pumpkin is a low acid food, you do need a pressure canner to safely can pumpkin at home. Your pressure cooker, instant pot, water bath canner and even a steam canner won't get hot enough to make sure botulism spores are killed off.
How to Can Fresh Pumpkin
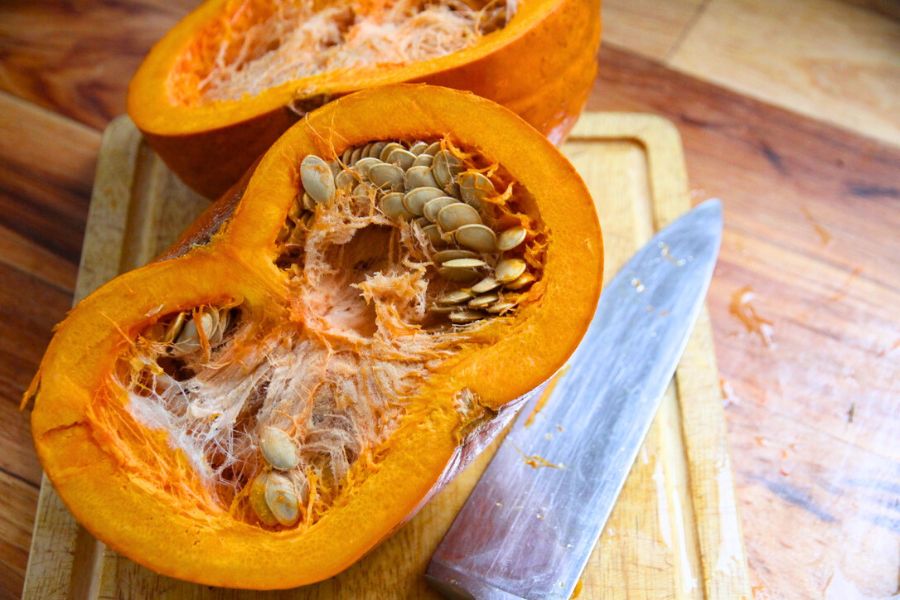
Scrub your whole pumpkin at the kitchen sink to remove dirt, then cut it in half. Be sure to use a very sharp knife for this, because the skin can be tough.
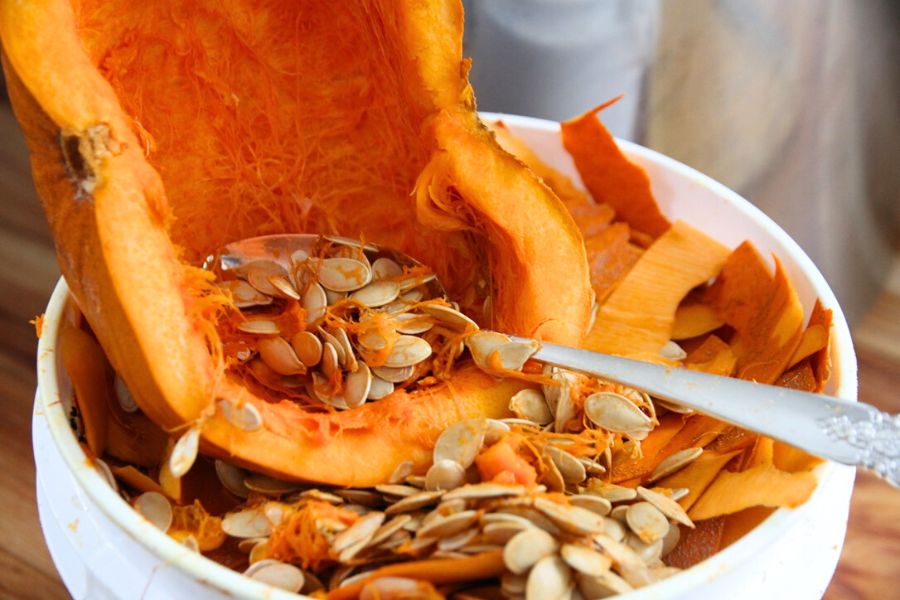
Use a large metal spoon to scrape out pumpkin seeds. You can save the seeds for roasting, if you like. If not, your chickens will love them!
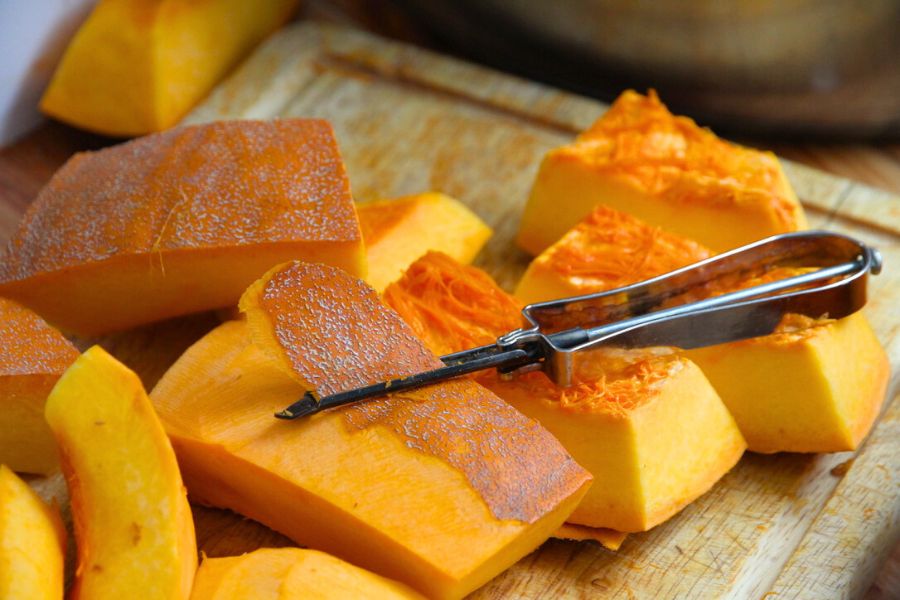
Cut each half into 2-3 wedges and peel with a vegetable peeler, or use the knife to cut the flesh away from the skin as you would with a slice of cantaloup or melon.
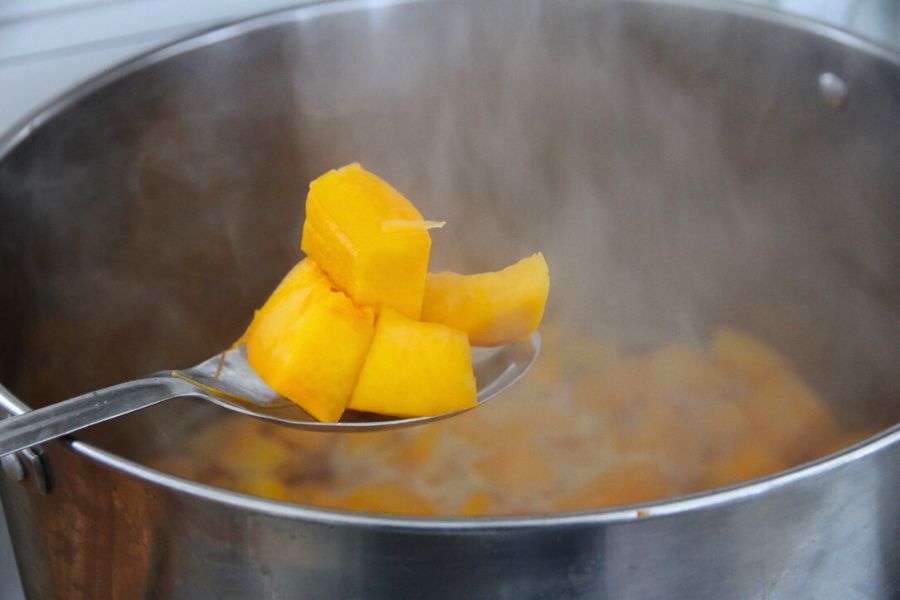
Chop wedges into approximately 1-inch cubes and toss them into a large stockpot.
Add water to the pot, until pumpkin chunks are covered by 1-2 inches of cold water
Cover with a lid and set the pot on your stove to boil.
Take a moment to add water to your pressure canner and start heating it on the stove.
When the water in your pot boils, set a timer for 2 minutes and boil pumpkin cubes to heat throughout.
Yes, you DO need to preheat your pumpkin before it goes into jars (it's called the "hot pack" method). There are no tested recipes that give you directions otherwise. You can see for yourself at the National Center for Home Food Preservation website.
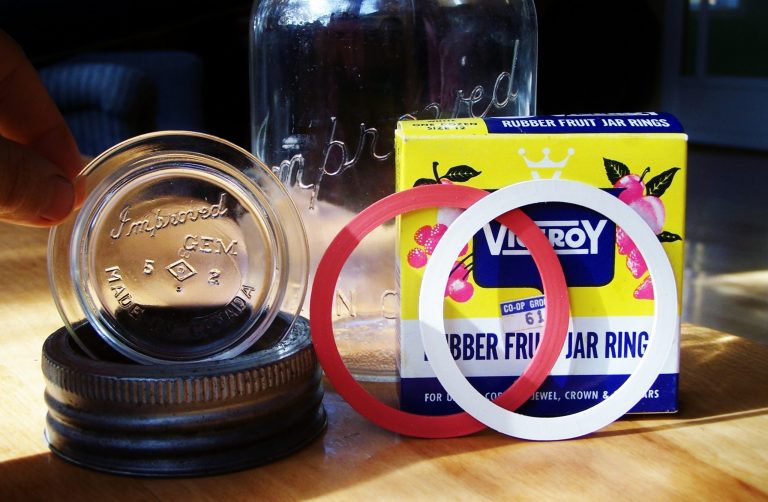
Heat your glass jars by running hot water over them at the kitchen sink.
Place your canning funnel on the mouth of a quart jar, add salt (if using) and ladle hot pumpkin into it.
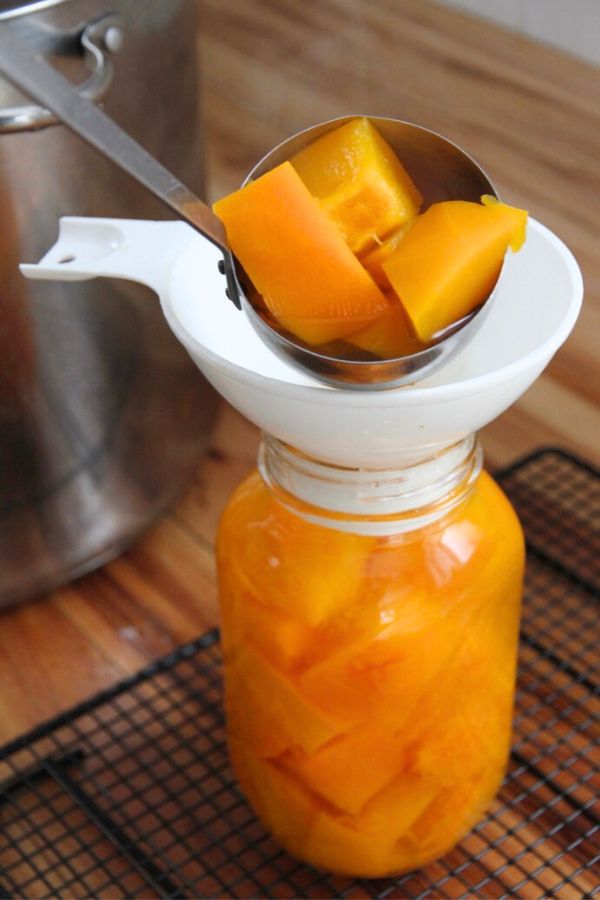
Be sure to cover chunks with cooking liquid from the pot, so everything is submerged until the boiling water.
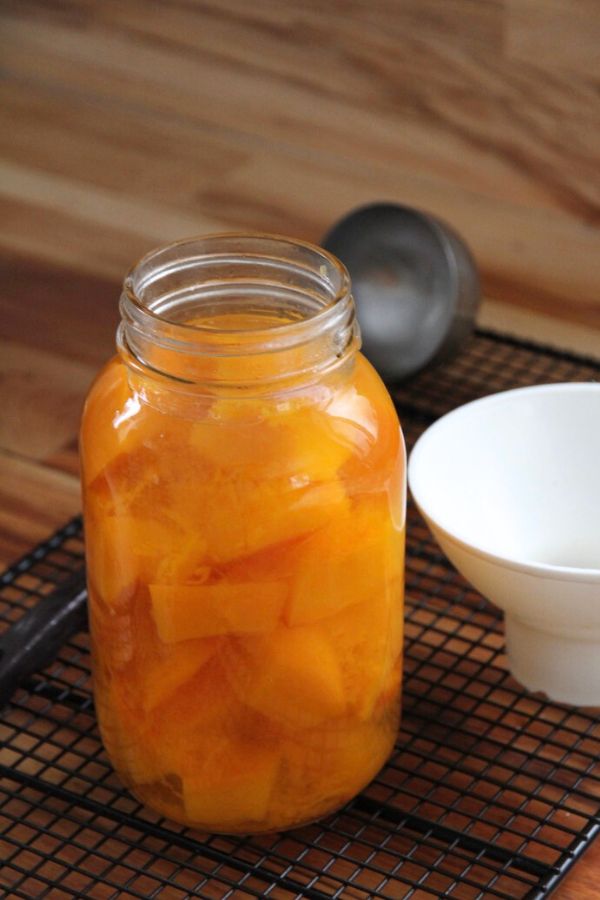
Leave 1 inch of headspace (open space) at the top of each quart jar, so things don't bubble over in the pressure canning process and spoil the seal.
Wipe the rim of the jar and add a lid and canning band, tightening to fingertip tightness.
Place hot jars in your pressure canner.
Tighten canner's lid and bring it up to proper pounds of pressure for your altitude and canner type. I put specifics in the printable below.

Safety Tips for Canning Fresh Pumpkin
- Always use firm, sweet pumpkins for home canning and you'll get good results.
- You don't need to pull out a measuring tape, but do try to cut pumpkin into 1x1 inch chunks to ensure they evenly heat throughout.
- Be sure to heat pumpkin cubes before filling glass jars, because processing times are only configured for a hot pack recipe.
- Never puree pumpkin before canning; your kitchen pressure canner can't heat puree evenly, so pumpkin must be canned in chunks.
- It isn't safe to can pumpkin in jars larger than 1 quart (1 litre) size.
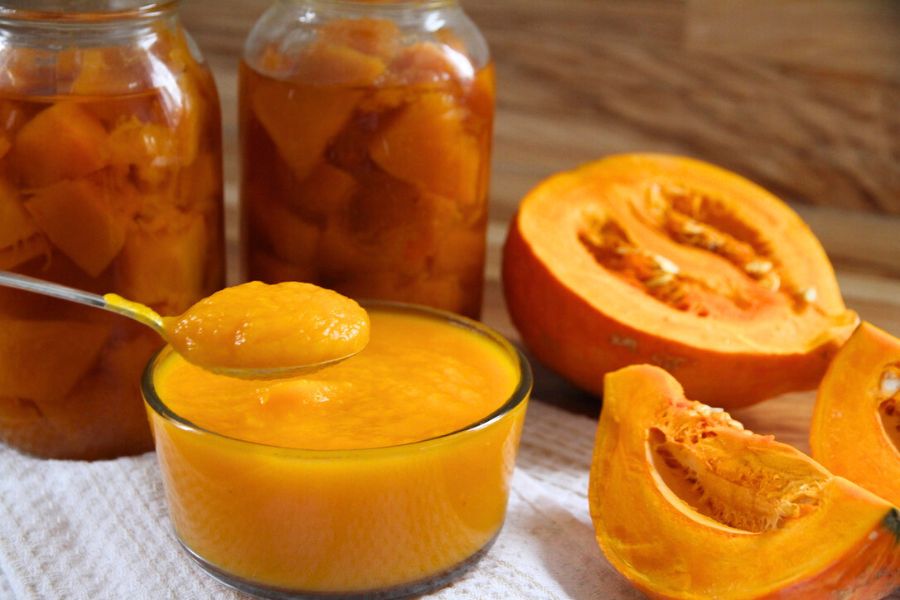
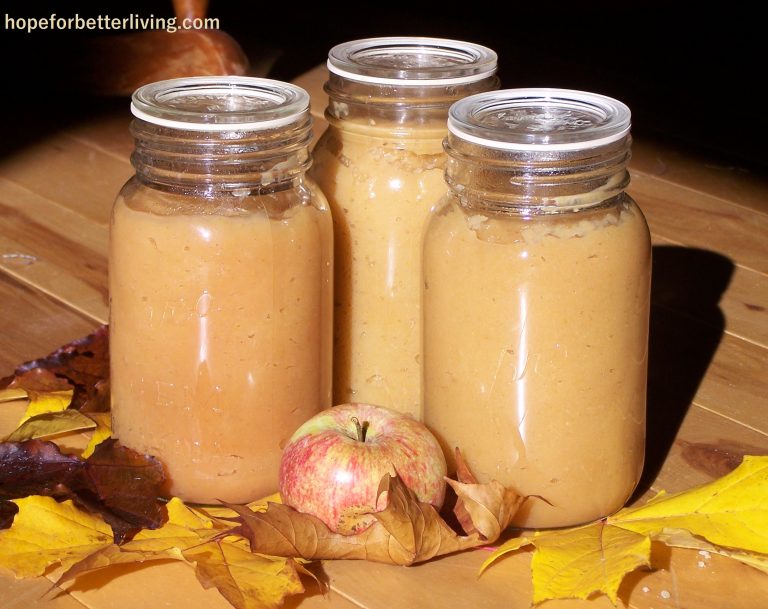
How to Turn Canned Pumpkin into Puree
Before using or pureeing your pumpkin chunks, pour pumpkin into a colander or strainer and let it drain at the kitchen sink for a few minutes. And then, you can puree it using a food processor, blender or an immersion blender.
Because it's canned in liquid, home-canned pumpkin puree will be thinner than puree you buy at the grocery store. If you want to thicken it, you can cook it down on the stove top. Just be sure to stir it the entire time!
Ways to Use Home-Canned Pumpkin
Puree made from home canned pumpkin has a thinner texture than commercially canned stuff. But it will still work in your favorite pumpkin recipes! And if you don't have a favorite, here are some options to try.
- pumpkin bread
- pumpkin butter
- pumpkin custard
- pumpkin muffins
- pumpkin pie
- pumpkin soup
How to Pressure Can Pumpkin
Equipment
- pressure canner
- 7 quart jars
- 7 small mouth lids and canning bands
- canning funnel
- jar lifter
- cooling rack
- large stock pot
- cutting board
- large kitchen knife
- vegetable peeler
Ingredients
- 16 pounds of whole pumpkin
- water to cover cubed pumpkin by 1-2 inches
- 7 teaspoons salt (optiona)
Instructions
- Weigh pumpkins and make sure you have about 16 pounds worth.
- Scrub whole pumpkin/s clean at kitchen sink.
- Cut in half and use a metal spoon to scrape out seeds.
- Add water to your pressure canner and preheat on the stove while you finish preparing pumpkin.
- Slice pumpkin into 1 inch wedges.
- Use a vegetable peeler to remove hard rind, or use a sharp knife to cut pumpkin away from flesh as you would with a slice of melon.
- Chop peeled pumpkin wedges into 1 inch cubes and toss into a large stock pot.
- Cover pumpkin cubes by 1-2 inches of water and set pot on your stove to boil.
- Boil your pumpkin cubes for 2 minutes, then ladle into hot quart jars, leaving 1 inch of headspace.
- Add 1 teaspoon of salt to each jar, if desired.
- Wipe jar rims and add canning lids and bands, tightening to fingertip tightness.
- Process quarts in pressure canner for 90 minutes at the pounds of pressure specified below for your canner type and altitude (see notes).
- After pressure canner has returned to 0 pounds of pressure, remove lid and lift jars out onto a cooling rack.
- Let jars of pumpkin sit for 8-12 hours before testing for a seal.
- Refrigerate any jars that didn't seal, and put sealed jars on the pantry shelf for later use throughout the year.
- To make puree, let pumpkin cubes drain in a colander over the kitchen sink for a minute or two before pureeing with a kitchen blender or immersion blender.
- Use homemade pumpkin puree in your favorite baking recipe.
When using the pumpkin for baked goods, after puréing, do you still need to squeeze the water out of the purée before baking with it?
Let the pumpkin chunks drain for a minute or two in a sieve, then you can use it directly in a recipe after pureeing. You can't really "squeeze" puree. 🙂
Question.. how many cups do u get from the quart after it’s puréed?
That's a good question. I don't remember exactly. I think it was about 2 cups of puree per quart (which is 4 cups). But I also do mine in very large chunks. Put smaller chunks in the jar and you'll get a lot more in the jar!