Canning Dry Beans for Easy Meals at Home
Learn how to make canned beans at home to stock your pantry shelf. If you like to have healthy, pre-made items on hand for quick meals, you'll love canning beans yourself!
I became "budget conscious" in the kitchen shortly after I got married. As a new homemaker, I wanted to understand how to manage our grocery bill. I wanted to actually know how to cut costs when we needed to save money, and it wasn't just because I married a frugal guy. It had more to do with my desire to do my job well.
I knew dry beans were a cheap source of food. They were easy to incorporate into meals. And I liked beans. But preparing, soaking and cooking dried beans took a long time and required planning ahead. And I wasn't always good at that!
When I learned to use a pressure canner, it changed everything.
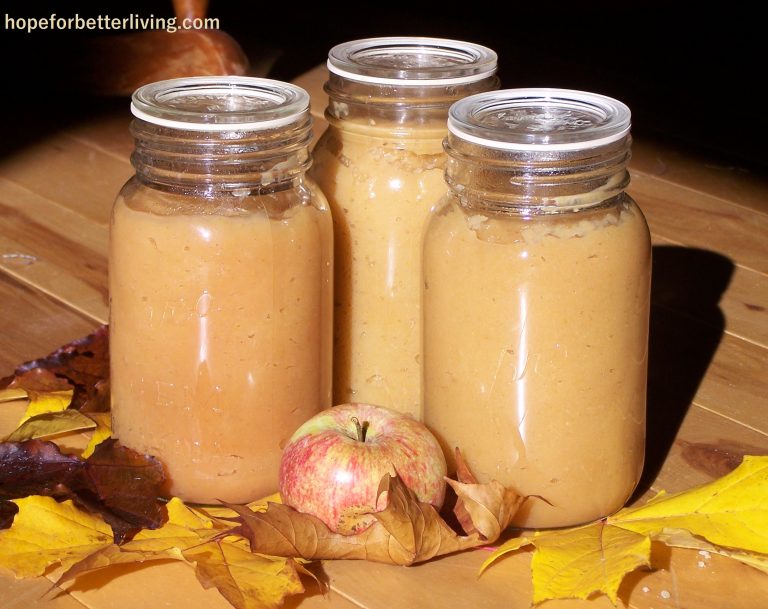
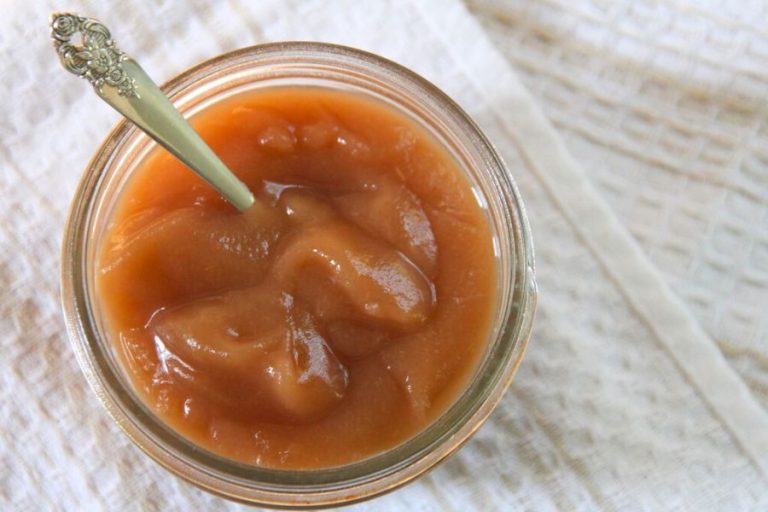
Canning allowed me to turn dried beans into healthy canned goods that were shelf stable and ready to go. At the pop of a lid, I had prepared and cooked beans for my homemade chili, soup, tacos, salads and more!
Different Types of Beans for Your Canning
The National Center for Home Food Preservation (the best and most trusted canning site on the internet!) states that all types of dried beans are safe for canning. Provided you properly hydrate them before sending them through the canning process, that is!
Here's a list of beans you may want to try if you don't already have a favorite variety.
- adzuki
- black beans
- garbanzo beans
- kidney beans
- lima beans
- navy beans
- pinto beans
- white beans (great northern beans, Catallini, etc)
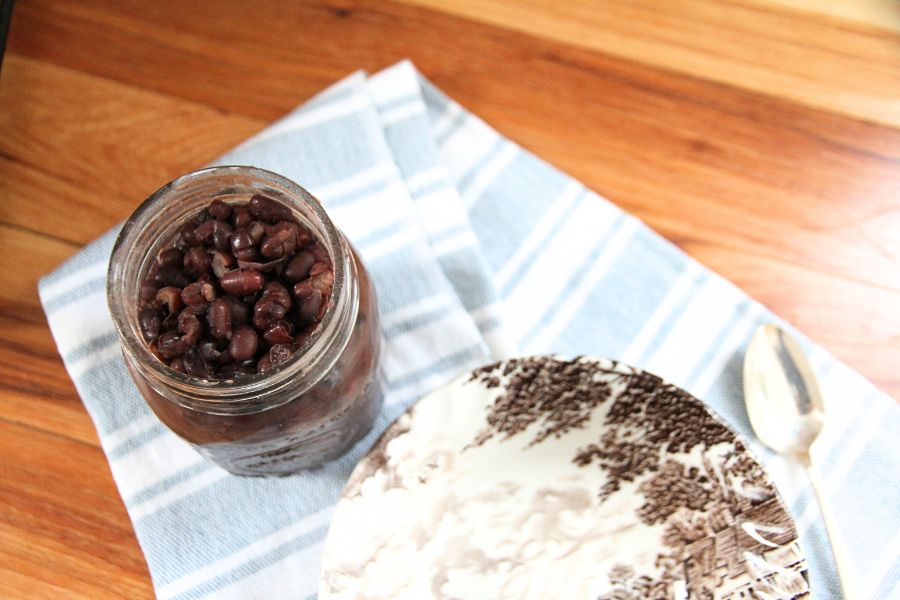
If you have a mix of beans in your pantry? Feel free to can them together! In this tutorial, I'm using both black beans and adzuki beans.
I'm an avid gardener and over the past few years, I've been experimenting with growing my own dry beans (also known as a shelling bean). I'm in love with the flavor and texture of my home grown, Annie Jackson pole beans!
They cook evenly throughout, are buttery in flavor and velvety soft in texture. They cook up much faster than dry beans from the grocery store and (surprise!) they don't give you gas!
Which makes me wonder exactly how commercial producers dry their beans?
Anyway, all that to say...if you grow your own dried beans, you can pressure can those too! 🙂
Tools You'll Need
- Pressure canner (I use the All American canner)
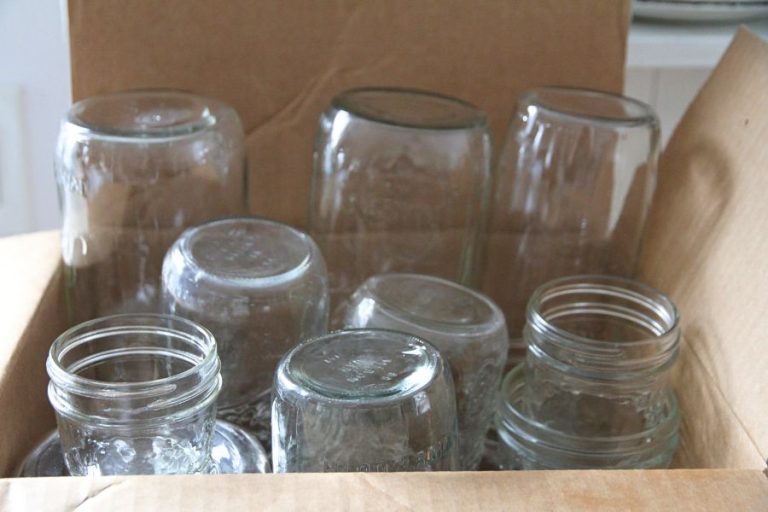
- Canning jars (wide mouths are easier to wash)
- Canning lids
- Jar lifter
- Large pot
- Colander
Here are some commonly asked questions regarding tools below!
Should you use a water bath canner or pressure canner?
With non acidic foods like dried beans, you need temperatures hotter than water bath canning affords (212F or 100C). Pressure canners can reach temperatures as high as 240F or 115C, and testing has been done to find the proper time for safely canning beans at home.
Can you use a pressure cooker for canning dried beans?
The answer is "you shouldn't."
Pressure cookers aren't super exact in measuring pounds of pressure, which means you won't have the proper heat levels you need for canning beans.
Pressure canners, on the other hand, are tested and designed to be very accurate and make sure your food is gets hot enough to kill bacteria.
Is it safe to can dried beans in an instant pot?
The instant pot is a pressure cooker. When this appliance first came out, 3rd party testing was done to see if it was safe for pressure canning. And you know what? It's readings weren't accurate! Which means the heat inside of the pot didn't hold steady and would drop below the needed temperature.
There really isn't any way around it: you need a pressure canner to make home canned beans!
Should I use a dial gauge pressure canner or a weight-gauge pressure canner?
You can use either one for pressure canning beans. Personally, I prefer the weighted-gauge pressure canner. You can hear where things are at as you go about housework and unlike a dial gauge canner, you don't have to stop in and check it every 5 minutes or so.
Ingredients
- 2.5 pounds of dry beans (will fill 7 pint or 500 ml jars)
- water to cover by several inches
- salt
How to Can Pressure Can Dry Beans
Pressure canning beans is quite easy, but it does take time. I recommend working in large batches to make the most of your efforts. If you have a large canner that allows you to stack jars, I recommend doubling or even tripling this batch!
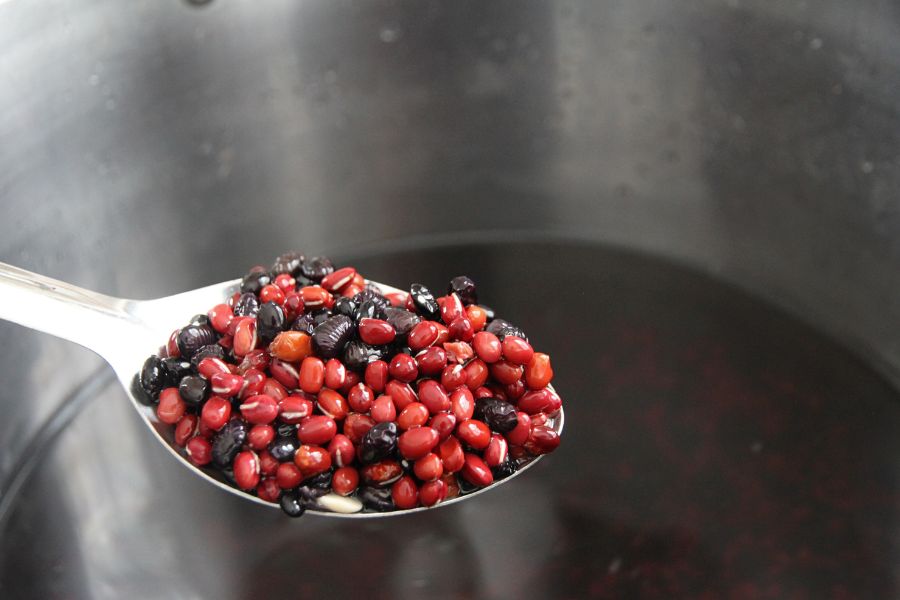
Hydrate Your Dry Beans
Before you can dry beans, they need to be hydrated. There are two ways to do this.
- Soak your beans for at least 12 hours in cold water. Drain and add fresh water, cooking beans for 30 minutes before filling jars.
- Cover beans in plenty of water and boil for 2 minutes. Let sit for 1 hour in hot water, then pour off. Refill with cold water and cook for 30 minutes before filling jars.

Add Water to Your Pressure Canner and Heat
Before you dive into filling jars, be sure to prepare your pressure canner by adding proper amounts of water. Your manufacture's instructions will give you the proper amount. Then heat it on the stove.
Get Proper Directions for Canning Beans in Your Canner and Home
The best place to go for specifics on running a pressure canner full of beans is the National Center for Home Food Preservation. Pressure canning beans isn't complicated, but you do need to know the 3 following things to safely follow directions given on the website above.
1. Your Canner Type
Directions for canning are given for both a dial gauge pressure canner and a weighted-gauge pressure canner. You need to know your canner type (check your manufacture's manual) to get the proper PSI.
2. Your Jar Size
To process jars of food for the proper length of time, you need to know the size of your jar! The bigger it is, the longer it takes to can.
3. Your Kitchen's Altitude
Last, your altitude determines the PSI (or pounds of pressure) you need to process dry beans at. You can do a quick google search of your zip code to find out.
Understand these 3 things and you'll have no troubles following directions at the NFP website!
Fill Your Canning Jars
Ladle hot beans and liquid into pint jars (if you double the recipe, you can use quart jars). Leave an inch of headspace. Wipe jar rims. Pop lids into place and tight your canning band with fingertips.

Can According to PSI and Processing Time
You can find proper PSI and processing times for your canner type and elevation on the National Center for Home Food Preservation website HERE.
Gently settle hot jars of beans into your pressure canner until it is full. Fasten the canner's lid. Vent your pressure canner for 10 minutes, then close the valve or add your weight (it depends on your canner make and type!)
When you've reached the proper PSI according to your pressure regulator, start your timer and monitor your canner until the proper amount of time has passed.
Let Pounds of Pressure Return to 0.
When your timer goes, turn the stove top burner off and leave the canner in place. Don't ever try to move it. And never open a vent or remove a lid until the gauge dial has returned to 0 pounds.
It doesn't matter if you're running a dial gauge or a pressure gauge.
Always wait!
Remove Hot Jars and Cool
Once your dial reads 0, remove the lid. Be sure to lift the far side of the lid first so the steam doesn't hit your arm. Trust me. It leaves a nasty burn!

Test for Proper Seal and Put In Food Storage
Set the jars on a cooling rack and let them rest for 8+ hours. Any jars that didn't seal should be refrigerated. And sealed jars can go in a cold room, pantry or wherever you keep your food storage!
Pin this for later:

Using Canned Beans in the Kitchen
Here are some tips and recipe ideas for using home canned beans in your home cooking.
How to Measure Home Canned Beans
Many recipes out there measure beans by the can size (16 ounces or 425g). This can be problematic when you're using home canned beans!
I recommend you measure by cups when using your own beans. Here are the ratios you need to know.
- one 15-16 oz can of beans=1.5 cups
- 1 pint jar=1.5 cups canned beans
- 1 quart jar=4 cups canned beans
Quick Meals Using Home Canned Beans
Here are some quick an easy ways to use home canned beans to feed your family!
- Baked Beans with Molasses
- Bean Salad
- Black Bean Chocolate Muffins (great for GF families!)
- Delicious Homemade Chili
- Easy Black Bean Tacos
- Homemade Bean Soup
- Refried Bean Dip
- Simple Rice and Beans
- Taco Soup

How to Can Dried Beans
Equipment
- Pressure canner
- 7 pint jars
- 7 canning lids
- Large pot
- Jar lifter
- Cooling rack
Materials
- 2.5 pounds of beans
- water to cover beans by 3 inches
- 3.5 teaspoons salt
Instructions
- Measure your beans in a large stock pot (you can easily double, triple or quadruple this recipe).
- Add water until beans are covered by 3 inches.
- Hydrate beans using one of the following methods.
- Choose your method for hydrating beans.1. Let beans soak in cold water for 12 hours. Pour off water and replace with fresh water, covering beans by 3 inches. Boil for 30 minutes before canning. 2. Boil beans for 2 minutes. Let sit for 1 hour. Pour off water and replenish with fresh water, covering beans by 3 inches. Boil for 30 minutes before canning.
- Add the proper amount of water to your pressure canner and start heating.
- Measure 1/2 teaspoon of salt into each pint jar.
- Ladle hot beans into jars, leaving 1 inch of open space (headspace) at the top.
- Wipe rims and add canning lids, fastening them down with canning bands.
- Place filled and lidded jars in the pressure canner.
- Tighten the canner lid and bring it up to the proper PSI for your canner type and altitude.
- After reaching the proper PSI, set your timer and process.
- Once your timer goes, turn off the burner and let pressure return to 0 on the canner's dial.
- Carefully lift the lid and remove jars, setting them on a rack to cool.
- After 8 hours, test each lid for a seal, putting sealed jars in the pantry and any unsealed jars in the fridge.