How to Plant Shallot Bulbs in the Garden
Learn how to plant shallots in the vegetable garden, for a bountiful fall harvest that can be used in the kitchen all winter long!
I freely admit I've always been an allium lover. As a little girl, I would chew on fresh spring chives that would appear just outside our old farmhouse. Green tops or purple blossoms, I ate it all!
Onions and garlic were always staples in my country style cooking, and when I began gardening as an adult, alliums were high on the list!
Grow what you like to eat, right?
After my man and I finally moved to the countryside and were able to establish permanent garden beds, I put several multiplier onions in my kitchen garden.
Now in early spring, both the bunching onions and Egyptian walking onions are first to appear. The fresh flavor is very welcome in my traditional kitchen!
Shortly after the spring onions, fall planted garlic cloves put up their green shoots. About 6 weeks later, it's time to plant onion sets and of course, shallot bulbs!
I only recently realized how much I love shallots.
Between garlic, leeks, onions and shallots, I think I could almost be happy growing nothing but alliums in my gardens.
Introduction to Shallots
Shallots are members of the allium family, and look like a cross between an onion and garlic. They have sweeter flavor than most alliums and bring their own special touch to savory, home cooked dishes.
Here are some fun facts about shallots that I'm going to share, in hope of convincing you to try growing them in your gardens. Because they really are worth it!
- Shallots are similar to onions in their structure, with papery peels and inner "onion layers."
- Most shallots are sweet and mild in flavor, especially when compared to garlic or winter onions.
- In the garden, a single shallot will produce a cluster of bulbs at the end of growing season.
- As with onions and garlic, shallots are easy to cure so they keep well over the winter months.
- You can store shallots for 6+ months in a dry, cool place, which makes them wonderful winter keepers.
- You can replant individual bulbs in the spring or late fall, for an ongoing supply.
If you don't like pungent garlic flavor, and if you don't fancy onions, perhaps its time to try the tantalizing flavor of the sweet little shallot!
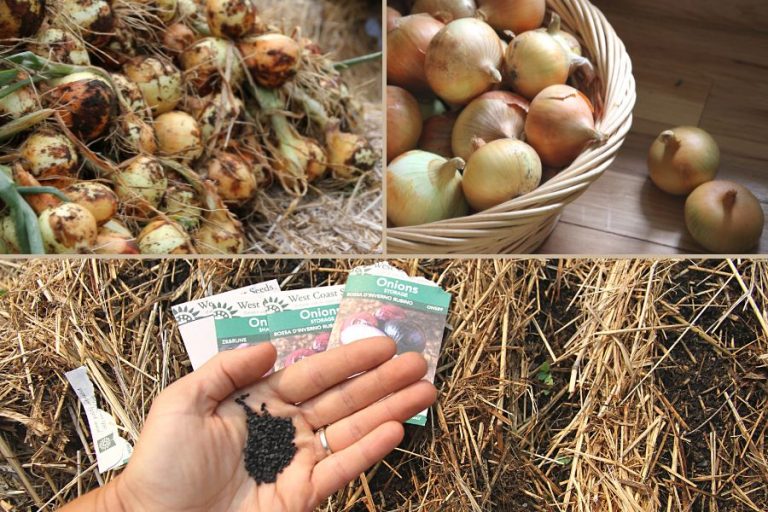
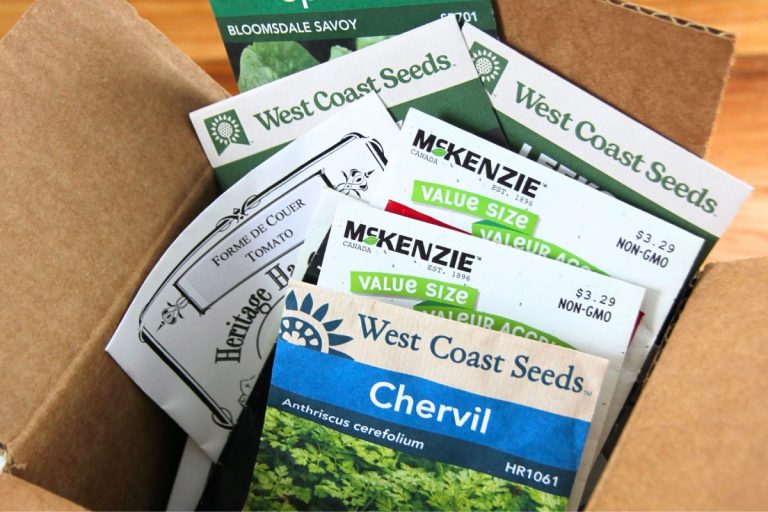
You can grow shallots from sets (single bulbs) or from seed.
Pros and Cons: Shallot Sets vs Shallot Seed
You can buy shallots as developed 1 year old bulbs (also referred to as sets), or you can buy shallot seeds and start the plants yourself. Here are the pros and cons of either choice.
Shallot Sets
Pros
- Shallots sets are individual bulbs that will quickly produce more bulbs over the summer gardening season.
- Shallot sets are large, which makes them easy to handle and plant (especially if you garden with children!).
- In some climates, shallots can be planted in late fall at the same time as garlic, which helps cut back on the spring work load.
- When they appear, the green tops are thick and hardy, which makes it more difficult for pests to destroy.
Cons
- Shallot sets are far more expensive than shallot seeds.
- You have fewer varieties to choose from, because seed companies usually carry just a few kinds of shallot sets.
Shallot Seeds
Pros
- Seeds are much cheaper than shallot sets.
- There are more varieties to choose from when growing shallots from seed.
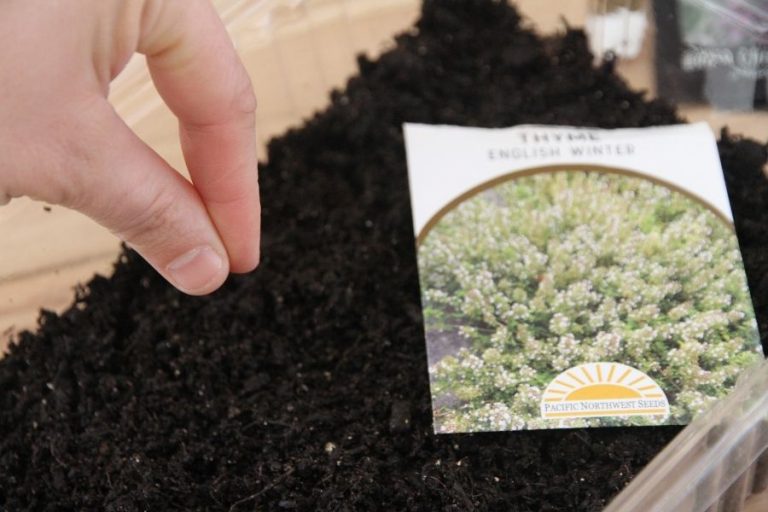
- You can direct sow shallot seeds in your garden, and grow sets for the following year. Or you can start seeds indoors in late winter and transplant in the spring, for a same-year harvest.
Cons
- Shallots grown from seed take a long time to mature, which makes them quite fussy to plant & grow.
- Transplanting shallot seedlings isn't fun; the tiny wispy greens are hard to handle and it takes a very long time!
- Seed directly sown in the garden can be difficult to manage, because the tiny wisps grow much slower than the weeds. And you have to know when to harvest, how to cure and store smaller shallots, so they can be replanted the following spring!
At the end of the day, most gardeners just stick to basic shallot varieties and purchase sets from a garden center or seed company. But if you like trying something new, growing shallots from seed is a very inexpensive way to get started!
Shallot Varieties for the Home Gardener
When it comes to varieties, you'll find most fall into the "pink shallot" category. But you can find yellow shallots here in North America, while grey shallots are primarily sold and grown in European countries and specifically, France.
As far as shape goes, shallots are either long (sometimes called banana shallots) or shorter and stubbier, like a garlic bulb. The latter are actually the true shallot, while banana shallots are actually a cross between an onion and a shallot!
But most of the time, sellers don't distinguish between the two types. Both fall under the label of "shallot."
Where I live, shallot sets are sold like onions, usually in generic groupings. Here are some common ones to look for.
- French shallots (also known as French red shallot)
- Red shallots
- Yellow Dutch shallot
- Zebrune (long banana type)
Remember: if you grow shallots from seed, you'll have a lot more options to choose from! And once you get your first harvest, you can treat shallots just like garlic, saving and replanting your own sets every year.
Where to Find Shallot Bulbs or Sets
Shallots aren't as common as some alliums, but most seed companies who carry onions and garlic sets will also carry a few shallot varieties.
Here are some great places to look for them in early spring!
- local garden centre
- hardware store
- your favorite seed company
- a neighbor or gardening friend
Helpful tip: gardeners usually don't plant shallots bought from the grocery store. They aren't guaranteed disease free, whereas seed companies can provide clean shallots that won't give your soil a fungal disease.
When to Plant Shallot Sets
Shallot sets can be planted in early spring, or in late fall. It all depends on your growing climate!
Helpful tip: if you can do a fall planting of onions in your garden, shallots will probably survive your winters too. But garlic is hardier than onions or shallots, so don't use them as an indicator of whether or not shallots will survive your winters.
Spring Planting
Spring planting isn't a good idea if you have harsh winters, with temperatures averaging -15F to -20F (USDA zone 5) or colder. For my Canadian readers, that's zone 5b or even 6 (winter temps averaging -26 to 28C). You can't go much colder than that without killing fall-planted shallots!
Helpful tip: mulch makes a huge difference in whether or not you can fall plant onions, garlic, shallots or other crops. Don't ever be afraid to try planting and mulching a small amount, just to see if it can survive your winters!
Fall Planting
If you live in USDA growing zones 5 or higher (Canadian zone 5b or 6), fall planting is an option. But be sure to give the bulbs a thick 2-3 inch covering of dry leaves, straw or dry lawn clippings!
Where to Plant Shallot Sets
Shallots are very similar to onions or garlic (if you've ever grown either, you already know the ropes!). Like most alliums, shallots need to planted where they have these things:
- full sun
- soil rich in organic matter
- loose earth
- well-drained soil
How to Sow Shallot Bulbs
At this point, I've never tried fall planting with my shallots. It's is on my bucket list, but I haven't gotten there yet. Spring or fall, I'd use the exact same techniques. So here's how I currently do spring planting!
Step 1
Prepare your garden bed before planting shallot sets.
Always weed your garden soil, because shallots don't like competing with weeds, and their green tops need access to sunlight.
Be sure to loosen the earth as you weed, because shallots appreciate loose, loamy soil. If you have garden compost, be sure to work it in at this time.
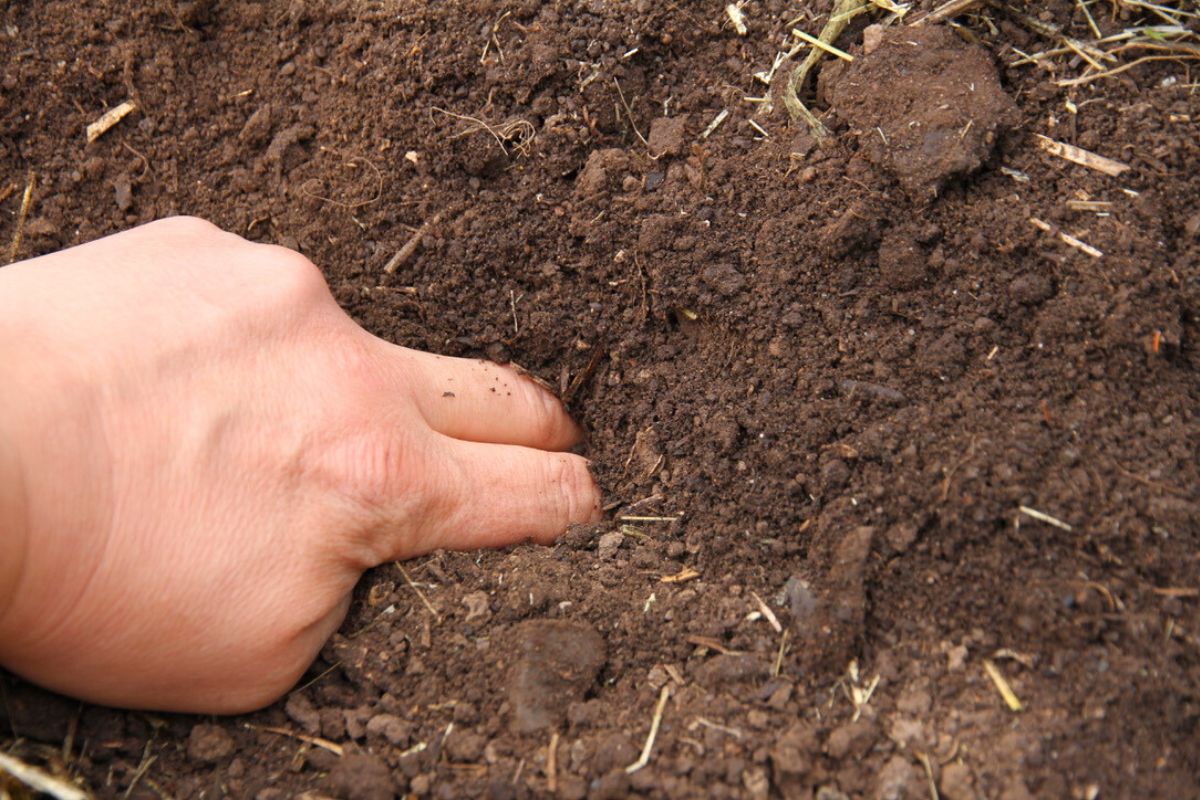
Step 2
Make holes for your bulb sets using your fingers.
Holes should be spaced about 6 inches apart, and each hole should be deep enough to cover the top of your shallot with 1/4-1/2 inch of soil.
Helpful, right? 😉
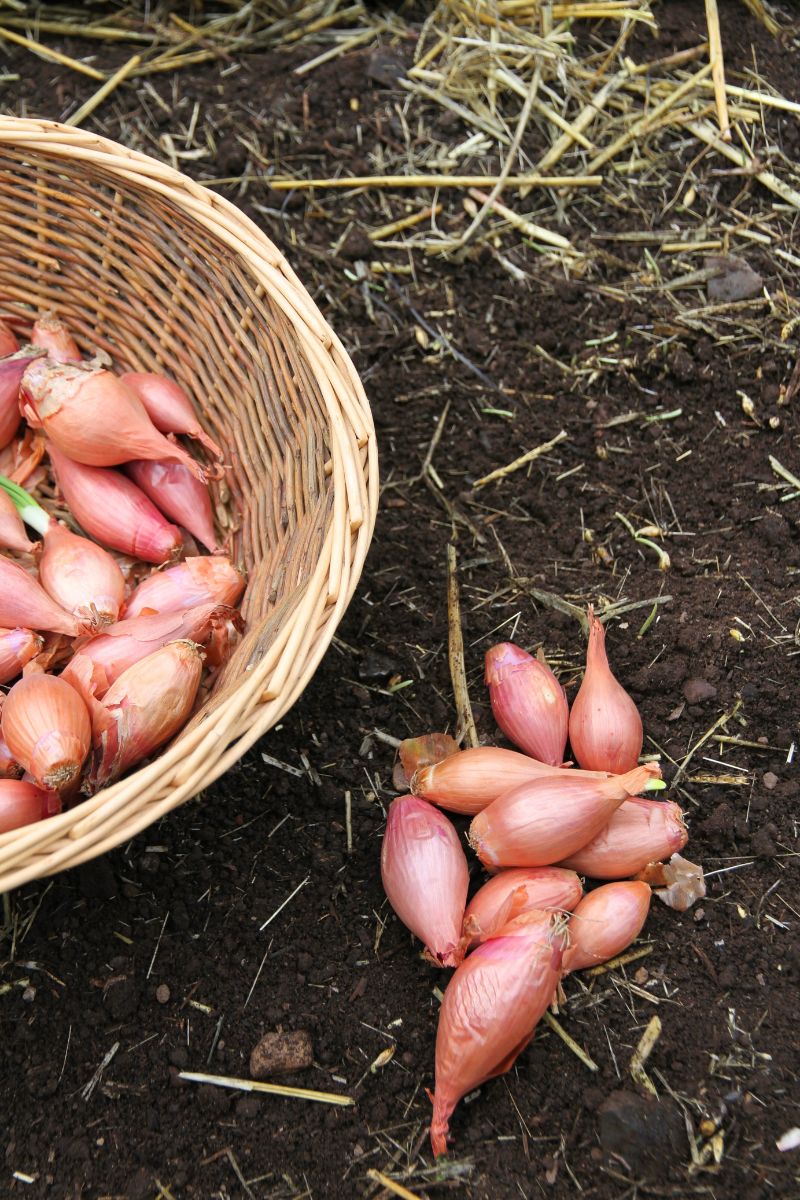
Here's the thing about shallot sets: they can come in all different sizes!
You don't want to plant shallots too deep, or the bulbs will be quite small in size. Smaller seed bulbs should have shallower holes. You might have to backfill before you plant, but it's worth the effort!
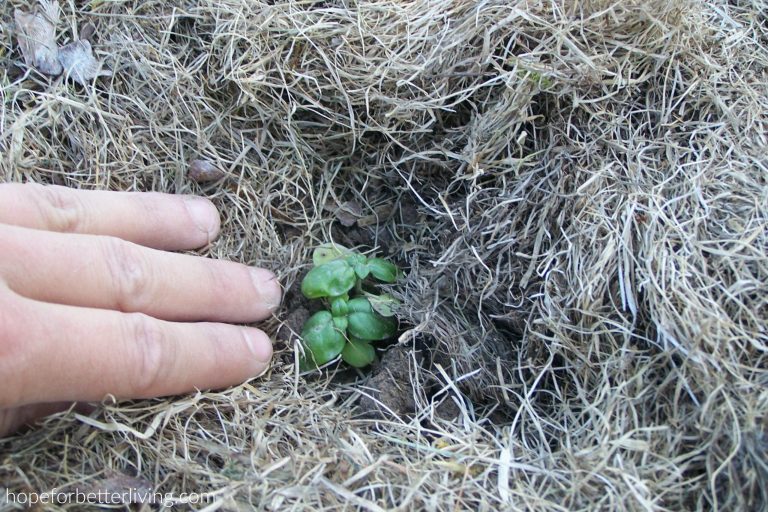
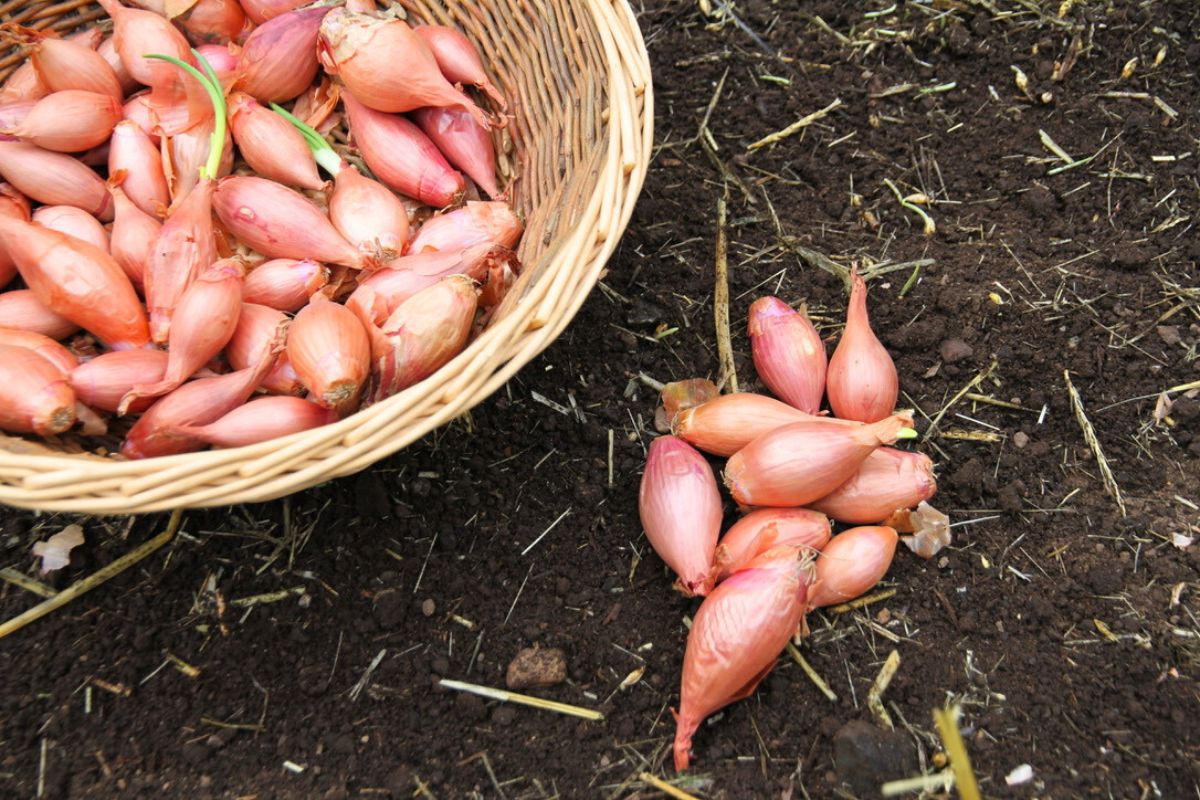
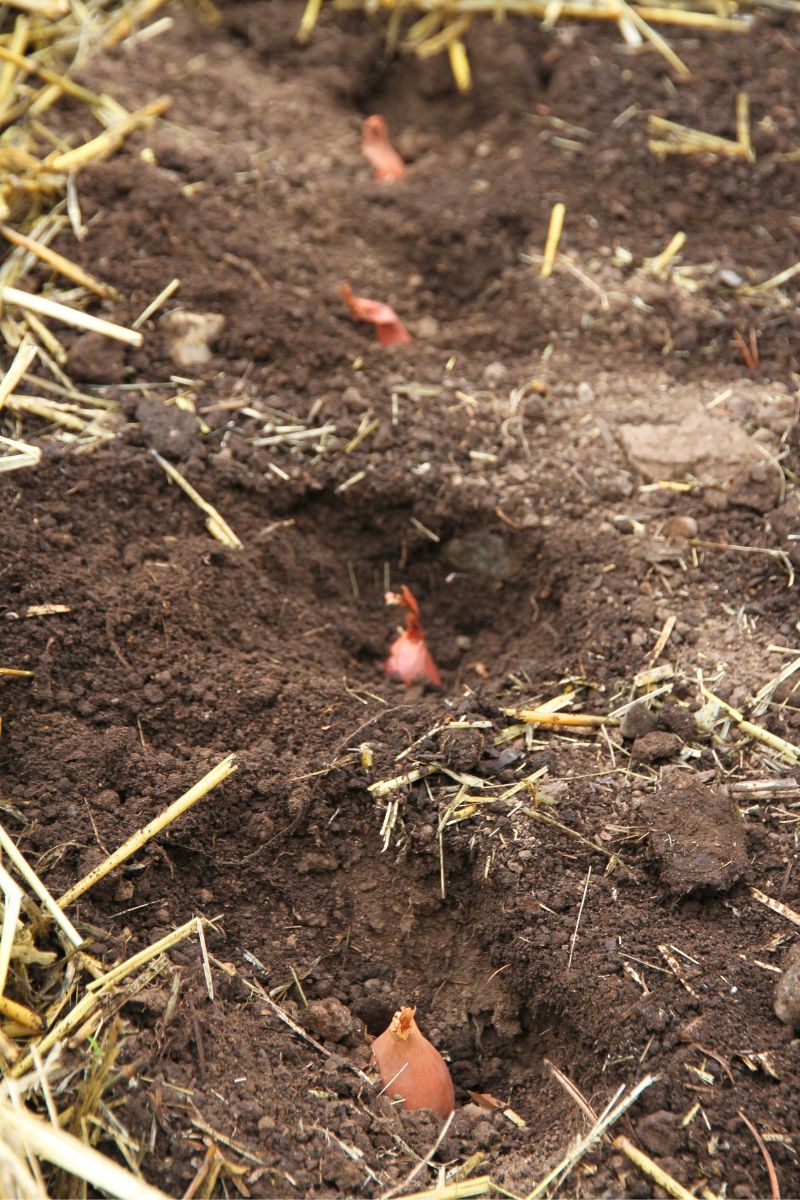
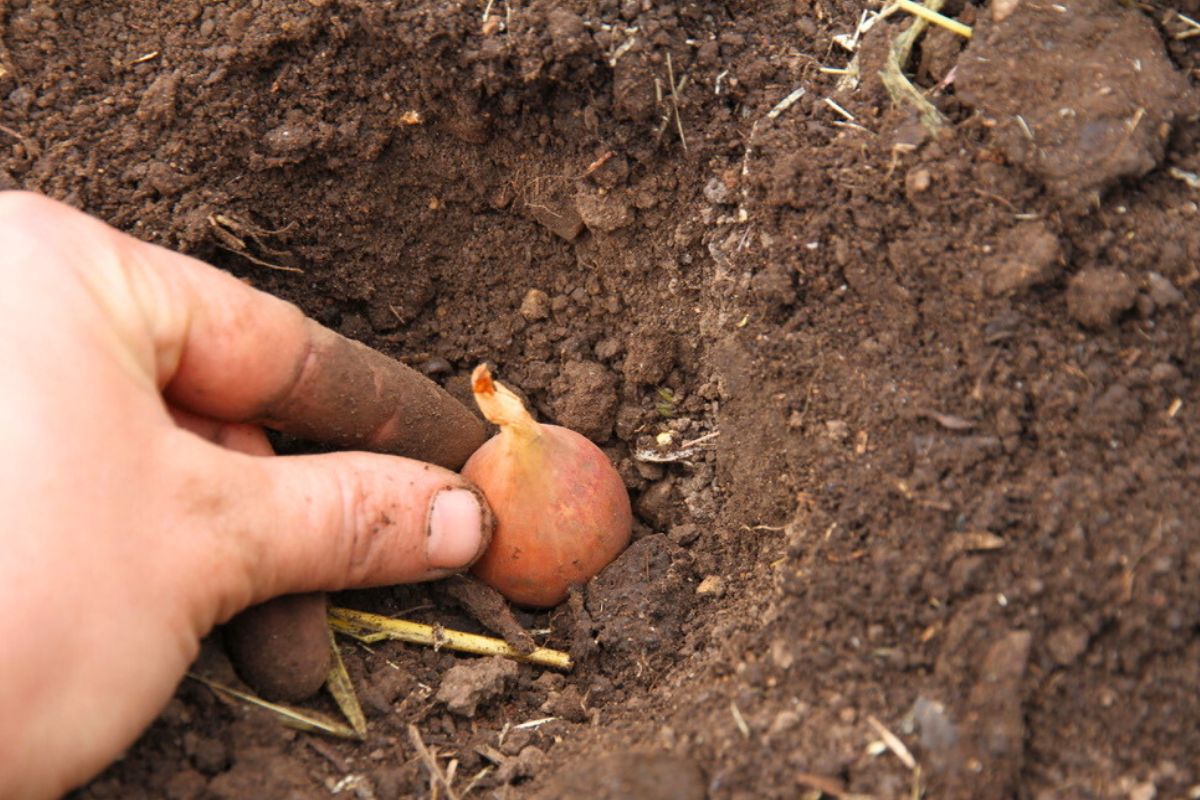
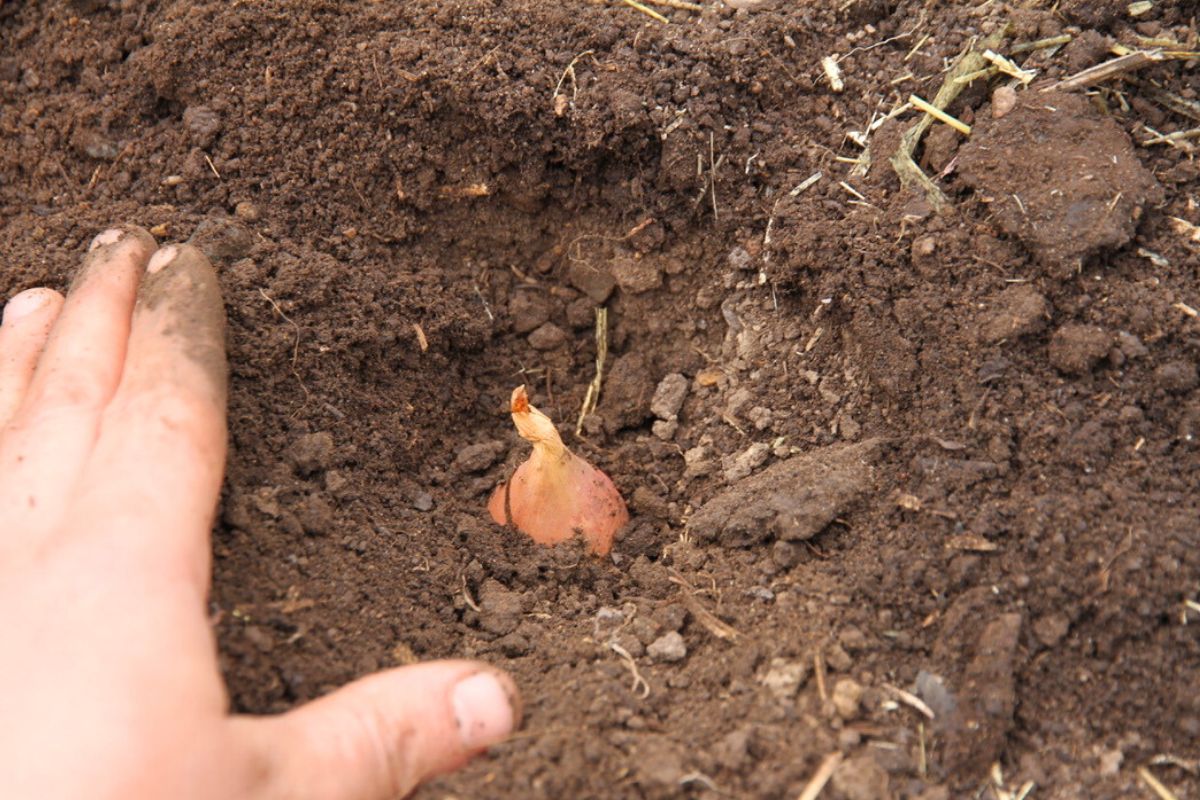
Step 3
Place a single bulb in each hole, with the rounded side down and the pointed side up.
After you've planted the entire bed, go ahead and smooth the soil surface with a rake or your hands. It will fill in your holes and cover the top of your shallots.
Step 4
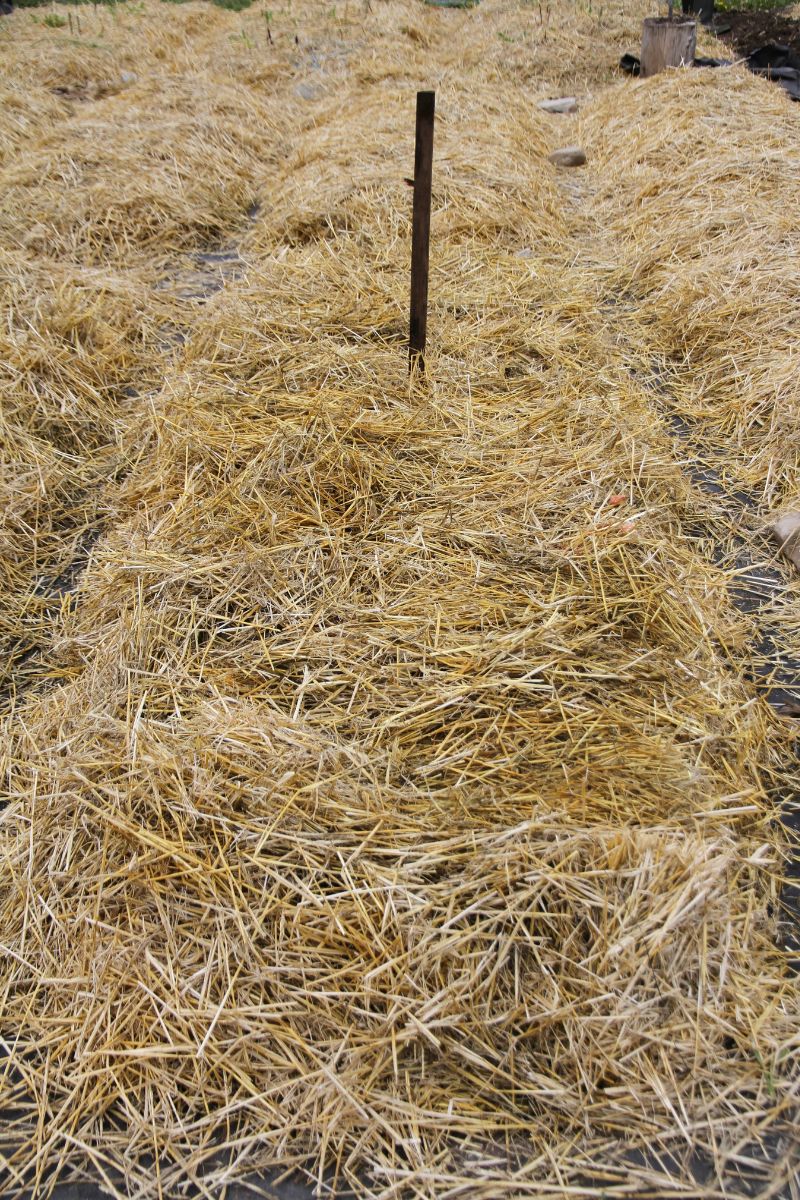
Mulch your shallot bed after planting.
I'm a huge fan of using mulch to cover my onions, garlic, shallots and potatoes. In fact, I mulch everything I grow in my vegetable garden!
For shallots, you can use the following options at the following depth.
- Straw: 2-3 inches deep
- Dry leaves: 3-4 inches deep
- Dry lawn clippings: 1-2 inches
Caring for Shallot Plants
Young plants will appear 3-4 weeks after you sow shallots, in late spring. By early summer, their green tops will be very obvious. Keep shallots watered as you do the rest of your garden, and you should have a good crop.
Shallot plants are quite hardy, and you'll know it's harvest time when the tops weaken and start to flop. If this doesn't happen before your first fall frost, you can harvest shallots about 90-100 days after planting.
Curing and Storing Shallots
If you want to store your shallots, you need to cure them (just like onions and garlic!).
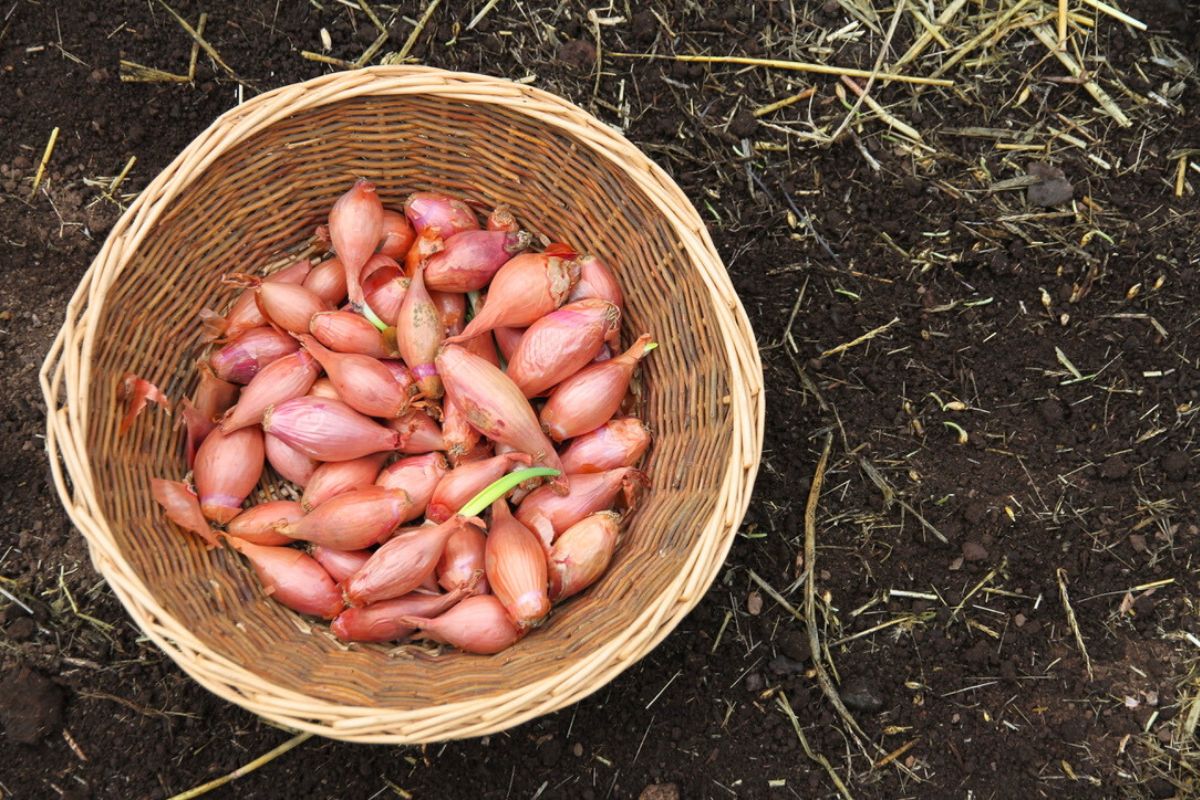
Freshly pulled shallots should be spread to air dry with green tops intact. Keep them out of direct sunlight.
The curing (aka drying) process can take anywhere from 6-10 weeks. When the outer peels are papery and dry, you can remove the dry tops and keep your shallots in a wicker storage basket.
Keep them in a dry, cool place and shallots should last 6+ months.
How to Use Fresh Shallots
Shallots are a delicious alternative to either onions or garlic. Anywhere you want a hint of onion and sweetness, use shallots!
They're great used in the following ways:
- as a filling for sandwiches or wraps
- raw in salads (think potato salad, greek salad, etc)
- soups & stews
- meat pies
- roasted vegetables
- omelettes
- fried with steak
- pot roast
Try substituting shallots for onions in your family favorite recipes, and you'll be surprised by the subtle and welcome change in flavor!