How to Make a Herbal Swag for Your Kitchen
When I decided to go for a farmhouse feel in the Mountain Cottage kitchen, there were several things I wanted that would contribute to the atmosphere I was trying to create. Whitewashed wood paneling. Cast iron pans hanging on the wall. French inspired vintage art. And insignificant as they seem, I wanted herbal swags for the finishing touch!
But it wasn't until this summer that my perennial herbs finally took off and produced what I needed for this project. So while I'm certainly not a pro, I'm going to show you how to make a herbal swag for your kitchen.
If you like what you see, here's how you do it!

How to Make a Herbal Swag
Herbal swags are simple to make. You don't have to be overly artistic or talented. If you can tie string, chances are you'll be able to make a lovely swag, first time you try! Here's how the procedure goes.
Step 1: Choose Your Herb Type
When choosing herbs for your swag, try to go with options that will hold onto their leaves (or flowers) once things have dried out.
Truth be told, I've only ever used sage, thyme and oregano for my swags. I know from experience that mint, parsley and cilantro don't dry pretty and once dehydrated, become quite crumbly. So avoid these three. Instead, consider using the aforementioned herbs and also rosemary, lavender, bay leaf or savory.
Step 2: Harvest or Purchase Fresh Herbs
In order to create a herbal swag, you need access to fresh herbs. If you grow them yourself (which I highly recommend), this is easy! Simply grab a basket, a pair of scissors and head outdoors to begin harvesting.

If you don't grow your own, you can probably buy fresh herbs at your local farmer's market or even from a local farmer or gardener. Do whatever it takes (outside of stealing) to get your hands on fragrant, fresh herbs!
Step 3: Make the Necessary Preparations
To make a swag, you'll need to clear a work space on a counter or table. Set out scissors, some cotton string (I keep a big roll of this stuff on hand) and also a measuring tape.
Before you start making your swag, figure out how long you want it to be. If you plan to hang it inside a shelf or (as I do) above the kitchen stove, take time to measure the space so you don't overdo it.
No one likes taking a swag apart, so try to get it right the first time!
Step 4: Create the Framework
Making a herbal swag is easy. It all begins with a cluster of herbs that you've tied together at the top. Like this.
Note: I've put together a detailed, printable tutorial for you at the bottom of this blog post.

From there, you can lengthen to your swag by adding on layers of fresh herbs. Working from the backside, tie new stalks onto the existing ones every 4 (or so) inches below the last tie off. I say 4 inches, but spacing will really depend on the type of herb you're working with and how full you want your swag to be. Adjust according to your taste!
Take time to observe your bundle of herbs from the front side every so often. And adjust as needed.
It's not easy shooting photos and trying to create at the same time, so I flipped this finished swag around to give you a view from the back. I know it looks messy, but the front is beautiful.

Step 5: Fill In the Gaps
When your swag had reached it's fully length, flip it face up and observe. It should be a lovely cascade of greenery. And if it isn't, fill in the gaps by adding and tying herbs into the empty spaces. That's right! Just like you did when you were adding length to the swag, use the same technique to wide the swag.
Step 6: Tying Off and Hanging Your Swag
Cut a long piece of cotton string and tightly tie it around the top of your herbal swag. You can trim the stems to the same length if you'd like. After this, knot the string's loose ends together and presto!
You can hang your herbal swag on a door. At the end of a kitchen cabinet box. If you're like me, you can use a simple wall shelf to display your herbs. Shucks, you can even just paint a board and fasten it to the wall. Add some nails or hooks and presto!
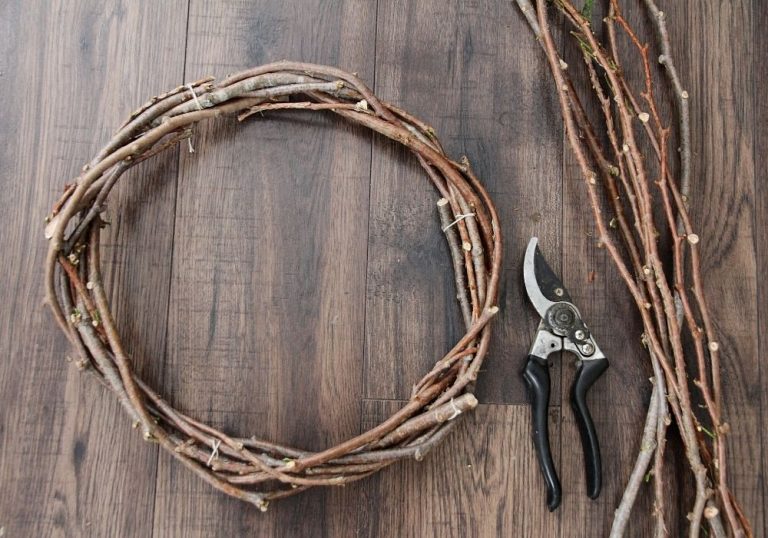
In this photo, I'm using my favorite heavy duty, 1 inch cast iron hooks for hanging my herbs. Yes, I absolutely love these colonial style hooks I found online and have them throughout my home in varying sizes!

Step 7: Caring for Your Herbal Swag
You know me...all naturel. I don't use any preserving sprays on my herbal swags. In order to keep them intact for as long as possible, I try to avoid handling and touching them.

Of course, you can pull herbs loose for using in your cooking, but you will destroy the artistic look. Personally, I won't be using mine unless I run out of herbs partway through the year.
Enjoy, my friend! And happy swag making!

A Herbal Swag Tutorial
Equipment
- Fresh herbs
- Cotton String
- Scissors
Instructions
- Gather or buy fresh herbs suitable for drying in swag form
- Clear a workspace and lay out herbs, string and scissors
- Decide how long you want your swag to be
- Begin making your swag by gathering up 3-4 herb stalks
- Trim the stalks so they're only 5-6 inches long
- Arrange and tightly tie together with a 4-5 inch piece of cotton string
- Flip the bundle of herbs over to the back side and look for 2 firm stems where you can attach your next addition
- After choosing 2 herbal stalks from your collection, tie them on from the back of the swag, about 4-5 inches below the first string.
- Every time you tie on a new addition, try to avoid also tying down foliage. Instead, thread the string through the leaves until it's touching nothing but the stalk of the herb.
- Once you've added on a second layer, flip the swag over and observe from the front. Adjust, if needed.
- Continue adding layers in like fashion, until your swag has reached the length you desire.
- If there are gaps in certain areas, simply flip the swag over and tie another herb stalk just above that space, until you have a rustic, lush swag
- Should they be showing, string ends ought to be trimmed close to the base of the herb stalk
- Cut a 6 inch piece of string and tightly tie it around the top of your swag.
- Knot the loose ends together and you can hand your swag wherever you please!
I’m loving looking at the kitchen you’ve created. I’m currently trying to decide if we should keep our kitchen regular brown wood or whitewash the cabinets. It’s a cabin, so there will be a lot of wood. Thinking it may brighten it up a bit.
I really love the whole feel of the kitchen you mentioned. The cast iron items hanging (my plan as well), the herbs, and for me, some vintage things like our sink and stove. I’d much rather have character than same ol’ Pinterest worthy showcases! But I do believe that there is a charm in these things.
Keep it up!
And thanks for sharing!
Laurie
Such a great way to dry herbs while enjoying the beauty of your harvest!
Thank you for providing links to the products you mention as well.
Glad you enjoyed it! Hope you get a chance to make your own soon!