How to Lay a River Rock Patio
Creating a natural stone patio with river rock was a task I had never tackled before. I'm the type of girl who usually turns away from symmetry and primness. Our tiny farmstead has lots of native river rock and I thought it was perfect for creating a landing pad just outside my cold room door.
I didn't know how to lay a river rock patio, so I bounced a few ideas off of my carpenter husband and then dove right in. And here is what I did.
How to Create a Natural Stone Patio
River rock is different from slate or other stone types. There's nothing flat about these oval rocks, which makes creating a semi-even patio more difficult! And then there is the issue of controlling weeds and grass.
In this respect, there were three options I considered.
-
I could put down a hearty layer of gravel (and maybe weed tarp), then set stones into it. But gravel isn't cheap and I wasn't sure how firm round stones would be in a bed of deep gravel.
-
Putting stones directly on top of weed tarp was another option I considered. But seeing as the round rocks needed firm earth to hold them in place, weed tarp would prevent me from digging a “mold” for the shape of each rock.
-
Because this river rock patio was going to be on the north side of our home where plants struggled to grow anyway, I decided to scrape away what grass and weeds there were, then set rocks directly in the hard-packed earth. A light layer of gravel would fill in the cracks and just like that, I'd have a cheap river rock patio!
And that's exactly what I did.
Tools You'll Need for Creating a Natural Stone Patio
You don't need anything special to lay a river rock patio! If you're into gardening like I am, you likely have the basics on hand already. Here's a list of the tools I used.
- A long handled shovel
- A long handled rake
- A hand trowel...or if you're archaic like me, a sharp rock will do 😉
- A wide shop broom
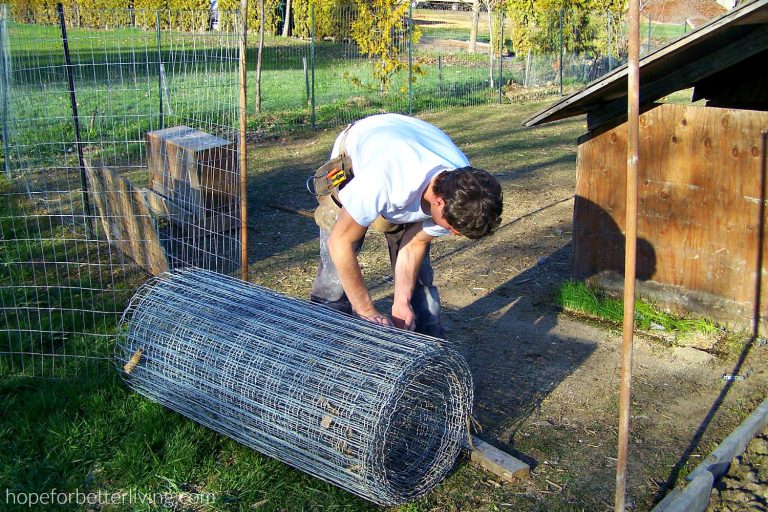
- A wheelbarrow or a wagon cart (for hauling rock)
- Round river rock
- 3/8 gravel
Step 1: Collect Your Rock
The first step in the process is to collect your rock. For ease of handling, I recommend using smaller stones, no more than 12x12 inches wide by 8 inches thick.
When gathering river rocks, looks for stones that have one semi-smooth side that can act as the topside and ideally, a round or angled underside.
Because here's what I discovered. When using this technique to create a river rock patio, flat stones just don't stay in place as well as rocks with rounded undersides.
So go for stones that have a flat-ish top and a shapely bottom side.
To create my natural river rock patio, I used four half-filled wheelbarrow loads of rock.
Step 2: Mark Your Patio Area
Clearly mark out your patio area before uprooting grass and weeds. Having a distinct line just makes the process that much simpler.
Remember to take the angles of your home into account when doing this. Make sure the area you plan to transform to a natural stone patio looks good from all sides.

Step 3: Dig Up Weeds and Grass Roots
This next step is particularly important when you are not putting down some type of weed barrier.
Be sure to remove grass and other plant roots to discourage plants from growing up through your outdoor river rock patio.
You want it look natural, but the last thing you need is to be weeding your patio every month!
Again, the only reason I felt comfortable not putting down a weed suppressant was because this river rock patio is on the north end of my home. Very little grows there to begin with and is quickly killed off by foot traffic.
I think I'll get away with it, but only time will tell.
Step 4: Embed Rock in the Earth
Once the site is cleared, it's time to start putting down rock! Just like laying tile on a kitchen floor, you want to start along a house wall and work your way out from there.

This is where a hand trowel (or a sharp rock) comes in handy! You'll have to dig a “bed” for each individual rock.
Yep. It's loads of work. But it's also very gratifying! Dig, then plunk the rock down, pressing it firmly into place. It'll leave marks, revealing the places where you need to scrape the earth away.
Keep the height of each rock in mind (is it semi-level with the rest?) and also the spacing between each stone. I left an average of an inch between each rock.
Lay those river rocks down, until all your natural river rock is in place.
Step 5: Spread 3/8 Pea Gravel
With all the stones in position, it's time to spread gravel and fill in the cracks. For this particular patio, I used three, 5 gallon buckets of 3/8" gravel.
Starting at the house wall, pour gravel over the rock. Grab your shop broom and shove it back and forth to fill in all the cracks between each stone.

You can see how I did this in the video above.
Because river rocks aren't flat, the gravel often covers sloping sides of the rock as well, making it look like the stones are spaced quite far apart.
I like the look!
Step 6: Clean Up the Job Site
Once the gravel has been neatly and evenly spread, it's time to clean up the job site. Collect the weeds, leftover rock, your tools and anything else you brought out to help on the job!
And then, sit back and take a moment to enjoy your finished, natural stone patio!
How to Lay a River Rock Patio
I still haven't decided how to finish the edges of my natural river rock patio. At this point I'm toying with the idea of planting shade-loving, creeping plants all around the perimeter.
Perhaps that would help keep grass and weeds from growing in over time?
When it's all said and done, I have to give this project a few years and see how it actually holds up. But so far, I'm delighted with the look, by how firmly the rocks hold in place and also the low-cost of this project!
Wanna know how to lay a river rock patio? I don't know if I got it right, but now you know of one option anyway!


This is exactly the reference I was looking for when I googled this!! Wondering your opinion as someone who has done this - I'm entertaining the idea of filling in the cracks with dirt instead of gravel. In my mind it looks great. Maybe even cute with some sort of grass growing up between the cracks that I would cut back every so often. I'm wondering, as someone who has done this, how practical that sounds - both just the dirt option and/or the option of having a short grass or clover or something. What do you think? I'd be fine with a little extra maintenance.
Well so far the gravel hasn't held back dandelions and other tough greenery from popping through, even with gravel! 🙂 Clover or other plants wouldn't have a problem growing if you packed the cracks with dirt. But I suspect you'd have to do a lot of tamping between the rocks to pack the earth, or add several layers over time, to fully fill the cracks. I think some low-growing plants would look lovely.
Great post!
The patio looks amazing. I have one as well but find it hard to power wash. The issue is the prea gravel and pine needles. It creates a mess. Today, I cleaned the stones with Zep, a course scrub broom and hosed it off. I'm going to wait till it dries and hit it with a leaf blower. I hope it does the job. I'm preparing to re- pea gravel the joints. Wish me luck!
If I did this again (which I likely will have to), I'd put down some kind of weed barrier, a heavy layer of packed gravel and then sink my stones into the gravel. 🙂 Good luck!
How long did the whole project take?
I think it was about 4 hours! 🙂
Laying a river rock ratio has never been easier. This guide does offer so much help, to be honest. I had made up my mind about how complicated the process would be, but I guess it's not exactly that difficult at the end of the day.
I was wondering how come you placed the stones on top of dirt. Most patio stone directions have you put down a few inches of compacted gravel. I was wondering if you are concerned with settling?
I explain it in my video, how I tried this method because 1) it was cheaper and 2) because I was working with round stones. It's an experiment, to say the least. And so far, it seems to be working.
Great do it yourself rock patio remember to post for the edges
I'll try to remember!
Wow! Looks absolutely beautiful
Nice job
You deserve to put your feet up!!
Would love to see what you do for the border 🙂
Glad you enjoyed it! I'll try to remember to post when I come up with a border!
I started laying a river rock landscape 6 yrs.ago and it has grown to finally I am done ..But I too had to decide how to end my project. After trying several store offered edging I decided on large round - flat on one side rocks. When I started I did not use ground cover and I have managed weeds with pre emergent granules and have good results (also a small sharp knife works great to pop out tough weeds crammed between rocks ) the larger 10”-14” rock border runs perfectly with my smaller, easy to handle rock project. I also added creeping thyme between project end and rock border.
That sounds lovely. I especially love creeping thyme. 🙂