Canning Bear Meat

Learn how to start canning bear meat at home. Canning kills pathogens in bear meat, mellows the flavor and makes meat shelf stable, so it's ready the moment you need it.
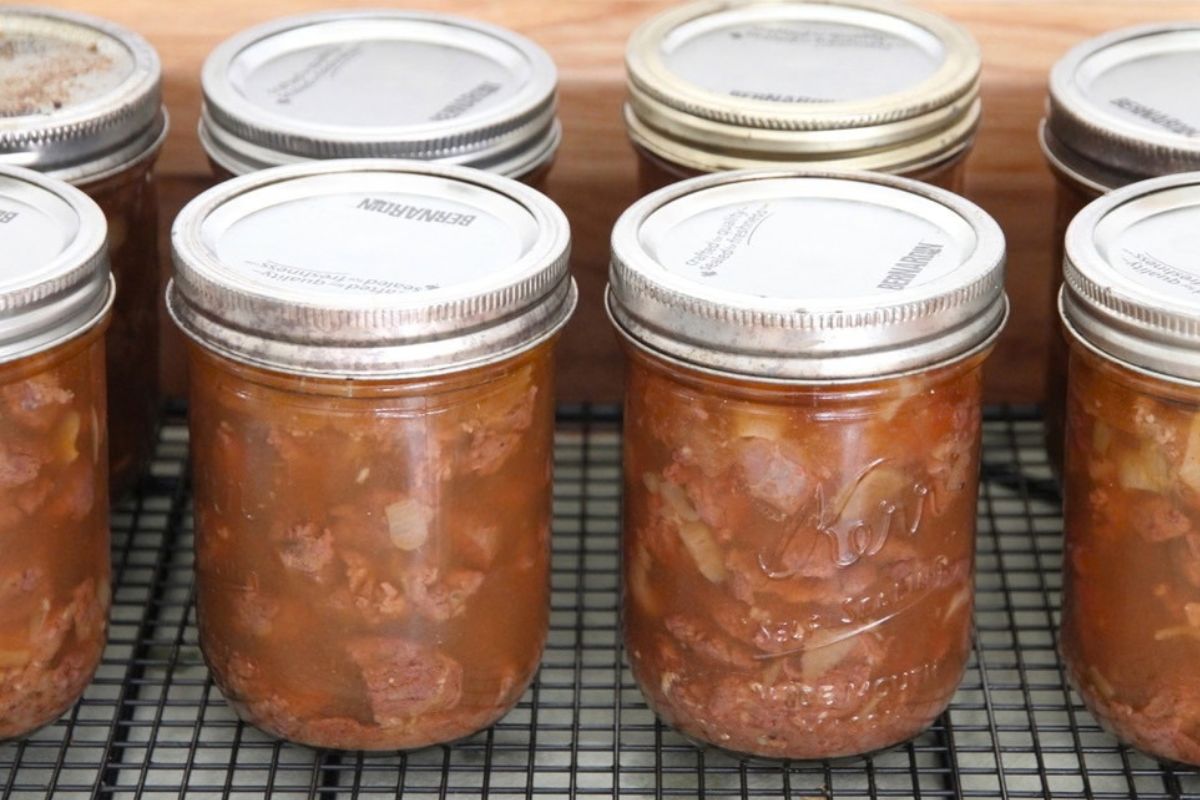
I grew up eating wild game. My dad and brothers were hunters, and we feasted on deer, elk and occasionally, black bear.
When it came to bear meat, I really wasn't a fan! We hunted black bear in the dry, north east corner of Oregon, along the Snake River. The bears that came out of those mountains had "sage brush" flavor, as we not-so-fondly called it!
The meat was very pungent, and it was almost impossible to blend with other flavors. My mom never liked it. 🙂
After leaving my childhood home, I didn't eat bear again until after my husband and I moved to a farming community in southern Canada.
In this wild and beautiful place, bears eat loads of green vegetation, fruit, and even some of the farmer's crops.
After my man took his first black bear, I discovered the meat is marbled and much, much milder flavor than I was accustomed to.
I went from disliking bear meat, to truly enjoying it. One of our favorites was this Pulled Bear Recipe.
Over time, I realized bear meat was an excellent candidate for pressure canning (yes, that's different than water bath canning!), and tried my hand at that!
Bear meat has far more flavor than beef, elk or moose. Paired with onions, garlic and a few other things, it makes a superb canned meat.
Benefits of Canning Bear Meat
In my kitchen, we pressure can most of our bear meat. Here's why!
- The high heat of pressure canning kills any pathogens that bears may carry.
- Bear meat looses some of its gamey or wild taste when pressure canned.
- Canning tenderizes bear meat, especially if prepared according to this recipe.
- Canned meat is shelf stable and very convenient to have on hand!
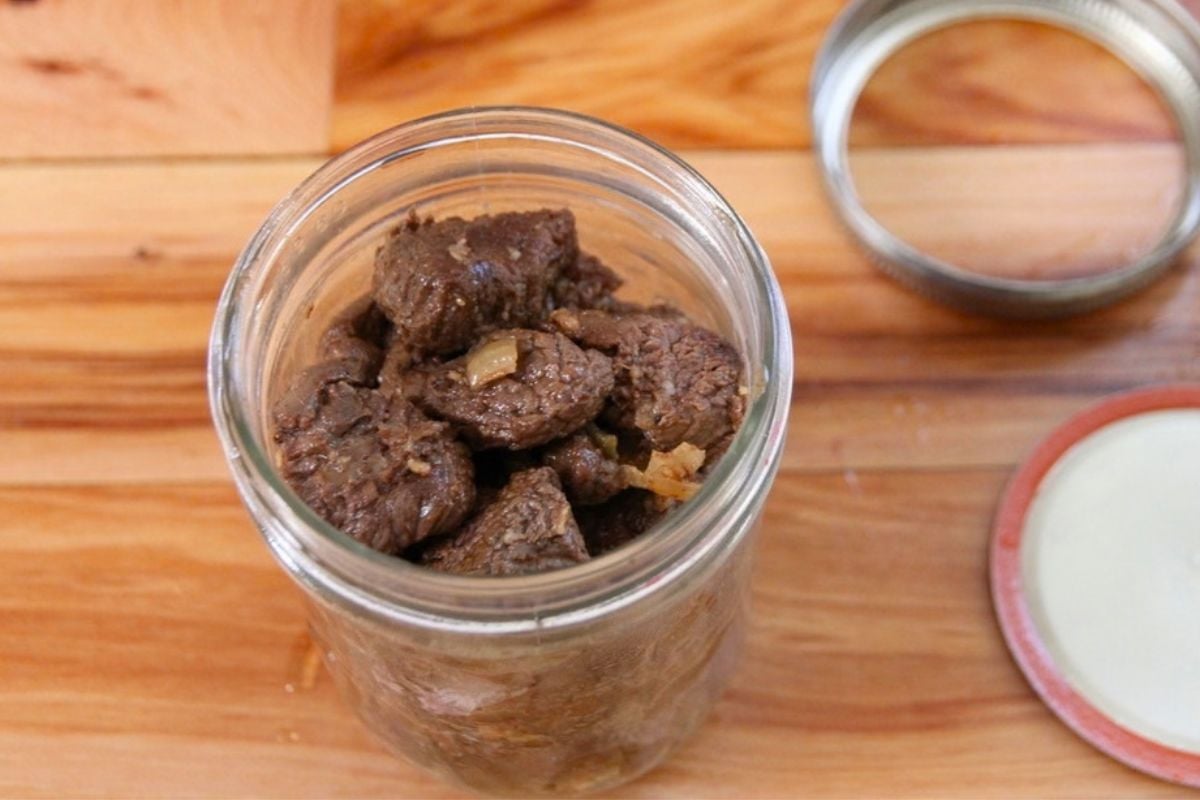
How to Prepare Bear Meat for Better Flavor
Flavor of bear meat is determined by the age of the animal, what it has been feeding on, the accuracy of your shot and how you handle the meat after taking an animal.
But there are a few things you can do in the kitchen to help mellow the flavor.
Bear meat can have a lot of fat on it! This fat should be trimmed away before canning, both to minimize flavor and for canning safety reasons.
Flavor can improve a wee bit if you trim away silver skin, too.
Last but not least, use bold flavors when canning bear meat. Onions, garlic, black pepper and paprika are my favorites.
3 Ways to Can Bear Meat
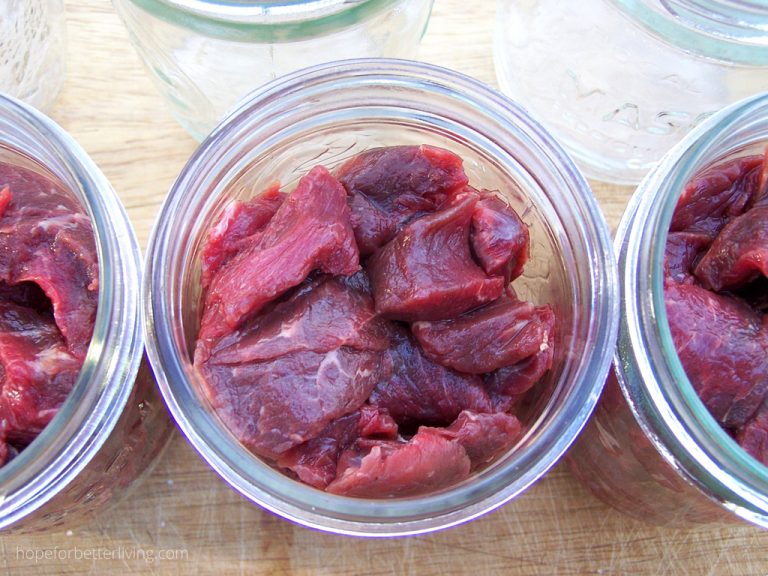
Raw Pack: bear meat is safe to raw pack in a jar. This simply means you can add salt to a jar and drop cubed bear meat on top. Add a lid and presto! It goes directly into the pressure canner.
Oven Roasting: pre-cooking bear meat in the oven is another option. After filling a roaster with layers of meat and salt, it can be lightly cooked in a hot oven. From there, you ladle hot meat into jars and add hot water before canning.
Searing: bear meat is cooked over high heat in a cast iron skillet on the stove top. Onions, garlic, salt and spices are added for flavoring. After searing on all sides, meat is dropped into jars, covered with hot water and canned.
I've tried all three options over the years. The last option wins, every time!
Tools You’ll Need
To make this recipe, you'll need stuff for cutting meat and the tools for canning!
- Cutting board
- Sharp knife
- Large bowl
- 12 inch cast iron skillet
- Pressure canner (dial or weighted gauge)
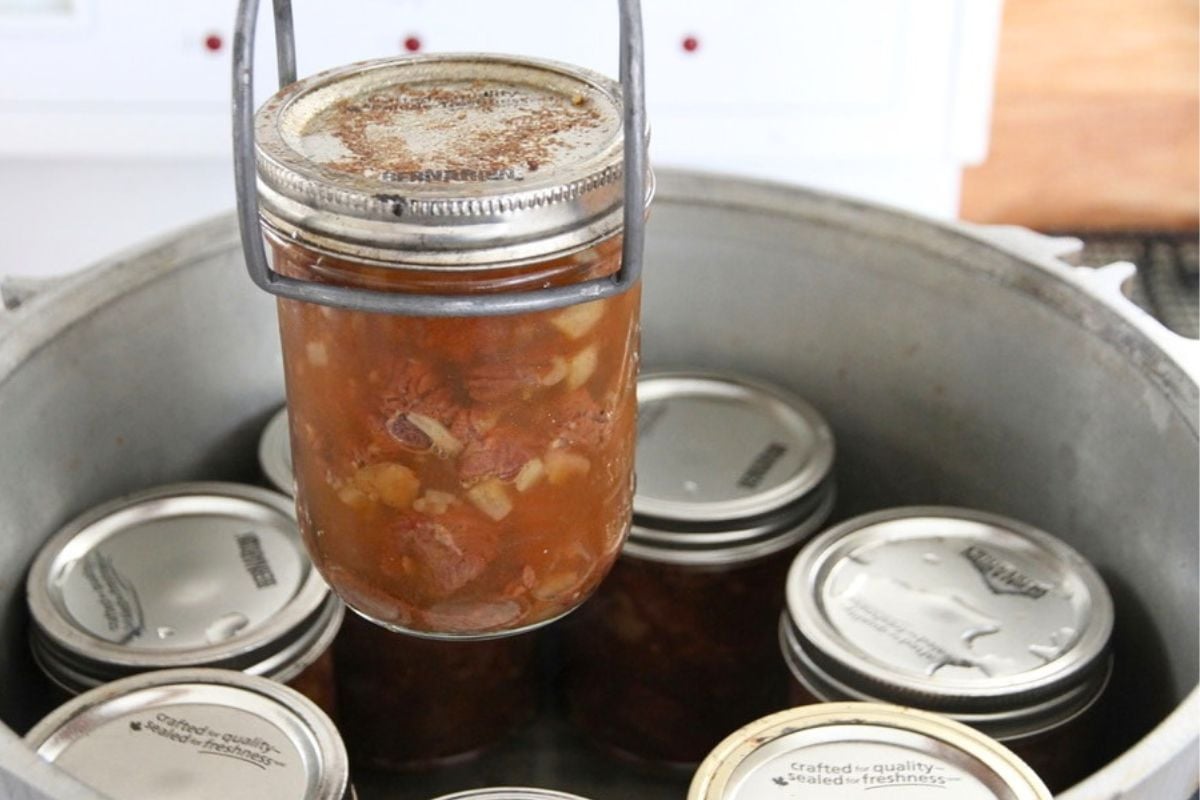
- Jar lifter
- 7 pint jars with lids and bands
- Cooling rack
Ingredients
- Fresh bear meat
- Lard (or favorite cooking oil for meat)
- Onions
- Garlic
- Salt
- Pepper
- Paprika powder
The Best Way to Can Bear Meat
Searing bear meat before canning significantly improves the flavor, and gives you the option of adding in onions, garlic and other spices. In this recipe, I give away all my secrets!
If you prepare bear meat in the manner I outline, the meat will be tender, flavorful and lose some of its gaminess.
It takes longer then raw packing jars or browning meat in the oven. But if you work in smaller batches, it's totally worth it!
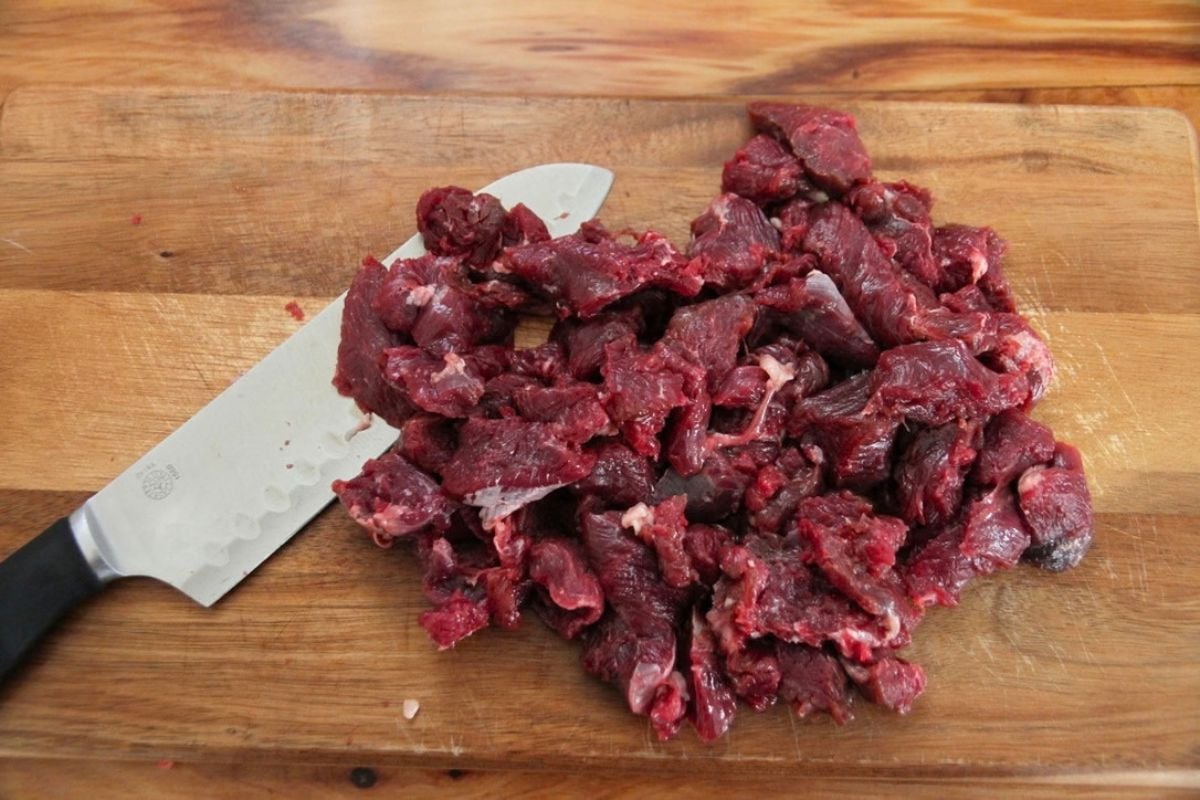
Step 1: Trim and slice meat into cubes
If you want mild bear flavor, take time to trim away fat, gristle and silver skin. Muscle groups should then be cut into 1 inch chunks, or small strips.
Helpful tip: cubing meat takes a while and so does pressure canning. So I cut up enough bear meat to fill 2-3 canner loads, refrigerate it overnight, and pressure can it the following day. The remaining bear meat can stay in the freezer and you can slowly chip away at it, until all has been canned.
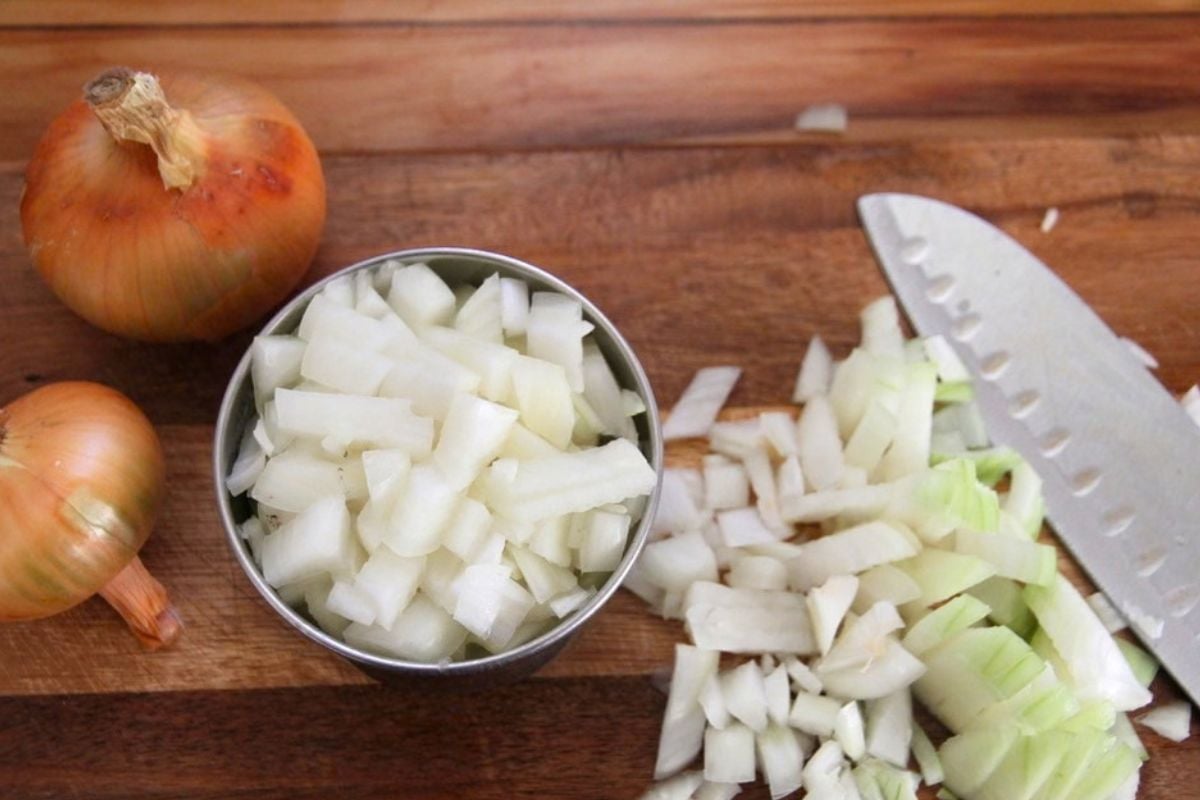
Step 2: Prepare onions and garlic
Before you start searing meat, slice up onions and peel your garlic, so you can easily add it to your cast iron skillet at the end of each cooking session.
Step 3: Heat your cast iron skillet and grease with lard
Heat your cast iron skillet to medium-high heat (around a 7-8 on an electric stovetop). You want the meat to sizzle hot when it hits the skillet!
Add about 2 tablespoons of high quality lard just before you toss meat into the pan.
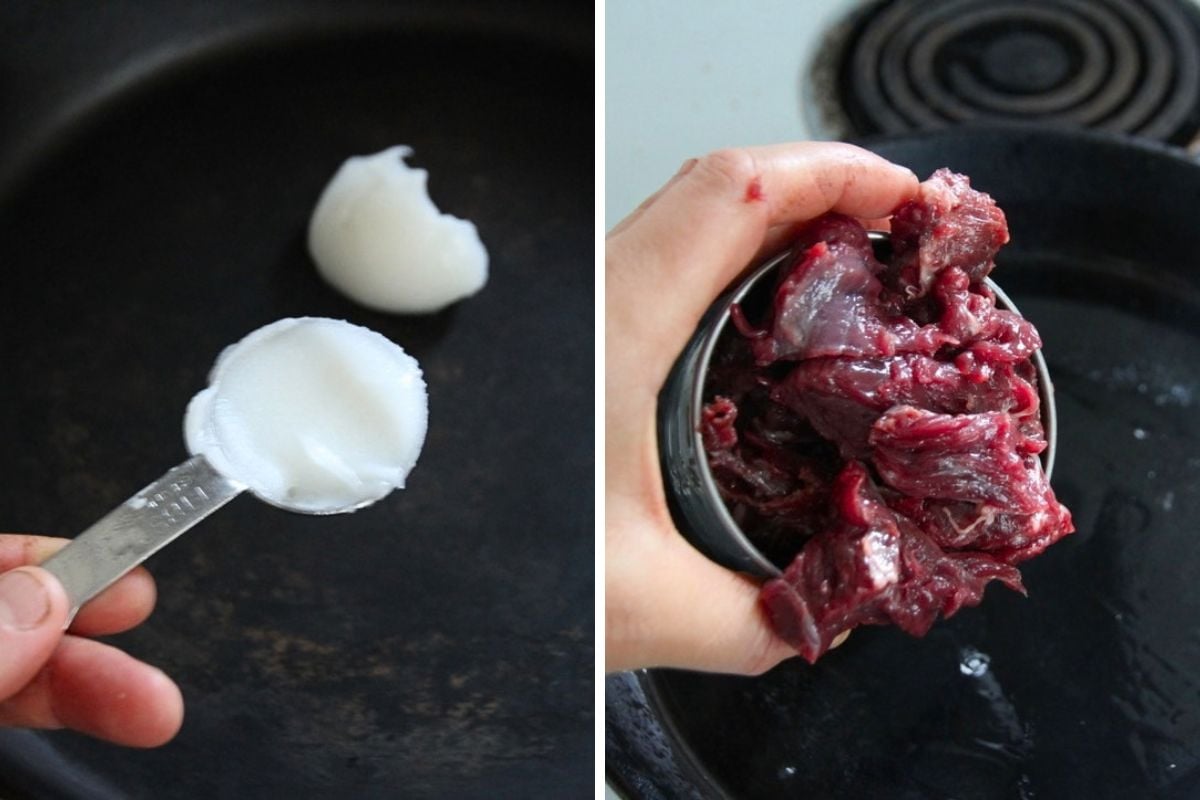
Step 4: Sear your bear meat in small amounts
I can't stress this enough: for flavorful results, you need to work with small amounts of meat. A 12 inch skillet should only have 1-1.5 cups of meat in the pan at a time.
Immediately add salt, pepper and paprika. The meat should be cooked for about 1.5 to 2 minutes, with frequent stirring to make sure it doesn't burn.
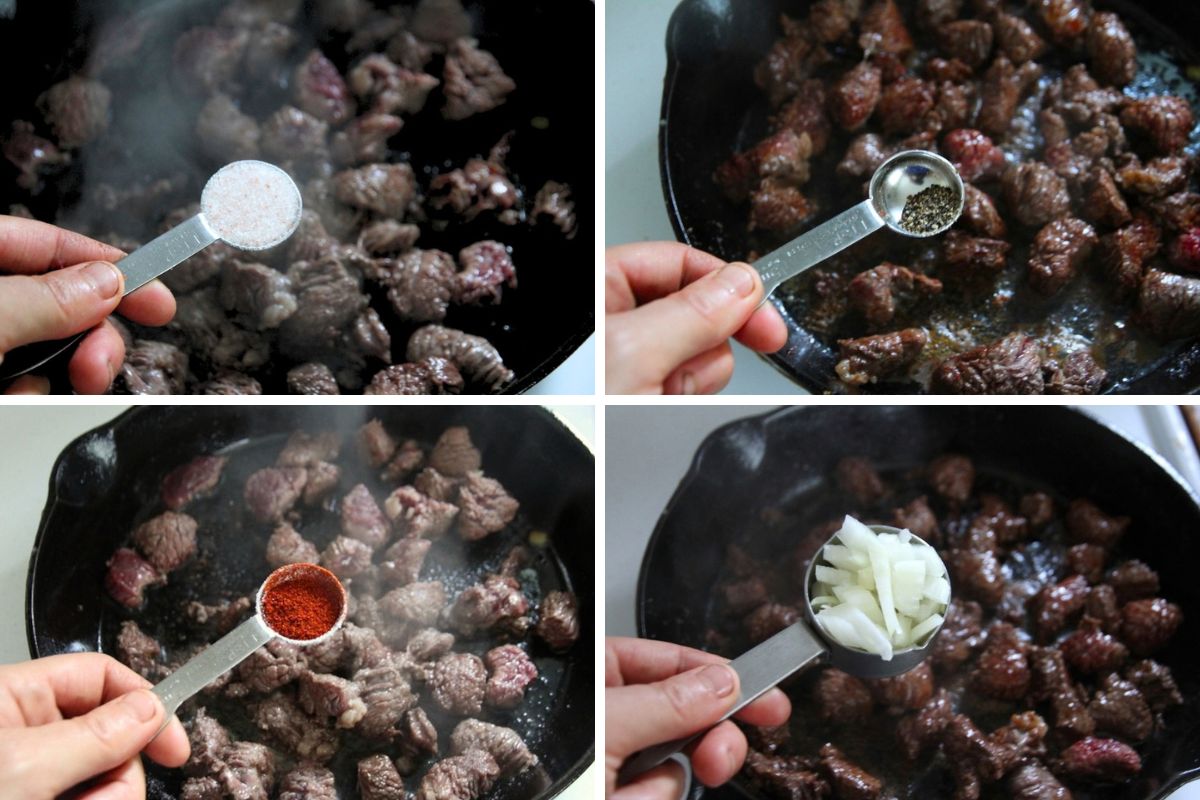
After this, throw in onions and take half a large garlic clove.
Use a garlic press to squeeze garlic into the cast iron pan.
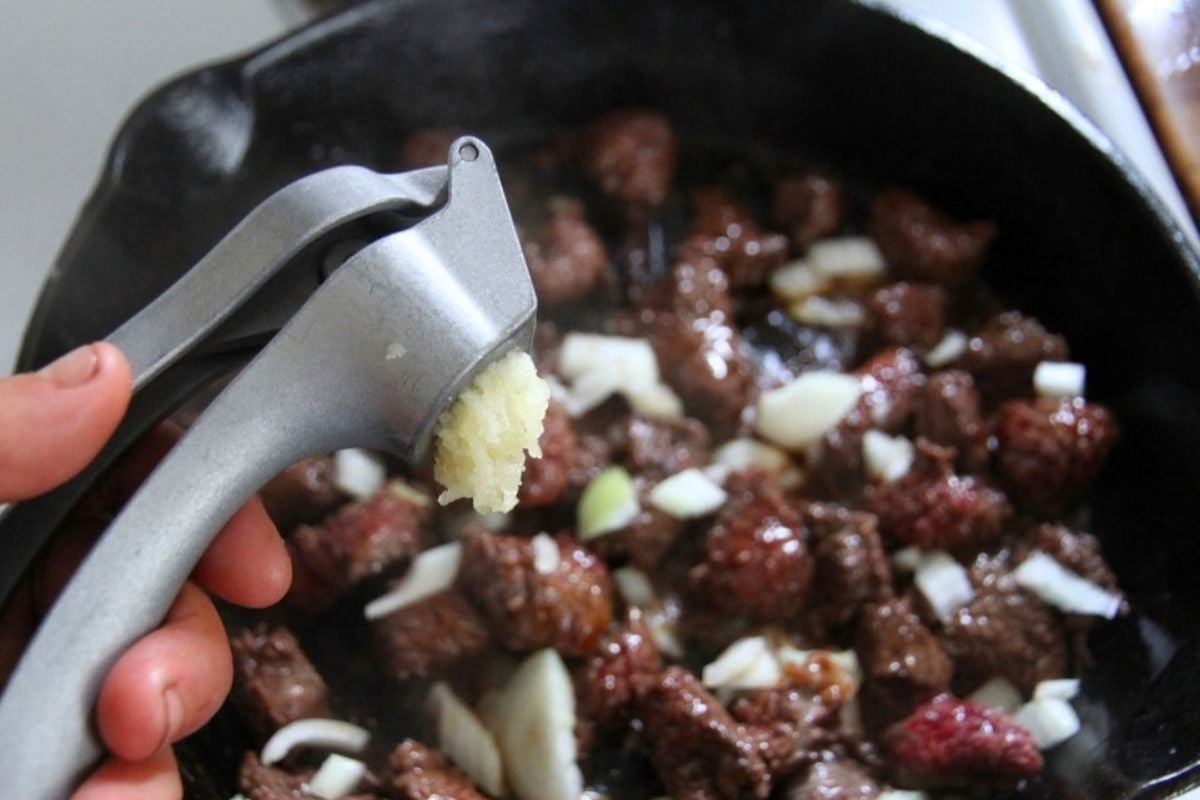
Fry the meat for about another minute, stirring often.
Cook until the onions become slightly translucent, but before the edges turn brown. Dump the meat into a large bowl and repeat the process until all the bear meat has been seared.
Helpful tip: if needed, you can refrigerate seared bear meat overnight in the fridge. Reheat it in the morning, in a large dutch oven.
Step 5: Warm canner and boil water
Before you fill jars, heat your pressure canner on the stove. Also set water on to boil in a tea kettle or pot. You'll need the extra liquid to cover bear meat.
Helpful tip: for more flavor, you can also use hot broth or tomato juice in the place of boiling water.
Step 6: Fill jars with hot bear meat
Bear meat should be hot throughout when it goes into jars, so if you need to reheat it in a dutch oven, don't be afraid to do so.
Add meat to your jars, leaving about 1 inch of open space at the top.
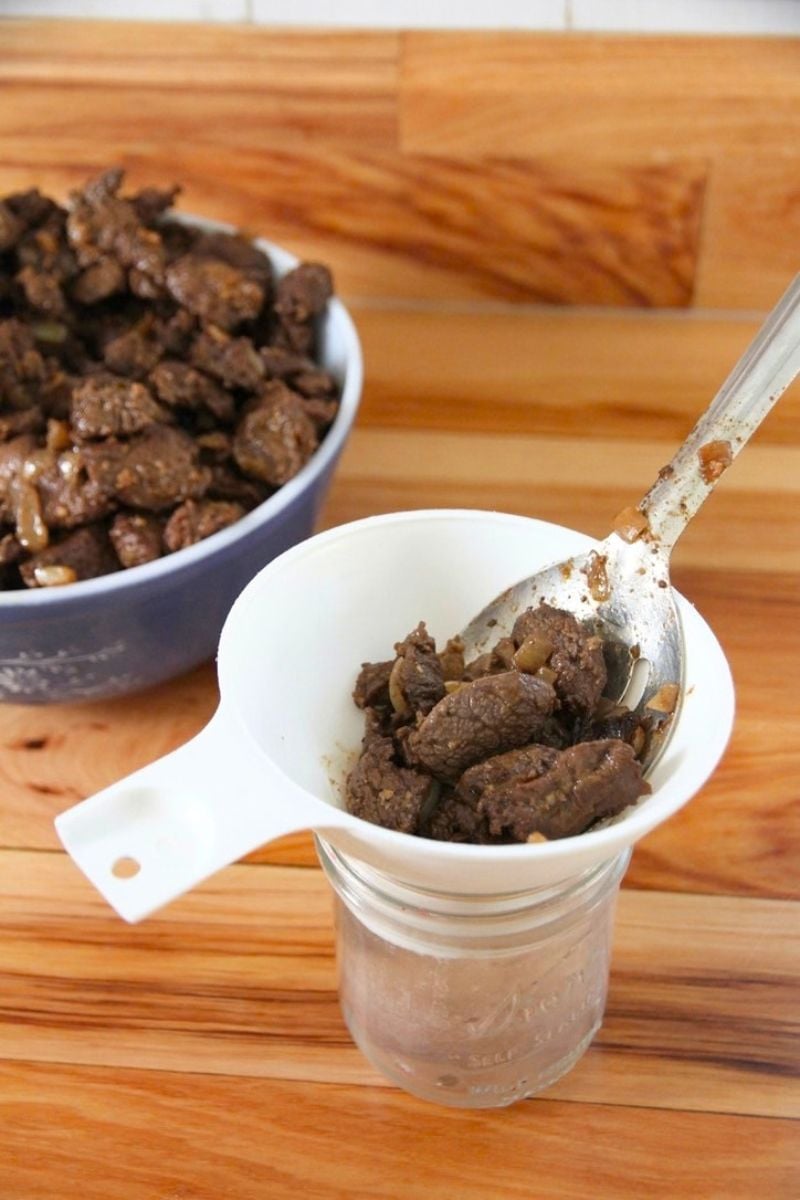
Take your hot tea kettle and add with water to the jar, leaving about 1 inch of head space.
After filling, I like to wipe each jar's rim with a paper towel that has been dipped in vinegar. It cuts through any grease or fat that might be present.
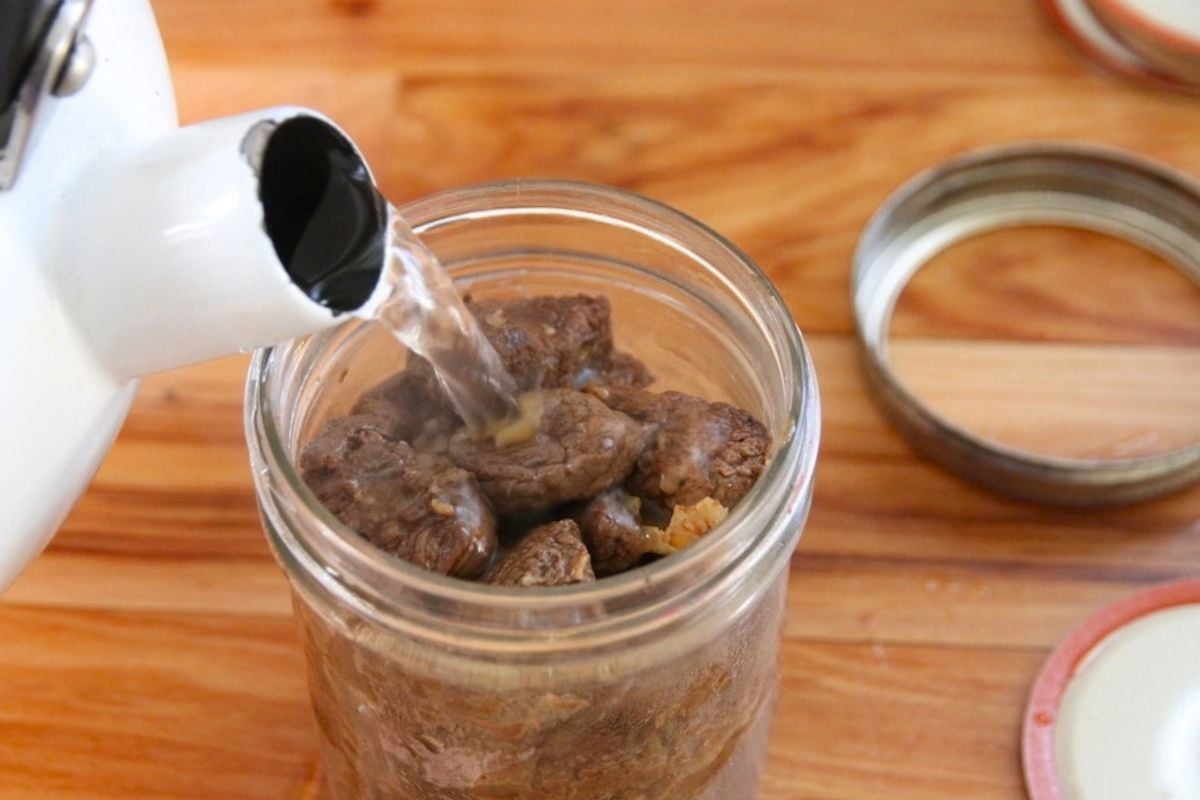
From there, you can pop a lid into place and tighten down with a canning band.
Step 7: Can the bear meat
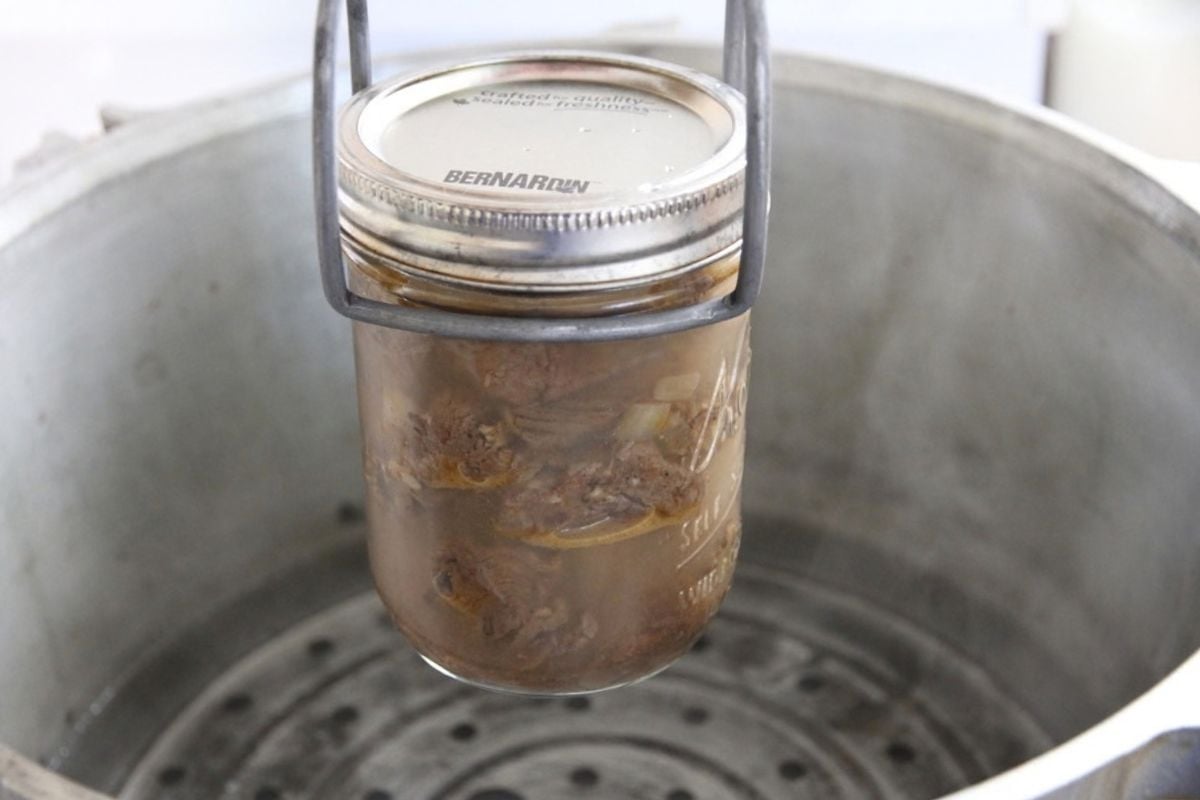
Jars can go directly into your hot pressure canner. After tightening down the canner lid, bear meat should be processed according to your canner type, jar size and altitude (see recipe card below).
Things you should know about canning bear meat
You can get printable, step by step instructions on canning bear meat below. Otherwise, here are a few things you need to know.
- You absolutely need a pressure canner for putting up bear meat.
- Lard is the very best fat for frying bear meat!
- If you don't like onions, garlic or black pepper (FYI, you're crazy!!), you can leave them out of the recipe.
- When you're short on time, you can raw pack bear meat in a jar, but it won't have the same depth of flavor!
- This recipe is for pint (500 ml) jars, but if you want to use half pints (250 ml), halve the recipe and follow the same directions and processing times I gave you for pints.
- Want to preserve bear meat in quart (liter) jars? Double the recipe, and follow the directions in the recipe card for quarts.
Questions on Canning Bear Meat
Can you preserve bear meat in a water bath canner?
No. To safely preserve it, bear meat needs to reach temperatures higher than boiling water can afford. Either a dial gauge pressure canner or weight gauge pressure canner is needed to safely preserve bear meat.
Is there a way to minimize the gamey taste in bear?
There are several ways you can minimize the bear taste in your meat. Hunting bear from a moist region, properly handling meat on the field, and knowing how to trim and prepare meat before canning is essential.
How long does canned bear meat last?
Bear meat will last on your pantry shelf for 12 months. Most sources recommend you don't keep home canned meat for more than 1-2 years.
Is it safe to can bear meat in quarts?
Bear is safe to can in the following size of jar:
- quart (1 liter)
- pint (500 ml)
- half pint (250 ml)
To choose the right jar size for your pantry, think about how much meat you can use in one week. Preserve the meat in that size of jar.
Canning Bear Meat
Equipment
- wood Cutting board
- sharp knife
- large bowl
- 12 inch cast iron skillet
- tea kettle
- pressure canner
- jar lifter
- 7 pint (500 ml) jars
- 7 cannning lids and bands
- cooling rack
Ingredients
- 10.5 cups cubed bear meat
- 1 cup lard (or favorite oil for sautéing meat)
- 2 cups diced onion
- 4 large garlic cloves
- 7 teaspoons salt
- 3.5 teaspoons paprika powder
- 1 teaspoon freshly ground black pepper
Instructions
- Take fresh bear meat and cut into approximately 1 inch cubes, trimming away fat or tough skin as you go.
- Measure cubes as you go, until you have about 10.5 cups.
- Peel garlic cloves and cut each one in half.
- Roughly chop onions and set aside in a bowl.
- Heat your cast iron skillet and add about 2 tablespoons of fat.
- Add about 1 cup of meat to pan when it’s hot enough to sizzle meat.
- Measure in salt, paprika and black pepper.
- Cook for about 2 minutes, stirring often to flash fry meat on all sides.
- Add 1/4 cup onions, and press half a clove of garlic into the skillet.
- Stir and cook 1 minute more, or until onions begin to look slightly translucent, before they start turning dark brown on edges.
- Empty the skillet meat into a bowl, add more lard to the pan and continue frying meat as outlined above, until all has been flash fried.
- Add water to your pressure canner and start heating on the stovetop.
- Fill a tea kettle or pot with water, and heat to boiling on the stove.
- When water in tea kettle boils, set a funnel on the mouth of a jar and spoon fried bear meat into jars, leaving about 1 inch open space at the top.
- Dip a cloth or paper towel in vinegar (it cuts through fat) and wipe jar rims.
- Add a lid and fasten down with a metal band.
- Set filled jar in your pressure canner, then fill remaining jars in like manner.
- Once the canner is full, fasten down your lid, and can meat according to canner type and altitude.
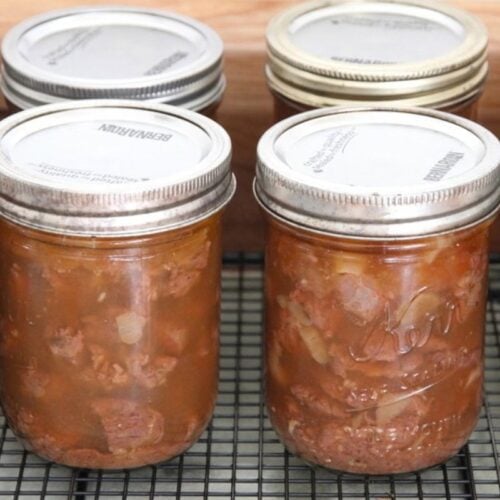
- Use a jar lifter to remove hot jars from canner, setting each jar on a cooling rack.
- When jars reach room temperature, test for a seal.
- Put sealed jars in your pantry, while unsealed jars should be refrigerated, or if you have more meat to can, go ahead and reheat the meat and refill your jar.
Notes
Tips for canning
- Don’t overfill your cast iron skillet with cubed meat, or the meat will be tough, instead of tender. Fry 1-1.5 cups at a time in a 12 inch skillet.
- Add onions and garlic 1 minute before the meat is done, so you don’t overook the onions or garlic and give the meat a bitter flavor.
- Always use hot water to cover the meat, for canning safety reasons.
- If a jar fails to seal and you have more meat waiting to be canned, empty the jar and reheat the meat, refill jar and pressure can again.
Weighted Gauge Canner for pint (500 ml) jars:
- 0-2,000 ft altitude: 75 min at 11 pounds pressure
- 2,001-4,000 ft: 75 min at 12 pounds pressure
- 4,001-6,000 ft: 75 min at 13 pounds pressure
- 6,001-8,000 ft: 75 min at 14 pounds pressure
Dial Gauge Canner for pint (500 ml) jars:
- 0-1,000 ft elevation: 75 min at 10 pounds pressure
- 1,001 and beyond: 75 min at 15 pounds pressure