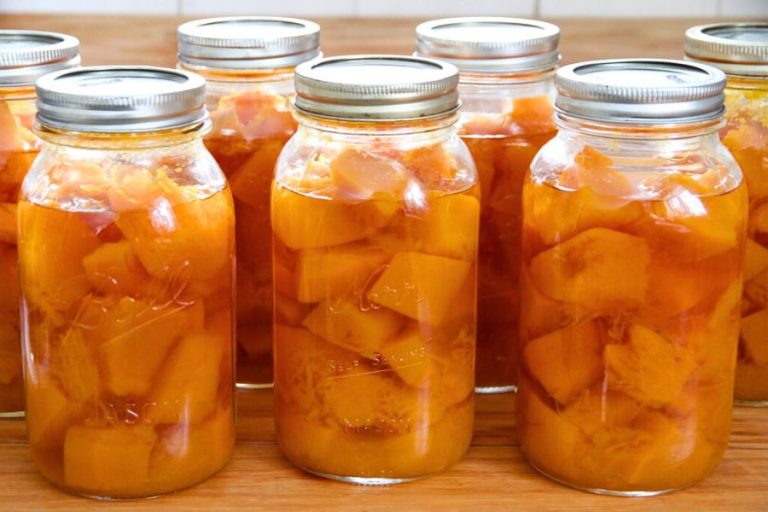
Canned Peaches with Honey Recipe
Try making these low sugar canned peaches for a tasty winter treat! My canned peaches with honey recipe will help you put up healthy home canned fruit the whole family can enjoy. And you can rest easy, knowing your aren't overloading them all on sugar!

I first tried canning with peaches with honey instead of refined sugar because I wanted a healthier way to preserve my fruit.
At the time, I wasn't sure if I would like the end result or not, so I only created one batch. I knew from my experience baking with honey that unlike refined white sugar, honey carries it's own unique flavor.
One batch was all it took to test it out, and I fell head over heels in love with both the flavor and the benefits of canning peaches with honey!
And when my man decided to become a beekeeper, I began preserving all of our fruit and fruit products with honey! It really wasn't difficult. There are only a few things you need to know about canning with honey instead of sugar. I teach you in the link I just shared.
All this aside, let's dive into my canned peaches with honey recipe!
Items You'll Need
Tools
- a small kitchen knife
- large bowl for holding sliced peaches
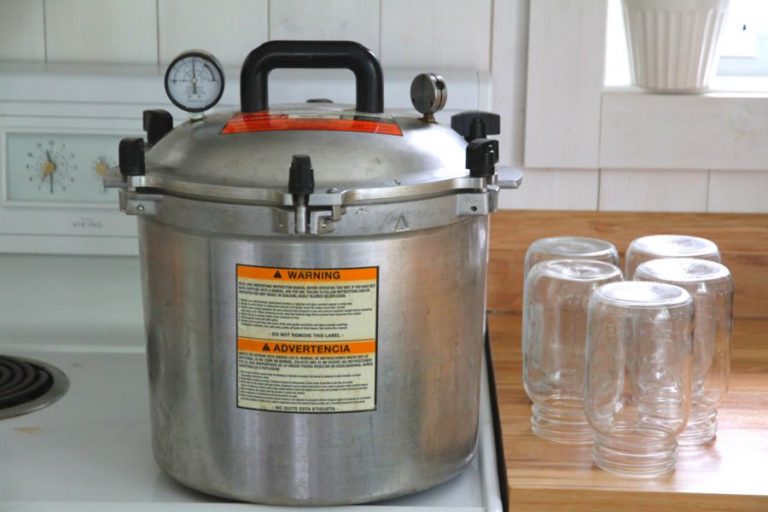
- water bath canner with rack
- 7 quart (1 litre) jars
- 7 canning lids & bands
- funnel
- jar lifter
- cooling rack
Ingredients
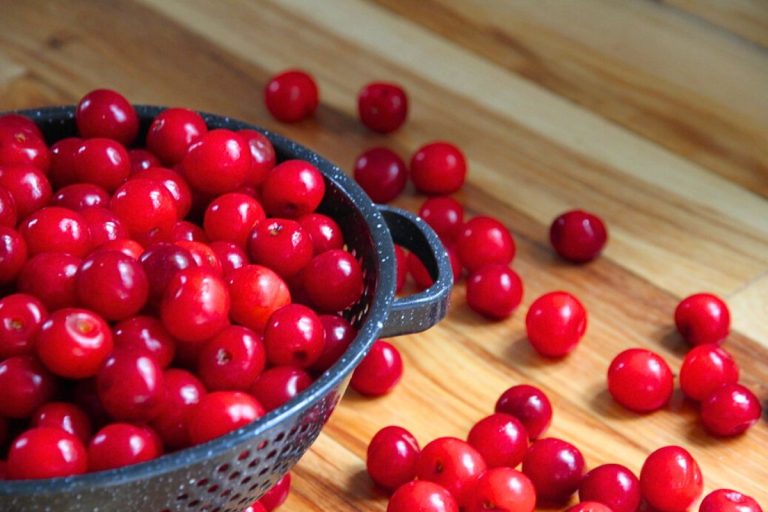
- 25 lbs peaches (11 kg)
- 7 cups water
- 1 cup honey

Best Ways to Peel Peaches for Canning
Peaches are best when they're peeled before canning. Skins tend to go tough in the preserving process and we all want our peaches to softly slip down! There are two ways you can go about peeling your peaches for home canning.
Wait to preserve peaches until they fully ripen
Fully ripe peaches are fragile, bruise easily and will quickly spoil once they've passed their prime. As a result, most peaches are picked several days (or perhaps even a week) before they're ready.
They don't release their peels easily until the flesh is soft and ready. You can wait and pick them over every 1-2 days, peeling the juicy yellow fruits by hand and preserving them that same day. But doing this can really draw out peach canning season! I like to go for the second option.
You can quickly blanch peaches to release ripe and unripe peels
Blanching is the key to preserving all your peaches at once! Even if your fruit is a few days away from fully ripening, a quick blanch releases their peels so they easily slip off.
All you have to do is dip your whole peaches into boiling water for about 30 seconds or until the skin is loose when you test it.

Immediately remove peaches (a pot with a colander insert is great for this) and gently dump fruit into a sink of cold water. Transfer to a second colander so they can drip, while you continue blanching.
How to Keep Peaches from Turning Brown While Canning
It takes a lot of peaches to fill 7 quart (1 litre) jars! There are two things you can do to keep peaches from turning brown as you slice them up.
Blanch all 25 lbs of peaches before peeling
Once your peach flesh is exposed to oxygen, it will slowly start turning brown. There's nothing wrong with this, but things look prettier in the jar if you keep that soft gold color.
So if you plan to blanch your peaches, go ahead and blanch them all before you start removing peels. And then, you can slice peeled peaches directly into a bowl of lightly salted water where they'll hold their full color.
Slice peaches into a bowl of lightly salted water
It takes a while to peel and slice up 25 lbs of peaches! In order to keep your fruit from turning brown in the meantime, you'll want peel, slice and immediately drop peaches into a bowl of water and salt.
If you're putting up 25 lbs of peaches, you'll need the following:
- big bowl that holds 3 gallons water
- 12 cups water
- 2 tablespoons salt
Add water and salt to the bowl. Stir until salt has dissolved. And then start adding sliced peaches!

Tips to Help You Along
- I like to cut my peaches into slices (not halves), so I can fit more peaches in each jar.
- The measurements for this particular syrup recipe are for canning peach slices; try doing peach halves and you'll run out of syrup!
- If you don't have a large bowl for holding peach slices, try using a turkey roaster or even 2 smaller bowls.
- Want more spice? Toss half a cinnamon stick (about 4 inches long) into the bottom of each quart size jar for some extra warmth.
How to Can Peaches in Honey
- Need to blanch your peaches to release peels? Do this first!
- Set your water bath canner on to boil.
- Measure honey and water into a stock pot and simmer for 5 minutes with a lid in place.
- Peel your peaches.
- Cut each peach into about 6 slices, dropping them into a bowl of lightly salted water (7 cups water to 2-3 teaspoons of salt).
- Using a funnel, fill your jars with slices of peaches, leaving 1 inch of headspace at the top of your jar.
- Ladle hot honey syrup into jars.
- Run a butter knife along the sides of your jar to release any trapped air bubbles.
- Wipe the jar's rim with a moist cloth or paper towel.
- Add lid and metal band, tightening to fingertip tightness.
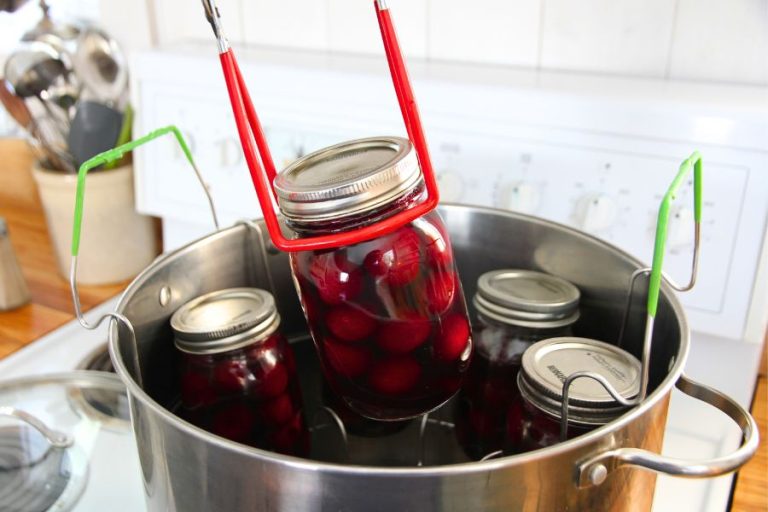
- Process in a boiling waterbath canner for 30 minutes at 0-1,000 ft (see processing times HERE)
- Lift jars and place on cooling rack, leaving until jars are room temperature (12 hrs).
- Test lids for a seal and store those that took.
- Unsealed jars should be refrigerated and used in 7-10 day's time.

FAQ
Is canning with honey safe?
You might be wondering if canning with honey is actually safe? And if so, why? As I point out in my post on canning with honey, honey and sugar are actually quite similar in their ability to preserve food. In fact, in the ancient world some foods were preserved in nothing but honey!
Another fact that makes canning with honey safe? Honey is far more acidic than refined white sugar. Which means it actually makes your home canned peaches more acidic, decreasing the chance of botulism and the possible growth of other micro-organisms.
Canning with refined sugar is safe. But canning with honey is even safer!
Do you have to add lemon juice when canning peaches?
You don't have to add acid to your home canned peaches. In fact, peaches are one of the few fruits that are safe to can without any added sugar. As mentioned above, canning peaches with honey is actually safer than canning peaches with sugar.
So if sugar canned peaches don't need added acidity? Neither do honey canned peaches!

How long do home canned peaches last?
If your jars properly seal, canned peaches will last 18-24 months on the shelf. But if you're anything like me, they probably won't last that long!
Why did my home canned peaches turn brown?
Sometimes a few peaches at the top of your jar will pop up through the liquid. If this happens, they will turn brown and look very unappetizing. This happens because of their exposure. Don't worry. There's nothing wrong with them or the rest of your peaches!
If they disturb you, just scoop them off and set them aside when you open a new jar of fruit.
What can you do with canned peaches?
There are many different ways to use home canned peaches! When making desserts, all you have to do is drain off some the liquid and presto! You have peaches ready to go.
Use peaches for:
- Pancake topping with peaches and whipped cream
- Oatmeal topping
- Fruit cobbler
- Fruit crisp
- Peach pie (open faced)
- Tarts
- Smoothies

Canned Peaches with Honey
Equipment
- small kitchen knife
- large bowl
- water bath canner with rack
- 7 quart (1 litre) jars with lids and bands
- jar lifter
- cooling rack
Ingredients
- 25 lbs ripe peaches
- 7 cups water
- 1 cup raw honey
Instructions
To blanch peaches for peeling
- Add water to a 12 quart pot, until it's 2/3 full.
- Slip a colander insert into the pot and set to boil.
- Fill your kitchen sink halfway with cold water.
- When water boils, add peaches to the water until no more can fit and be fully submerged.
- Leave peaches in the water for 30-40 seconds.
- Lift colander insert and gently dump peaches into sink of cold water to keep them from becoming too soft.
- Cool peaches for about a minute and transfer to a colander so water can drip off.
- Transfer to a tray or large bowl.
- Continue blanching peaches until they've all had skins loosened off.
How to Can Peaches with Honey
- Add water to the canner until it's 2/3 full and set to boil.
- Measure water and honey into a stockpot and simmer for 5 minutes. Keep hot.
- Fill a large bowl with 7-8 cups of water and stir in 2-3 teaspoons of salt (double these numbers if you have more than 1 batch of peaches to process in the canner).
- Peel your peaches and immediately cut into 6 or so slices.
- Drop slices into salt water to prevent browning.
- When you have enough, fill quart jars using a funnel.
- Leave 1 inch of headspace.
- Before you fill jars, drain off any salt water that collected in the bottom of the jar.
- Ladle hot honey syrup into jars.
- Wipe rims, add lids and tighten bands to fingertip tightness.
- Process quart jars in water bath canner for 30 minutes at 0-1,000 ft in altitude.
- Remove jars and set on cooling rack. Let cool for 12 hours.
- Test for a seal and store sealed jars away on the pantry shelf.
- Canned peaches will last for 18+ months on the shelf.

Do these turn out mushy? This will be my first time canning peaches vs just making jam and it’s my hope to keep them as firm as possible for pies in November. Thoughts? Tips?
Canned peaches are quite soft. If you want really firm peaches for making pies, I'd recommend freezing peaches instead. I walk you through how to do this in my digital book and charts on freezer preserving the harvest. You can get it RIGHT HERE.
Hi, do I use 2 tablespoons or 2 teaspoons of salt in the salt bath? Thanks!
I do 2 tablespoons, but you could probably get away with doing a bit less. 🙁