Best Way to Freeze Sweet Corn (for fresh flavor)
Discover the best way to freeze sweet corn, so it holds that fresh taste our families love!
Freezing sweet corn is a tradition in my family. From the time I was a little girl (and even before), my parents would drive to a local u-pick, fill the back of our truck bed or van with ears of corn and return home.
Upon arriving, the truck would be parked in the field beyond the kitchen, and we would start removing bright green husks. Inevitably, the animals grazing in the pasture would come to feast on the husks while we worked.
Funny what you remember, but I clearly recall not being strong enough to husk corn like my big brothers did. They would hold the base of an ear between their knees, then tear the corn husk off in two halves, whipping through the process while I slowly pulled away the green leaf-like husks, a few at a time.
It was a family affair.
While we were husking, mum would start the blanching process in the kitchen. After dipping hot ears of corn into boiling water, she would soak them in cold water to cool.
Ears of corn would be piled on the dining room table, until it was time for some of us to start cutting corn from the cobs.
Then we'd start the "chain," with some of us husking, some cutting sweet corn from the cob, others bagging, labeling and running the corn down to the basement freezers.
We kept the chain going all day long. And by late evening, it was usually done.
It was a long day, but we got a lot accomplished. And nothing tasted so good as a dinner of chicken and potatoes after a day of snacking on, smelling and working with sweet corn.
I like the fresh flavor of frozen sweet corn so much that after I was married, I carried on with the tradition of putting up good sweet corn in season. And I quickly realized in value in tackling this preserving event with more than 1 person!
I like to freeze corn every year, partly because it's nostalgic, partly because frozen corn still carries that fresh taste, and partly because it's a wonderful way to keep quality food on the table, at low cost.
Where to Find Sweet Corn
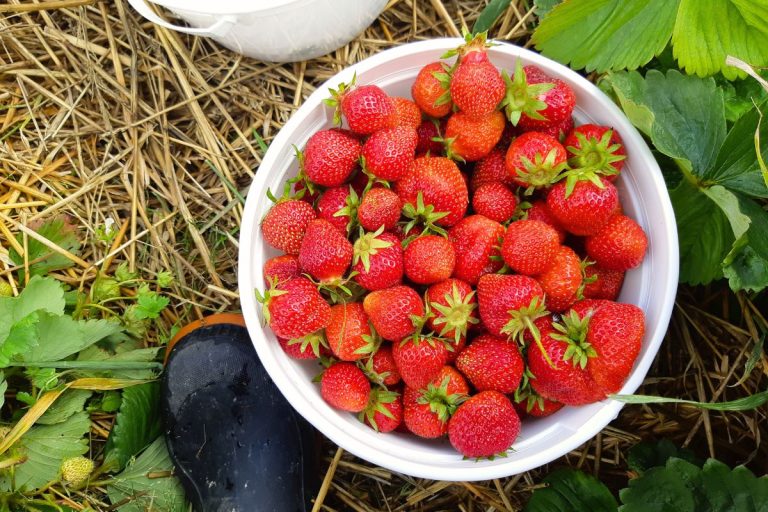
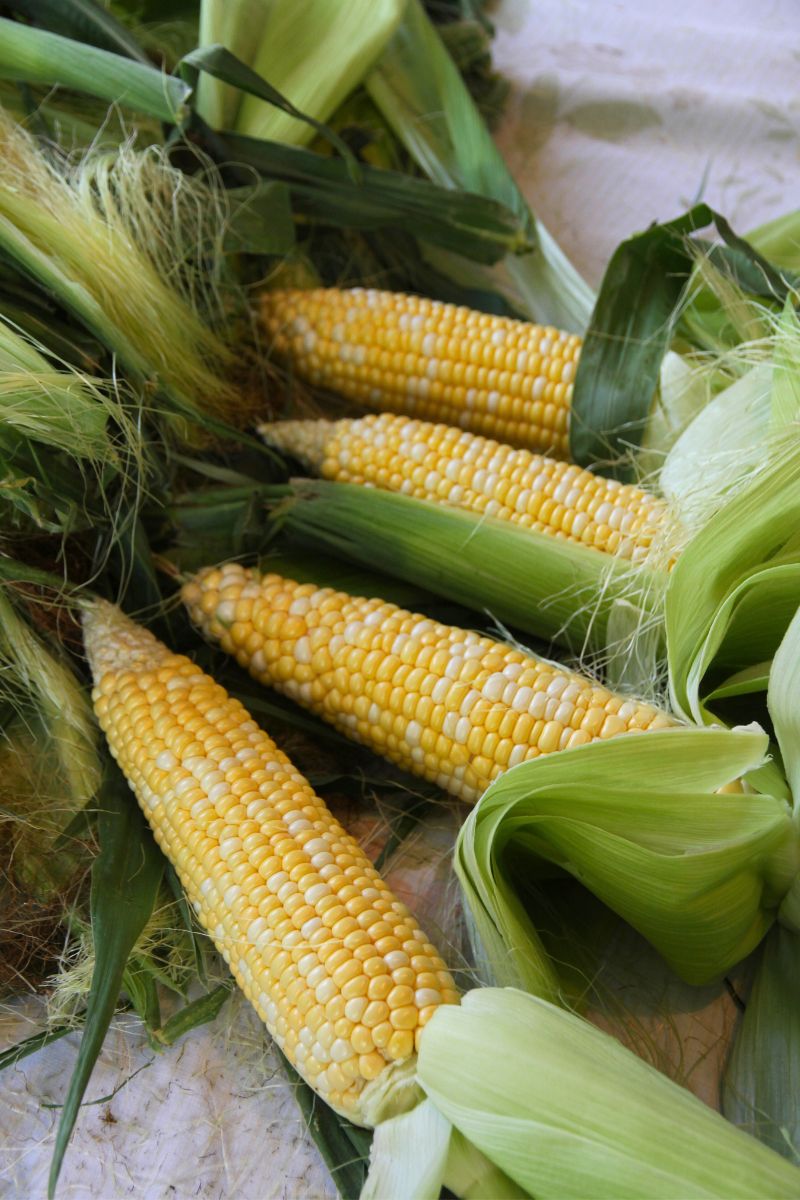
If you grow your own sweet corn, you can harvest it for freezing when the corn silks start to turn brown on the tip of the corn husk.
But if you aren't lucky enough to grow your own, you can probably get local corn at a fruit stand or farmer's market.
Important Tip: fresh sweet corn is the best. If it sits for too long, it will turn starchy and you'll loose that sweet, milky flavor. Always get fresh corn and put it up within 1-2 days of buying.
Best Way to Blanch Fresh Sweet Corn
Sweet corn needs to go through a quick cooking process (aka blanching) before you freeze it, to disable enzymes and bring out the milky sweetness of large ears and small ears alike.
Some folks will dip whole cob/s in boiling water and then freeze them whole. Others prefer to cut corn off of uncooked corn ears, and boil the fresh corn kernels after.
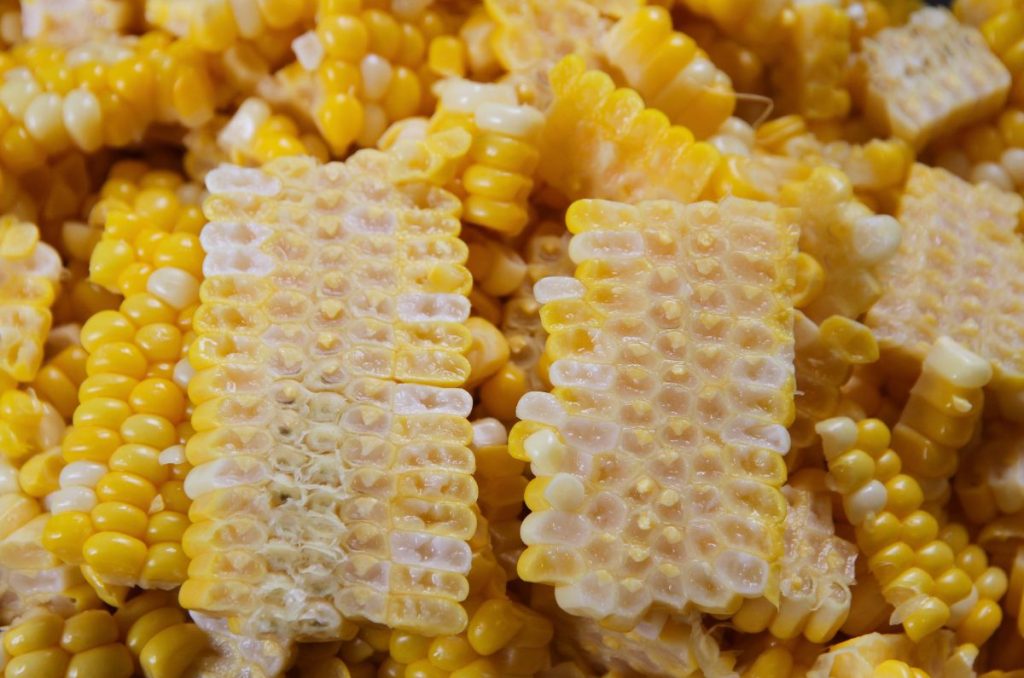
But I like to blanch corn on the cob for 3 minutes, and then slice it off with a large kitchen knife. The sweet corn will fall away in milky slabs and it's easier to thoroughly clean the cob this way.
Items You'll Need
- large pot of water
- tongs
- sharp knife
- colander
- baking sheet or tray (x2)
- large bowl
- freezer bags or freezer containers
How to Freeze Sweet Corn
Step 1: Set a Large Pot of Water on to Boil
Before husking ears of corn, go ahead and fill a large pot 2/3 full of water. Cover with a lid and set it on the stove to boil under high heat.
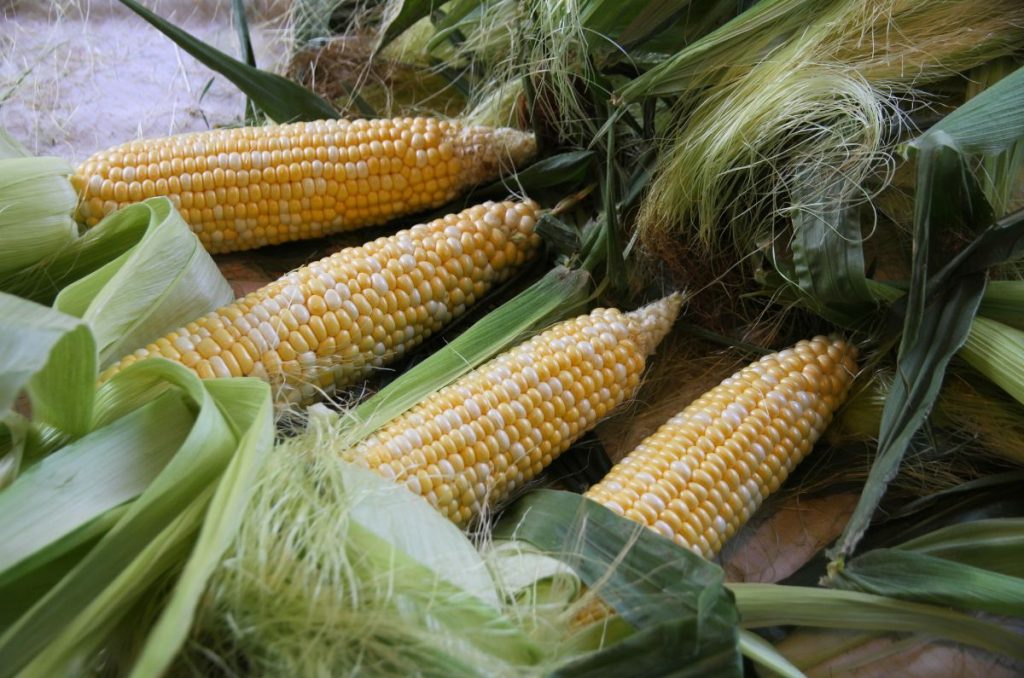
Step 2: Husk Your Corn Cobs
Spread an old tarp or sheet over your work area to catch husks (I often spread a flat bedsheet on the table or floor to husk into). Immediately start husking corn cobs, piling cobs up in a bin or tray, so they're easy to carry over to the stove.
Husk, until the water on the stove boils.
Helpful Tip: As you work, be sure to remove corn silks from ears, or you'll have tough, hair-like strings in your corn. You can quickly remove corn silks by lightly grasping a cob of raw corn in one hand and twisting the ear with the other. Move your hand up and down the ear of corn while twisting it and most silks will come off.
Step 3: Fill Your Sink with Cold Water
Just before you're ready to start blanching corn, fill a sink with cold water. If your water doesn't run cold, add ice cubes to make a ice water bath. You'll need the cold water to quickly cool blanched corn, so it doesn't overcook.
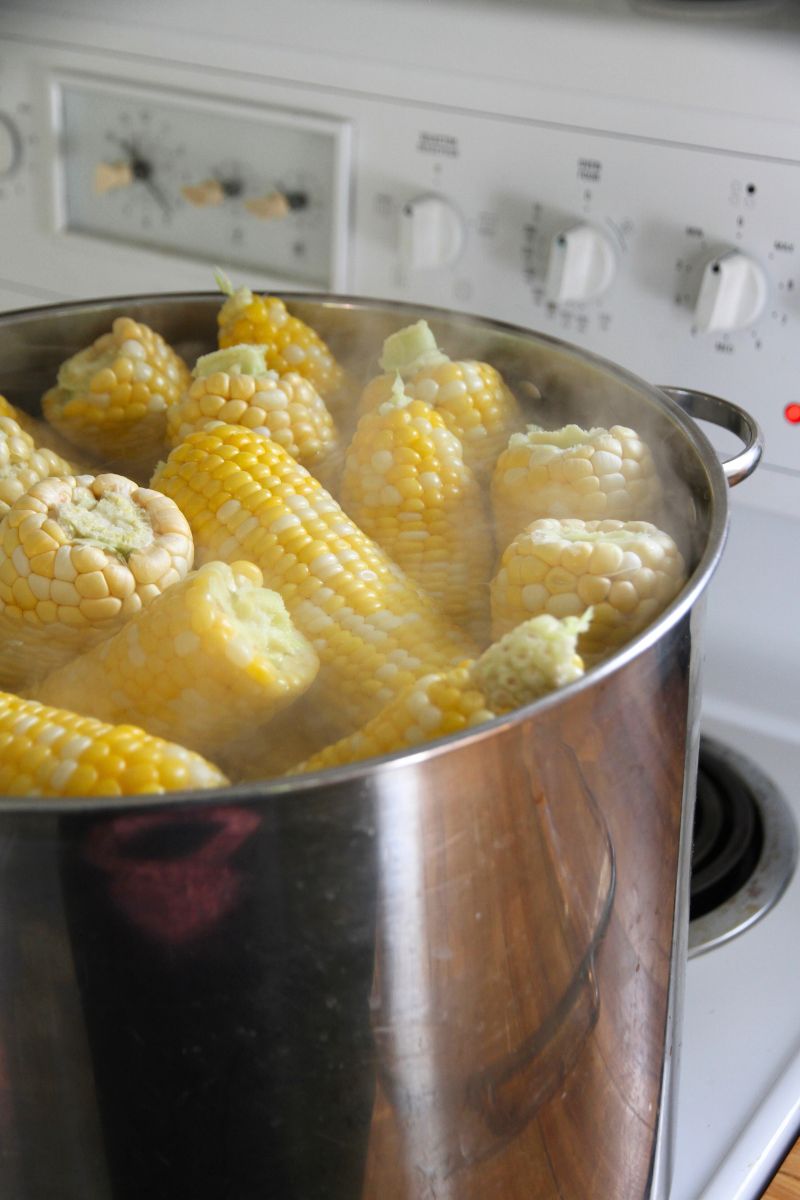
Step 4: Blanch Whole Ears of Corn
Add husked ears of corn to the boiling water, until the pot is full and ears are covered by water. Let them cook for 3-4 minutes, then use tongs or two large spoons to lift corn out onto a baking sheet or tray.
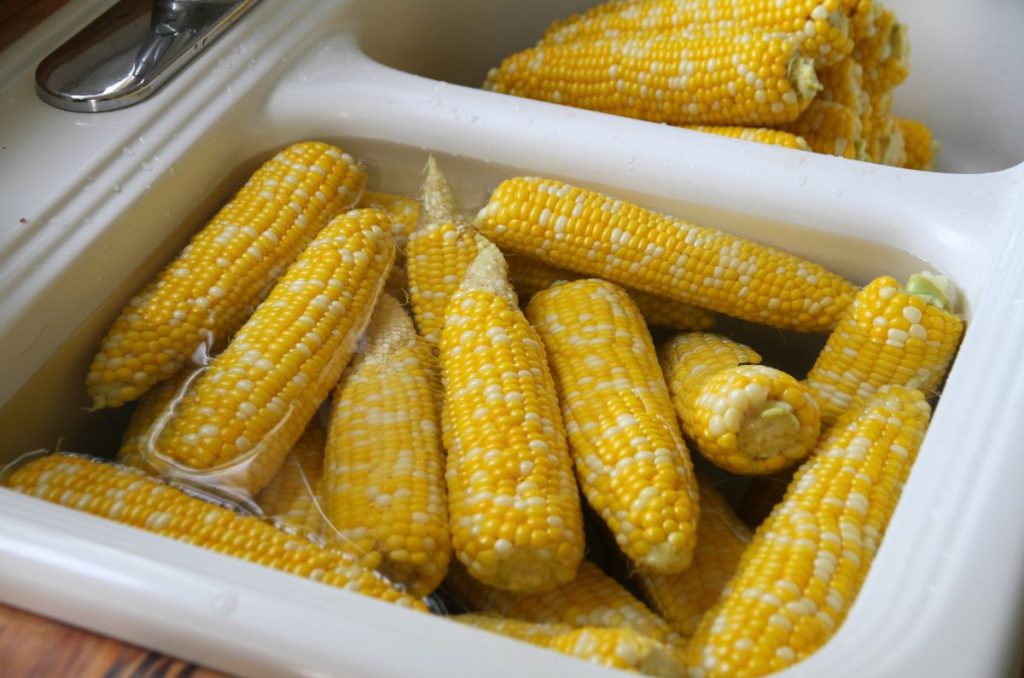
Step 5: Cool Blanched Corn in Cold Water
After pulling all the blanched corn from the pot of water, carry them to the kitchen sink and plunge them into the ice cold water. You can leave them there while you put another batch of fresh corn cobs into the hot water.
Step 6: Transfer Cool Corn to a Baking Sheet or Tray
Once the corn has cooled, you'll want to pile it into a baking pan or tray and move it to your cutting station (counter or dining room table).
Step 7: Cut Corn from the Cob
It's not difficult to cut corn from the cob. Place a tray in front of you and slice corn from the cob using a sharp kitchen knife. The slabs of corn will fall into the tray and you can whip through a dozen ears in no time.
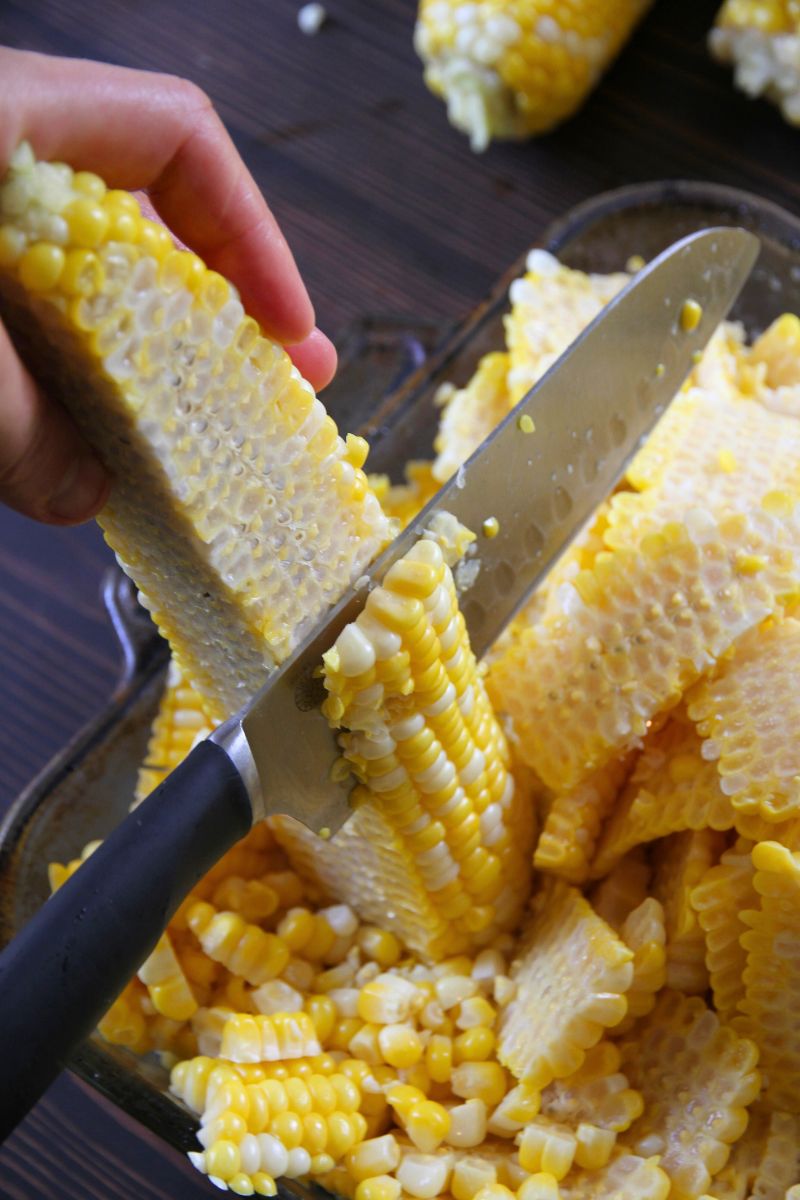
You might be wondering why I don't recommend using a cutting board? Corn releases a lot of juice as you work, so you'll want something with edges to catch the sweet, sticky juice!
When your tray is full, empty it into a large bowl or bag directly.
Helpful tip: when cutting corn from the cob, don't cut so deeply that you take some of the grey cob with the corn kernels. Cobs are tough to chew!
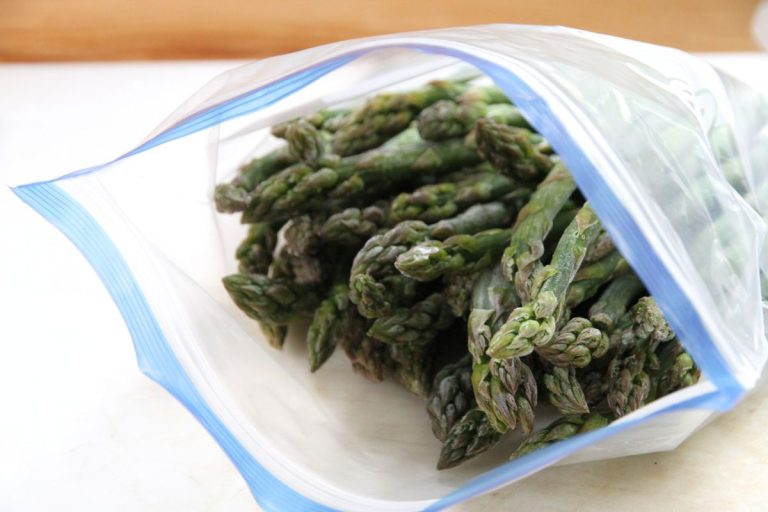
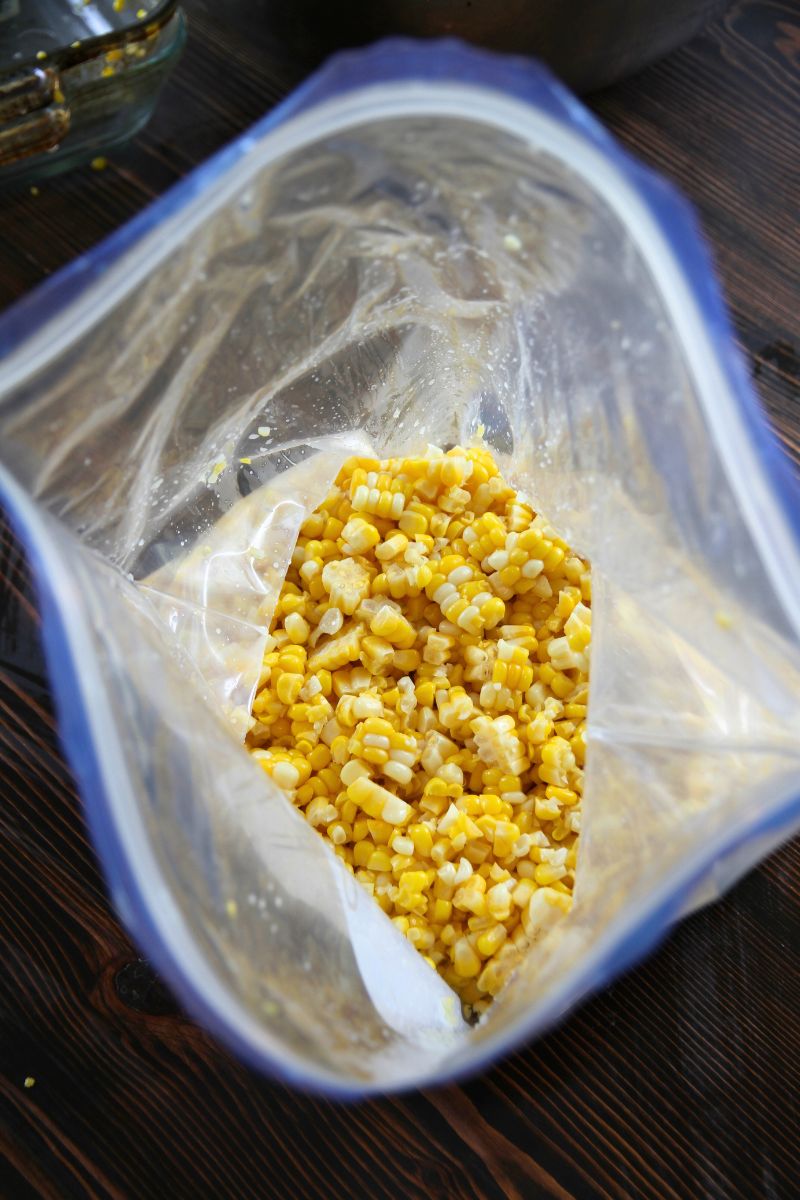
Step 8: Fill Freezer Bags with Corn
Some folks like to measure how many cups of corn are in each plastic bag. But I just fill my zip loc bags 2/3 full, force the air out of them and seal. I know there's about 2 cups in each bag of corn.
Step 9: How to Freeze Sweet Corn
Freezing corn is easy. Spread the kernels out in each bag, so they will lay flat, then pop them into the deep freeze.
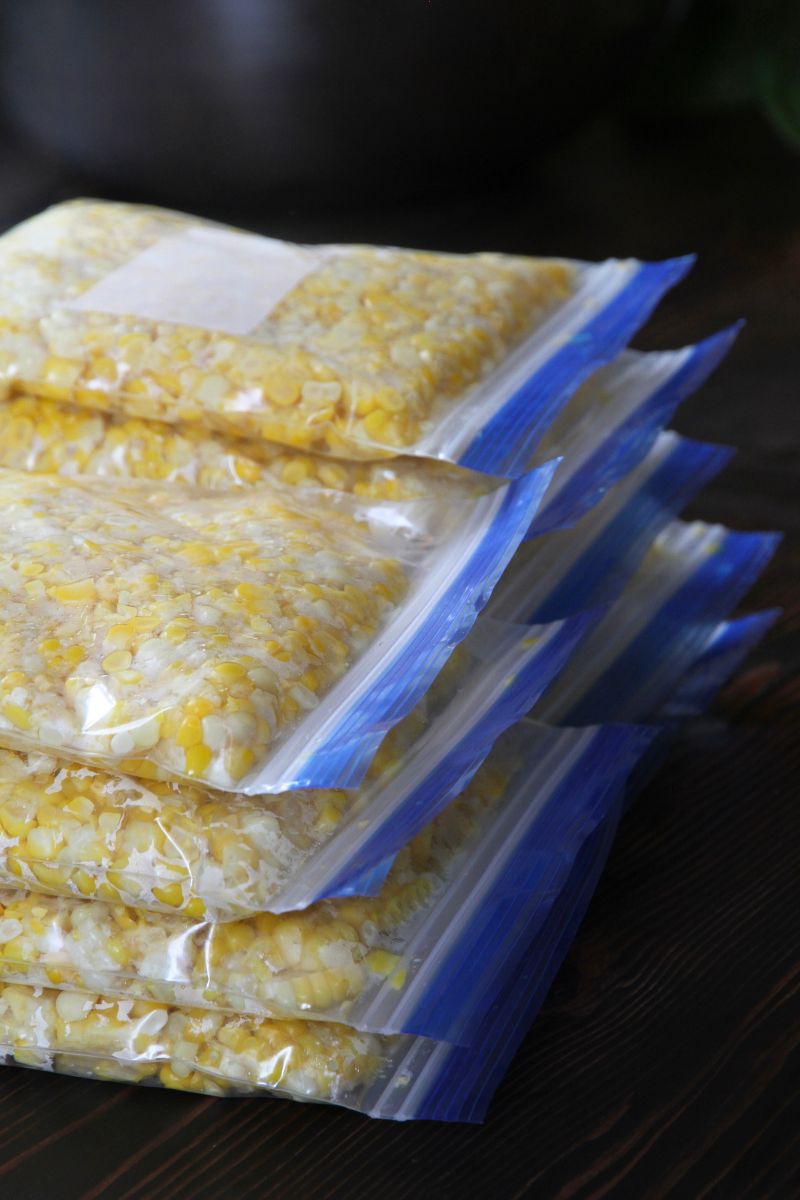
You can stack the bags in a box, so all of your frozen corn is in one place. Or if you have dozens and dozens of bags, you will want to spread them out, so they freeze quickly. You can stack them later.
Helpful Tips for Preparing and Freezing Sweet Corn
- Always start with fresh sweet corn; if it sits for more than 3-4 days, sweet corn will turn starchy and you'll loose the fresh taste your family loves so much!
- Get the whole family involved...or at least a few other people! Having a chain really keeps things moving along.
- Always remove hair-like corn silks from the ear of corn before blanching, so your frozen sweet corn doesn't have "strings" in it.
- Slice the sweet corn from the cob over a tray or dish with edges to keep juices from spilling everywhere. You can place a cutting board in the pan if you want to keep your knife sharp!
- Don't cut too deep when slicing corn away from the cob. You don't want to take tough, grey parts of the cob with the corn.
How to Use Freeze Corn in the Kitchen
As a Veggie Side Dish
Frozen corn can be place directly into a small pot and can be warmed on the stovetop over medium heat. It's ready to serve when it simmers and bubbles.
An Addition to Soups, Stews and Chowders
I love adding frozen corn to soups, stews and chowders. You don't have to thaw it beforehand.
Make up a pot of your family favorite, then add a block of frozen sweet corn in the last 15 minutes of cooking. Stir occasionally to help break up the frozen clump of corn and serve when everything is hot throughout.
Add Corn to Salsa and Salads
Sweet corn is a delicious addition to salsa, corn salad, bean salad, cucumber salad and even in greek salads. Before using, thaw and drain the corn. Add to your recipe, as desired.

How to Freeze Sweet Corn
Equipment
- 1 large pot
- 1 pair tongs
- a sharp knife
- a colander
- 2 baking sheets or trays
- large bowl
- freezer bags or containers
Instructions
- Fill a large pot 2/3 full of water and set to boil on your stovetop.
- Husk ears of corn, being sure to remove corn silks.
- Add cold water to your kitchen sink.
- Fill boiling pot of water with ears of cook and cook 3 minutes.
- Use tongs to lift corn out onto a tray.
- Plunge ears of corn into cold water to stop the cooking.
- Add more corn to the boiling water while corn in cold water cools.
- Lift cool corn and move to your cutting station.
- Work over a tray, slicing corn kernels from the cobs.
- Empty pan into a large bowl when it gets too full.
- Bag kernels of corn and discard cobs.
- Spread corn flat in plastic bags and freeze.