How to Use a Canning Pot or Boiling Water Bath Canner
Learn how to use a canning pot, so you can start practicing home food preservation in your own kitchen. Water bath canning is an excellent way to preserve high-acid foods and stock your pantry with shelf stable goods.

The best place to start with home canning is via the canning pot (also called a water bath canner). Some folks are intimidated by the process, but if you're comfortable boiling water on your stove top, you'll do just fine with water bath canning.
It's very simple and here, I break everything down for you in a step-by-step guide, using proven, tested recipes and techniques.
I stepped back into home canning in my mid 20's. In spite of the fact that I familiar with the water bath canning process, I had never canned food all by myself before. It was a bit nerve wracking that first time, but I pushed through because I really wanted to start putting up food for the pantry.
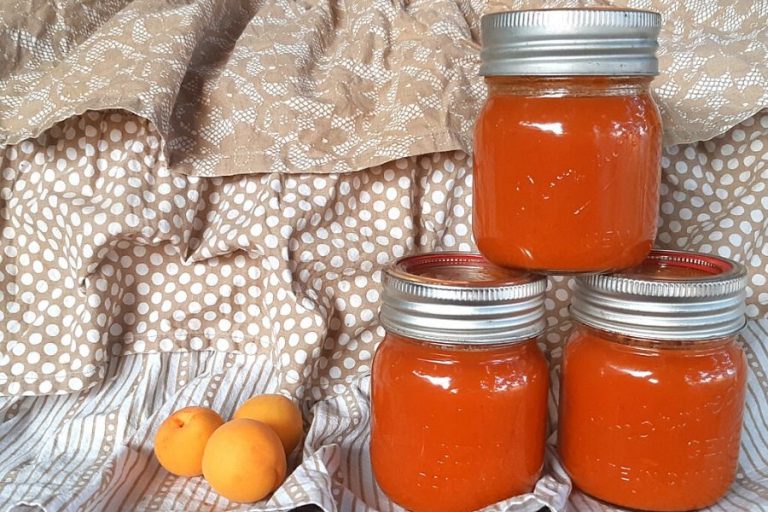
That first year, I didn't do much. Applesauce, peaches and pickled beets were my "staples." And even though I didn't have many jars to fill, I found great pleasure in seeing short rows of canned food sitting pretty on my pantry shelf.
I also took great satisfaction in knowing that the mice couldn't get at it. Yes, we had a serious mouse problem in our first home and it was almost impossible to keep them out of my dry goods! But they couldn't get through my glass jars, and it made me happy to know there was something in my pantry they couldn't damage.
I win, mousey mouse.
A year or two later (after we left the mouse house), I discovered home canning wasn't just a way to provide for my home. It also gave me more control over the ingredients in our food, and opened the door to more variety.
Want to make homemade tomato sauce without added sugar? You now have that freedom!
Like the idea of having low-sugar jams and jellies? It's as good as done!
You want to start canning fruit with honey, instead of white sugar? Easy-peasy!
Home canning opens the doors to creativity and gives you more options for healthy eating. And that's something special!
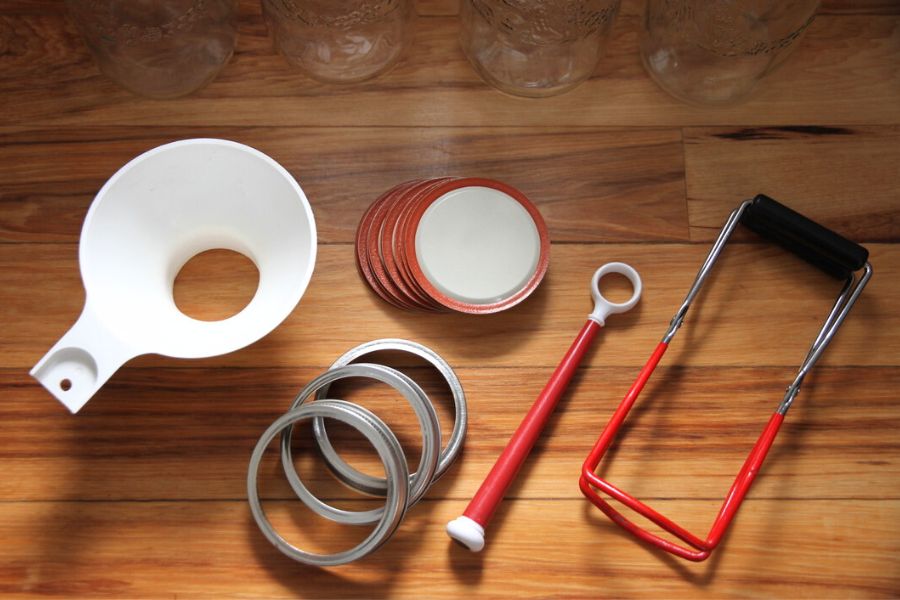
Tools You'll Need
- large stock pot or boiling water canner or canning pot
- jar rack for bottom of canner (comes with if you buy a canning pot)
- canning jars
- new lids
- canning bands
- canning funnel
- lid lifter
- jar lifter
- wire rack for cooling jars (I use a sturdy cooling rack like this one and love how stable it is with the legs folded under).
- safe canning recipe
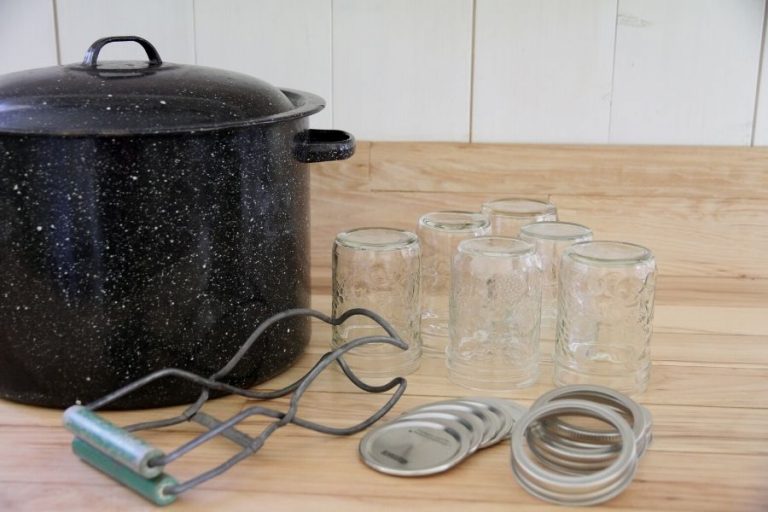
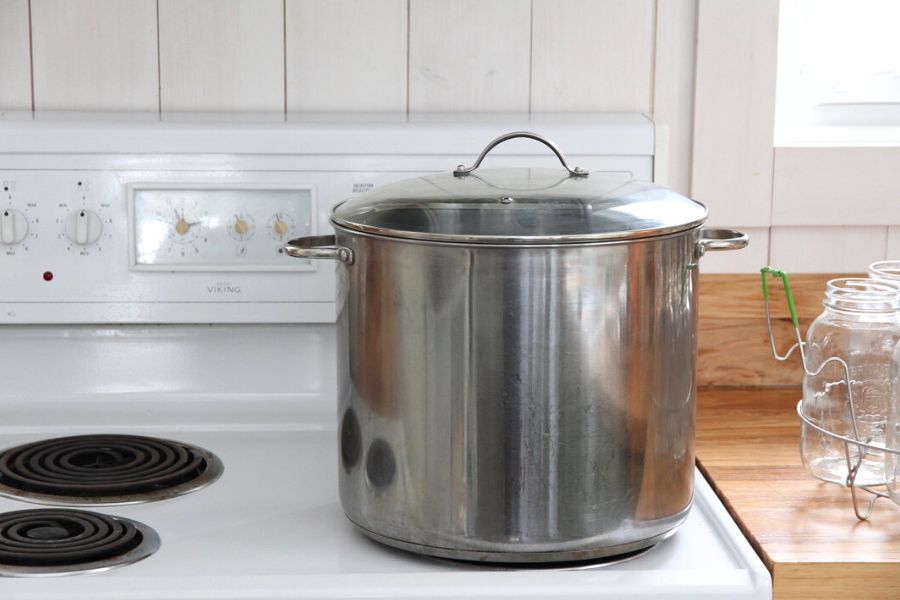
What is a Canning Pot or Boiling Water Canner?
A boiling water canner is really just a large stock pot with a lid and a jar rack. You can buy canning pot sets. Or if you already have a large pot in your kitchen, you can easily convert it into a canner (get the details below). If you don't have extra money to spend, I'd recommend going this route.
But before you buy (or make) a canner, you need to take your stovetop type into account.
How to Choose a Canner for Your Stovetop
You can use any style of canner on a gas, propane or an electric coil cook top.
Smooth top ranges (like glass tops) need to be treated with care. You can only use flat bottom canners and pots on these stove tops, or you run the risk of cracking the glass.
This canning pot here has a flat bottom.
Be sure to take these details into account as you choose a boiling water canner.
Where to Buy a Canning Pot
You can usually find canning pots (also called water bath canners) at your local hardware store. Sometimes grocery stores carry them as well.
There are two basic types you'll find: granite and stainless steel.
I used a granite water bath canner for years, but eventually the enamel wore through and the pot began to rust. Today I use the giant, stainless steel canner listed below.
And I just have to say?
I love it.
This canner is wonderful because it works on all stove top types. I love making giant batches of bone broth or soup in it, and also use it to preheat food when I'm pressure canning. It's built to last and is an excellent, all-purpose pot to have on hand.
You can buy complete canning pot sets here:
- 21.5 quart granite water canner (for gas, propane or coil cooktops)
- 20 quart stainless steel boiling water canner (suitable for all stove top types)
How to Make Your Own Boiling Water Canner
If you already have a large stock pot with a lid, you can quickly make your own water bath canner. It's not hard! Size is the important thing. Ideally, your stock pot would be wide enough to fit 7 jars at a time.
Pint jars (500 ml) will fit in a smaller pot, while you need something quite large for quart jars.
Here are the dimensions you need to look for.
- Pot for pint jars (500 ml): 10.5 inches diameter by 7.5 inches deep.
- Pot for quart jars (1 litre): 12.5 inches diameter by 10.5 inches deep.
Generally speaking, I would recommend going with the larger pot because you can fit both pints and quarts in it. But if you're someone who just uses pints, a smaller pot can be a good thing. It's lighter, uses less water and heats up faster. Go with whatever makes sense for you.
If your stock pot has a lid, you just need a rack for the bottom of the pot. Don't ever set glass jars directly on the bottom of your canner.

The burner's heat is too intense and will crack filled jars (this is especially true for gas and propane). A rack will slightly lift the jars and allow hot water to circulate underneath.
It's not difficult to make your own rack! Some folks tightly roll up kitchen towels and then coil them on the bottom of the canner to give jars the extra lift they need. But that method is quite messy.
Instead, I prefer to loosely tie extra canning bands together and create a flower shape that fits in the bottom of my pot.
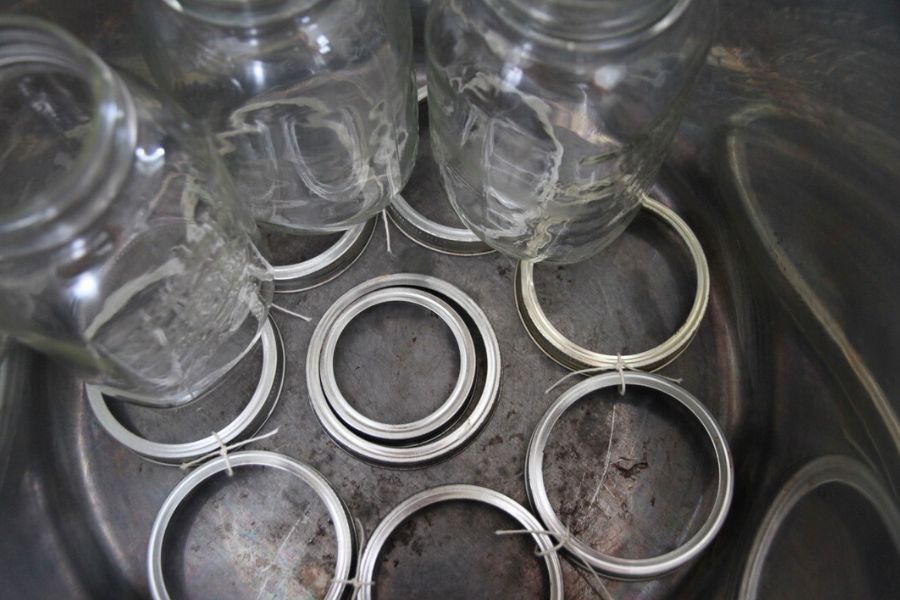
Do tie the bands together, so boiling water doesn't lift or rearrange them in the pot before you add jars. I like to use cooking twine for this.
Helpful tip: if you're processing quart-size jars, use wide mouth canning bands. And for smaller jars, use standard (small mouth) bands, so nothing tips over when the boiling action occurs.
Just remember to plop your homemade rack into the bottom of your stockpot before processing jars, and remember to remove and dry it out after, so things don't rust.
Best Glass Jars for Home Canning
When it comes to mason jars, common sizes for home canning are half pint jars (250 ml), pint jars (500 ml) and quart jars (1 litre).
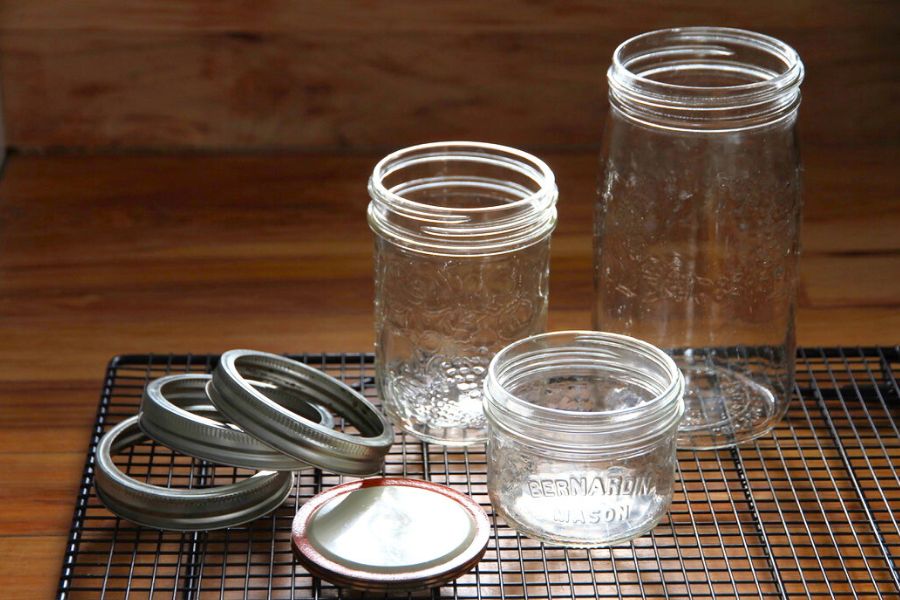
There are many different brands out there and my only precaution is to be sure you're using an actual canning jar, not something that's meant to be ornamental! You should be able to tell by the mouth size.
Interested in finding canning jars for free (or very cheap)? Here are 5 ways I've found free jars for home canning in the past and built my collection of 600+ jars at very little cost!
Canning jars come in wide mouth or standard (small) size. And each one needs the accompanying lid and metal screw band.
Helpful tip: you can reuse glass mayonnaise jars and also glass jars that hold tomato sauce, provided they fit your canning lids.

Food List for Safe Water Bath Canning
Water-bath canning is only safe for high acid foods. Edibles must have a pH of 4.6 or lower (meaning more acidic) to be a candidate for this method of home canning.
I break it down in greater detail in my course on Water Bath Canning for Beginners.
Safe foods list for water bath canning include:
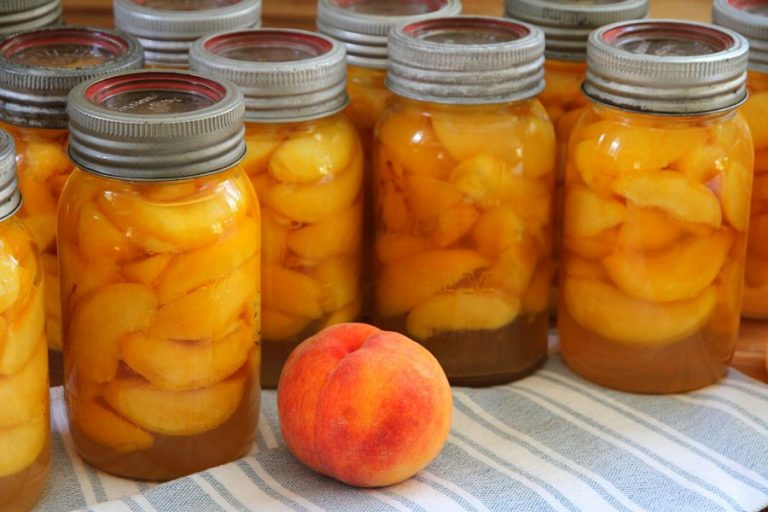
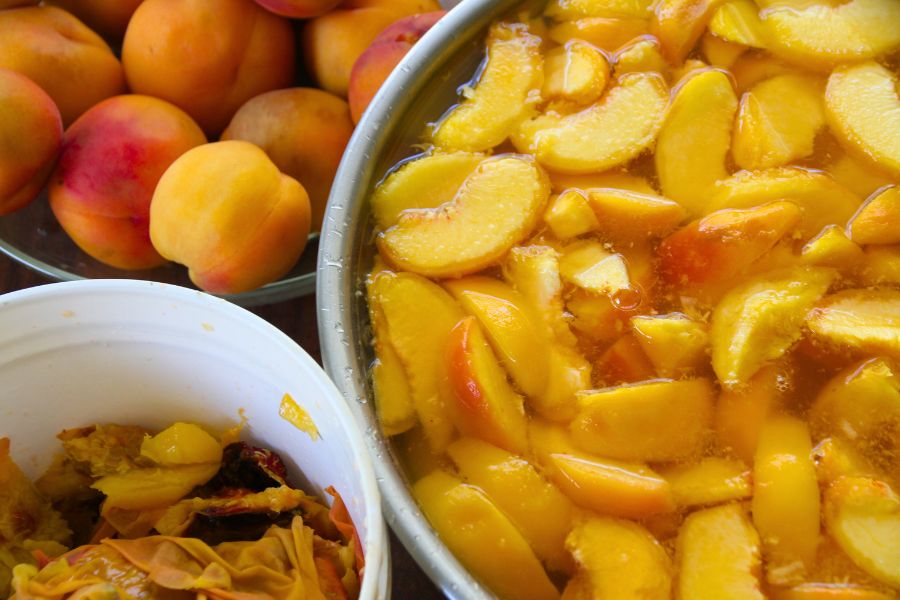
- berries and fruit (in a syrup, jams, jellies, juice, pie fillings & sauces)
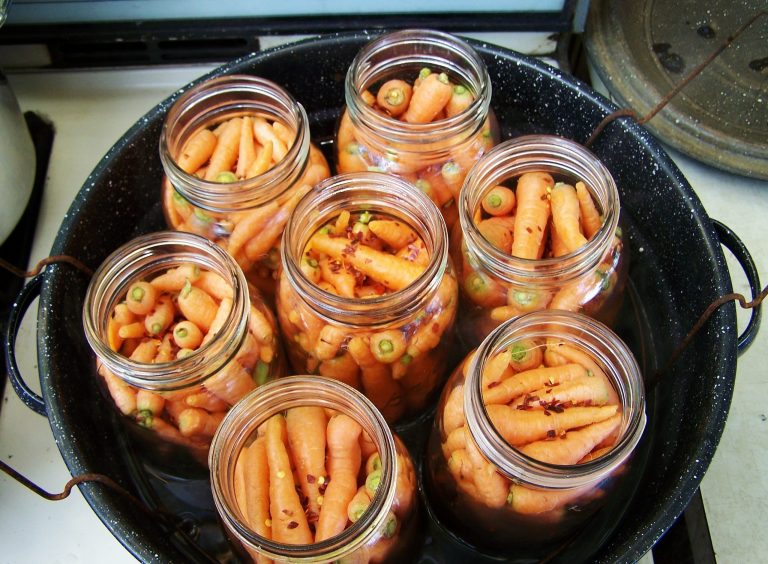
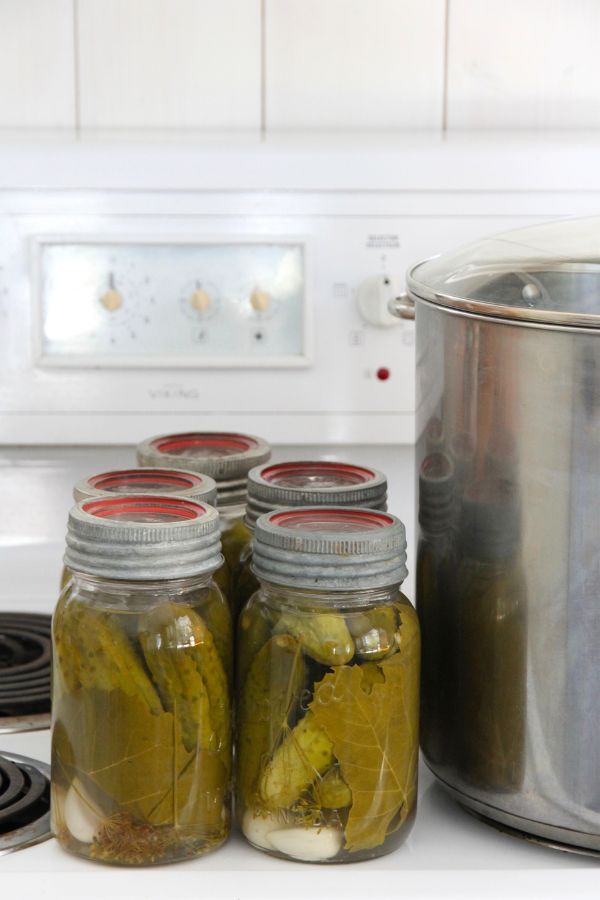
- pickled vegetables (asparagus, beans, beets, carrots, cauliflower, cucumber, green tomatoes, hot peppers, okra, pearl onions)
- tomatoes and tomato products (you need addition of vinegar, lime juice or bottled lemon juice for extra acidity).
Low-acid foods need to be processed in a pressure canner. Pressure canning gives you temperatures hotter than boiling water, making it safe to preserve broth, meats, dried beans, vegetables in salt water, etc.
Where to Find Safe Canning Recipes
Water bath canning is so simple, not many folks can mess it up. The place they usually go wrong is by using canning recipes from unreliable resources.
Maybe it's a recipe from grandma's old canning book that isn't up to date with our modern day findings regarding canning food. It could be a recipe from a friend. Or maybe they just got bad advice online from google searches or Pinterest.
For safe, worry free canning, always use tested recipes with directions for proper food, acidity levels and processing times.
Here are some of my favorite, trustworthy online sources for water bath canning.
- National Center for Home Food Preservation (free online site)
- Ball Complete Book of Home Canning (Bernardin for Canadians)
- Simply Canning with Sharon Peterson (free online site)
- University Extension Research from Various States
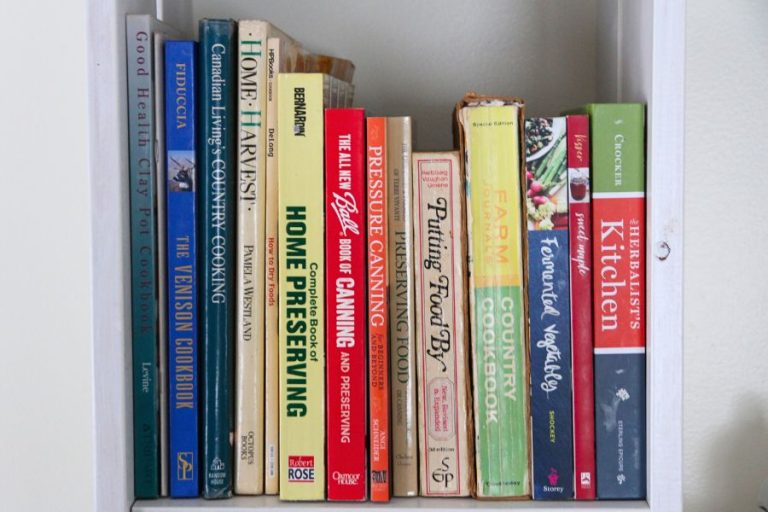
In my kitchen, I really like having physical copies of cooking and home canning recipes. You can check out my favorite home canning books for beginners and advanced canners alike!
How to Preserve Food in a Canning Pot or Water Bath Canner
Add water to your canning pot or water bath caner, filling it about 2/3 full. After jars are loaded, they need to be covered by 1-2 inches of water.
Add your lid and set the pot on to boil. While you wait, prepare food according to directions given in your recipe. You can preheat canning jars by running hot water over them at the kitchen sink.
For a raw or cold pack, fill jars with fresh food, then use your funnel and ladle to add hot liquid.
If you're putting hot food into jars, use the funnel and ladle to transfer both solids and liquid to the jar.
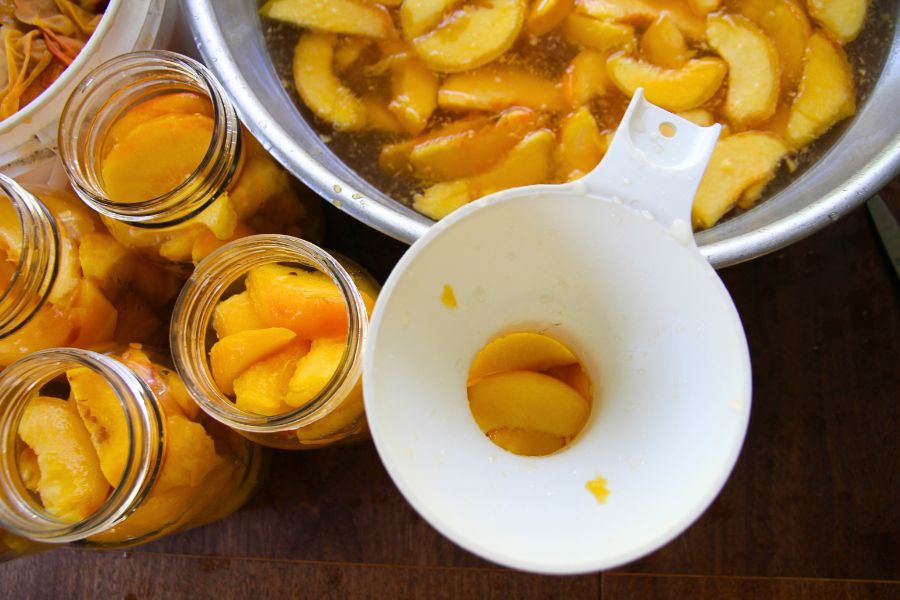
Leave the amount of headspace (open space) at the top of your jar, as directed in the recipe.
Should you see air bubbles trapped in the food, sharply twist your jar back and forth to release them.
Wipe the rim of the jar using a damp paper towel, then add a clean lid and tighten the screw band to fingertip tightness.
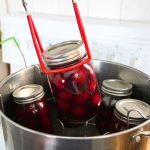
Set the hot jar in your canning pot and continue to fill remaining jars.
Repeat until all the canner is full, then cover with a lid and bring the water to a full rolling boil.
Processing time will be outline in your recipe; just be sure to adjust according to your altitude.
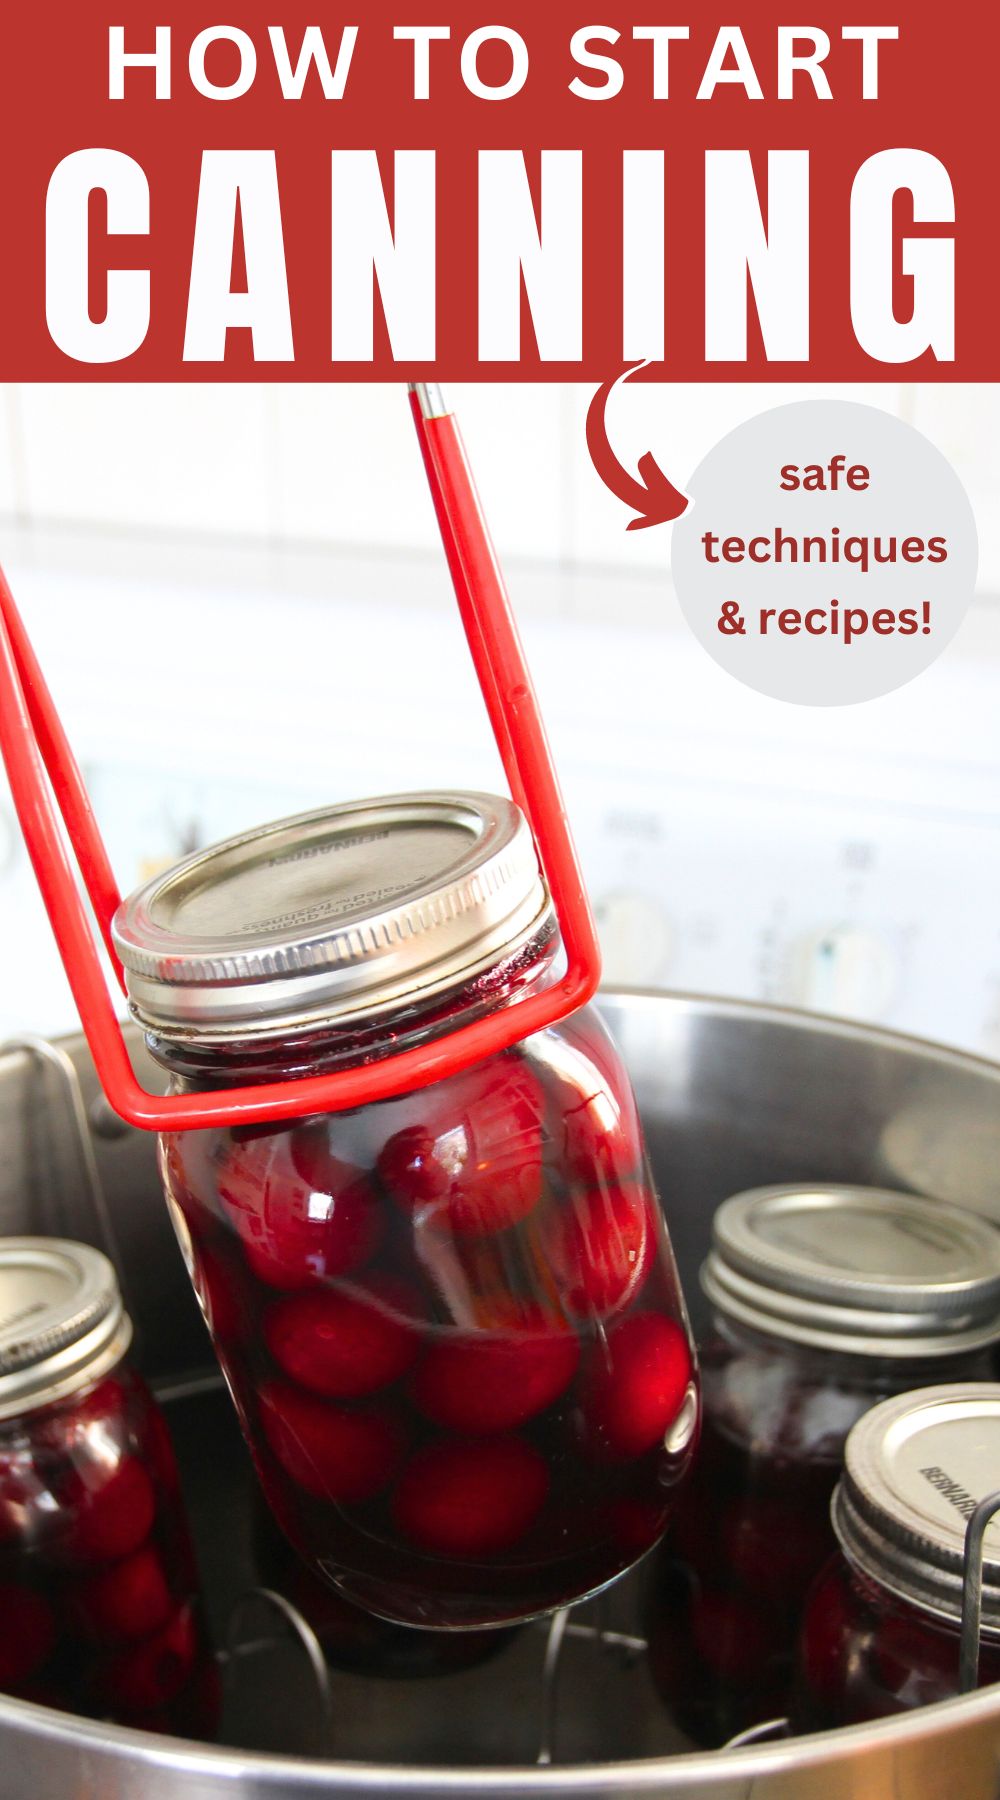
After boiling jars for the prescribed amount of time, lift hot jars from the water and set on a stable cooling rack, leaving them for at least 8 hours or until they return to room temperatures.
Test all jar lids for a good seal by pressing down and looking for movement. If lids have an airtight seal, they will be tightly sucked to the rim of the jar and will be slightly concave.
However, if a lid pops up and down, the seal has failed and this food needs to be refrigerated and used soon.
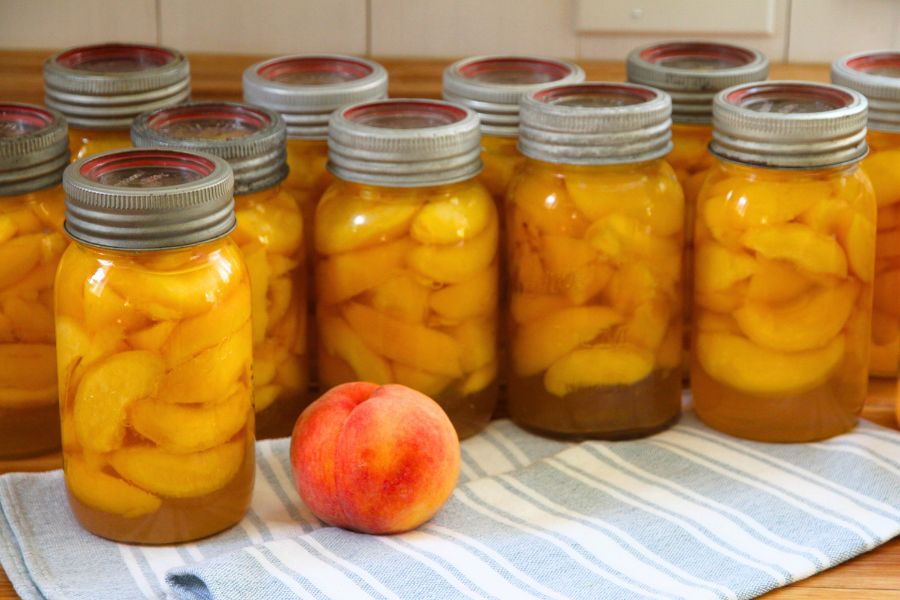
Sealed jars of food are shelf stable and can be stored in the pantry for 1-2 years.
How to Use a Canning Pot
Equipment
- large pot or water bath canner with jar rack
- canning jars
- new canning lids
- screw on canning bands
- canning funnel
- lid lifter
- jar lifter
- stable wire cooling rack
- safe canning recipes
Instructions
- Add water to your canning pot, filling it 2/3 of the way.
- Cover with a lid and set it on the stove to boil.
- Wash canning jars and lids.
- Prepare your foodstuff according to your canning recipe.
- Stuff jars with food (use a funnel, if needed) and cover with hot syrup or brine.
- Be sure to leave proper amounts of headspace.
- Wipe the rim of the jar with a damp paper towel.
- Set a clean canning lid on the rim of the jar and fasten down with a canning band.
- Place the hot jar in your canning pot and continue filling jars.
- When all jars are in the canning pot, cover with a lid and bring up to a rolling boil.
- Set timer for the amount of time recommended in your recipe.
- Process jars and then use a jar lifter to transfer hot jars to cooling rack.
- Let jars sit undisturbed for at least 8 hours or until they return to room temperature.
- Test each jar for a seal; those that sealed can be stored on a pantry shelf for 1-2 years.
- Any jars that didn't seal need to be refrigerated and used soon.