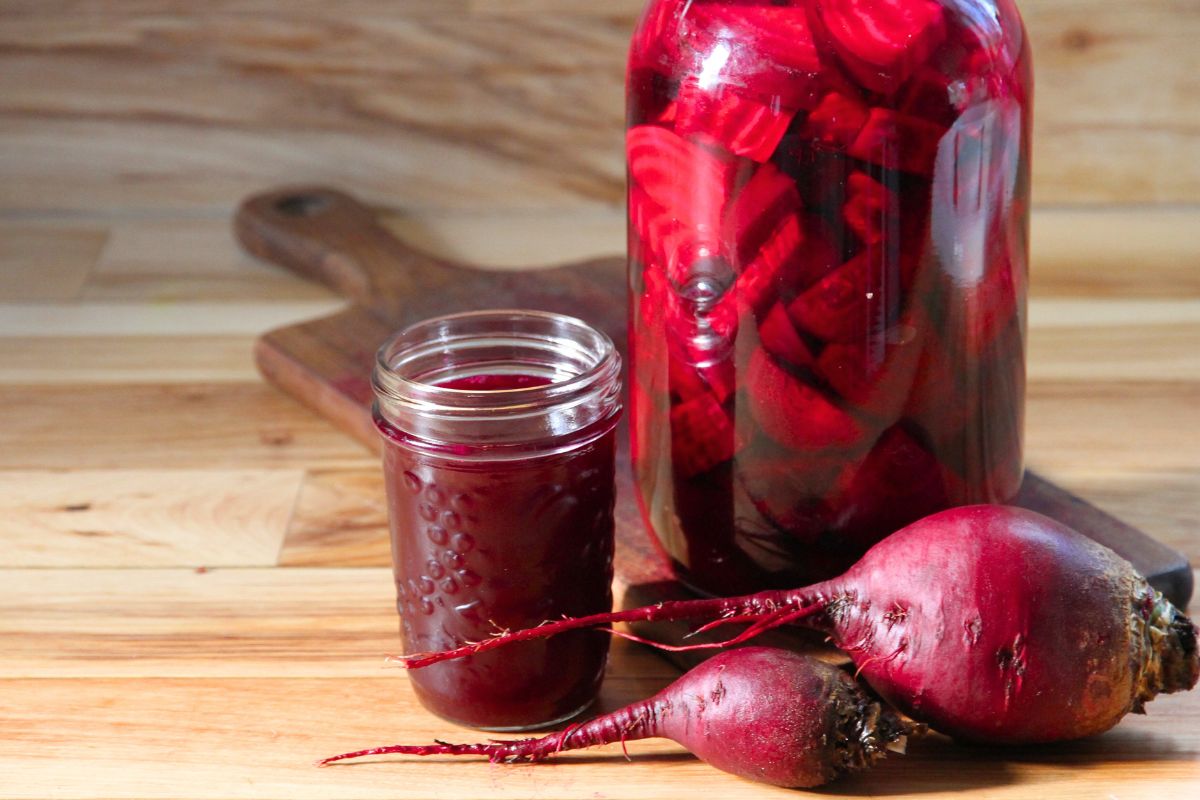
How to Make Beet Kvass in a Mason Jar
Learn how to make traditional beet kvass in a mason jar, using fresh beets, sea salt and a basic fermenting process. For some, beet kvass will be an acquired taste, but it's worth learning to love because it promotes overall health!
What is Beet Kvass?
Beet kvass is an ancient, traditional fermented drink that probably came from Eastern Europe. At the time, beets and water were also fermented with rye bread, and drank much like we drink kombucha today.
Now, most folks skip the grains and beet kvass is made without the rye bread, with beets, water and a touch of sea salt!
How is Beet Kvass Made?
There are 5 basic steps to making this fermented beet drink!
- Stuff a large glass jar with sliced, raw beets.
- Add water until the beets are covered, then put in a small amount of sea salt.
- Cover the mouth of your mason jar with a loose fitting lid or cloth cover.
- Let the concoction sit on your kitchen counter so beets and water can infuse.
- When natural yeast and bacteria take hold and the fermenting process occurs, beets are strained out and juice is stored in the fridge.
Just like that, you have a fermented probiotic drink that your body can easily absorb and put to use!
What Does Beet Kvass Taste Like?
Beet kvass tastes like beet! If you love earthy flavors of the humble beet, you'll probably enjoy sipping on a glass of this fermented beet juice.
If you're not a fan of beetroot, I'd still recommend giving this recipe a try (make a small batch in a smaller jar).
The fermenting process does alter the beet taste. After several days of sipping on it, you may find yourself enjoying the complex flavor.
For the critics out there: no, beet kvass doesn't just taste like the salty beet water you get after boiling beets! The flavors are much more complex than that, on account of the fermenting process.
Health Benefits of Beet Kvass
One of the great things about fermented beet kvass is that it makes the beet's nutrients easier for the body to absorb. As a fermented food product, it also has beneficial bacteria that supports gut health. Some folks even claim it makes an excellent blood tonic!
You can read about the benefits of beet kvass from the professional here.
Things You'll Need for This Recipe
If you're like me (a gardener who enjoys canning), you won't need to buy any special equipment for making beet kvass.
- 6-7 large red beets (you can use golden beets too)
- 1 teaspoon sea salt
- a large glass jar (I like to use 1/2 gallon or 2 litre size)
- a cotton straining cloth
- cutting board
- sharp knife
Helpful tip: if you have a fermenting jar you love and use in your kitchen, feel free to use it for making beet kvass!
Watch the video: How to Make Traditional Beetroot Kvass
Traditional Beet Kvass Recipe
If you're familiar with fermenting kombucha or your own apple cider vinegar, beet kvass will be easy for you to make!
For this recipe, I recommend using fresh beets from your garden. Otherwise, try to find organic beets from a local grower.
Step 1: Prepare Your Beets
Rinse and Scrub-because this recipe uses raw beets, be sure to scrub the red roots well to remove soil. I would recommend leaving the peel on.
Chop Off Taproot-the long, tail-like taproot should be chopped off at the base of the beet root. It's tiny, and small pieces may float, causing mold issues.
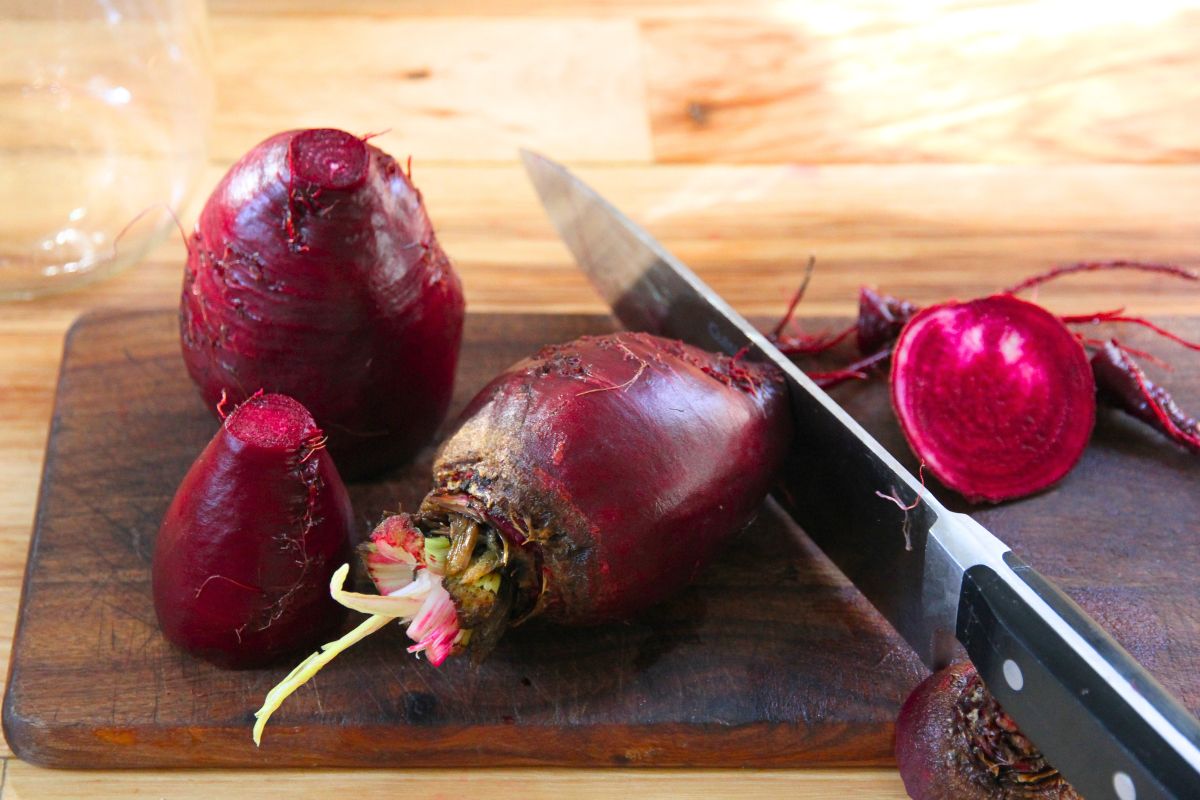
Remove the Tops-be certain to remove the top of your beet root and set stalks and beet leaves aside. If there are deep cracks at the top of your beet, cut them out so you can be certain no dirt is going into your ferment.
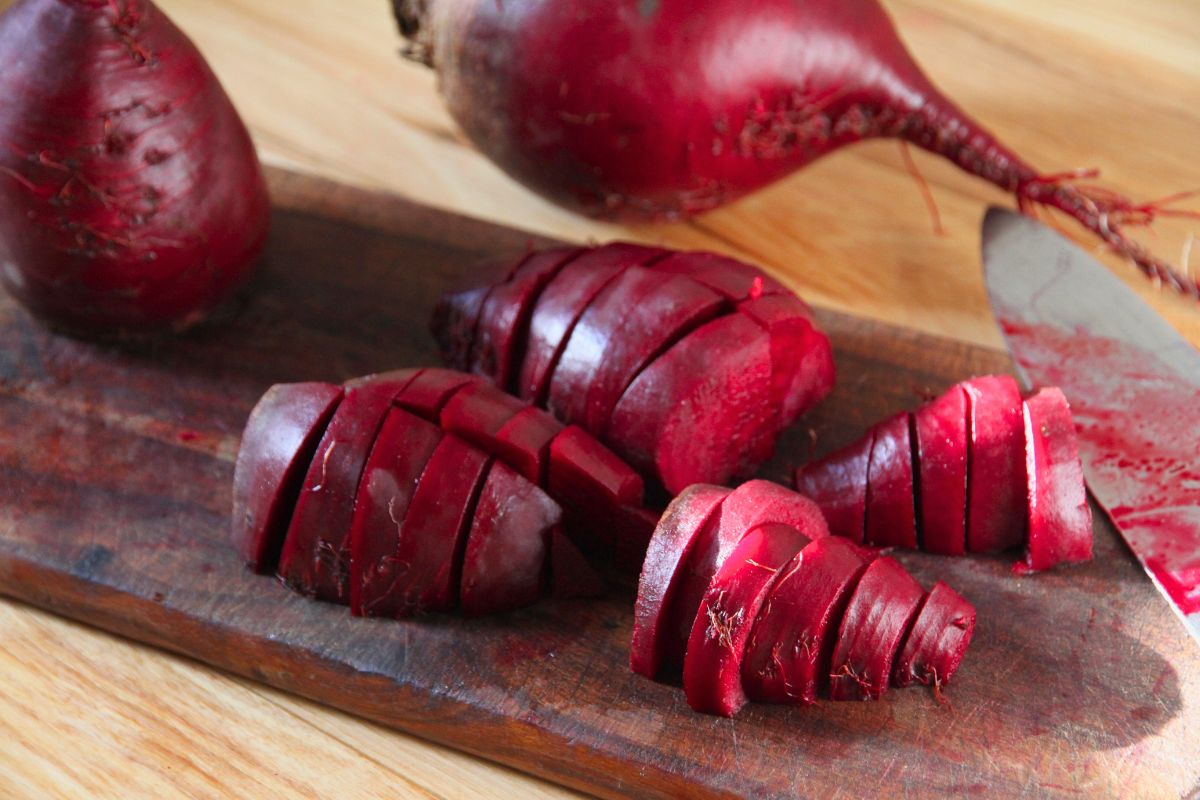
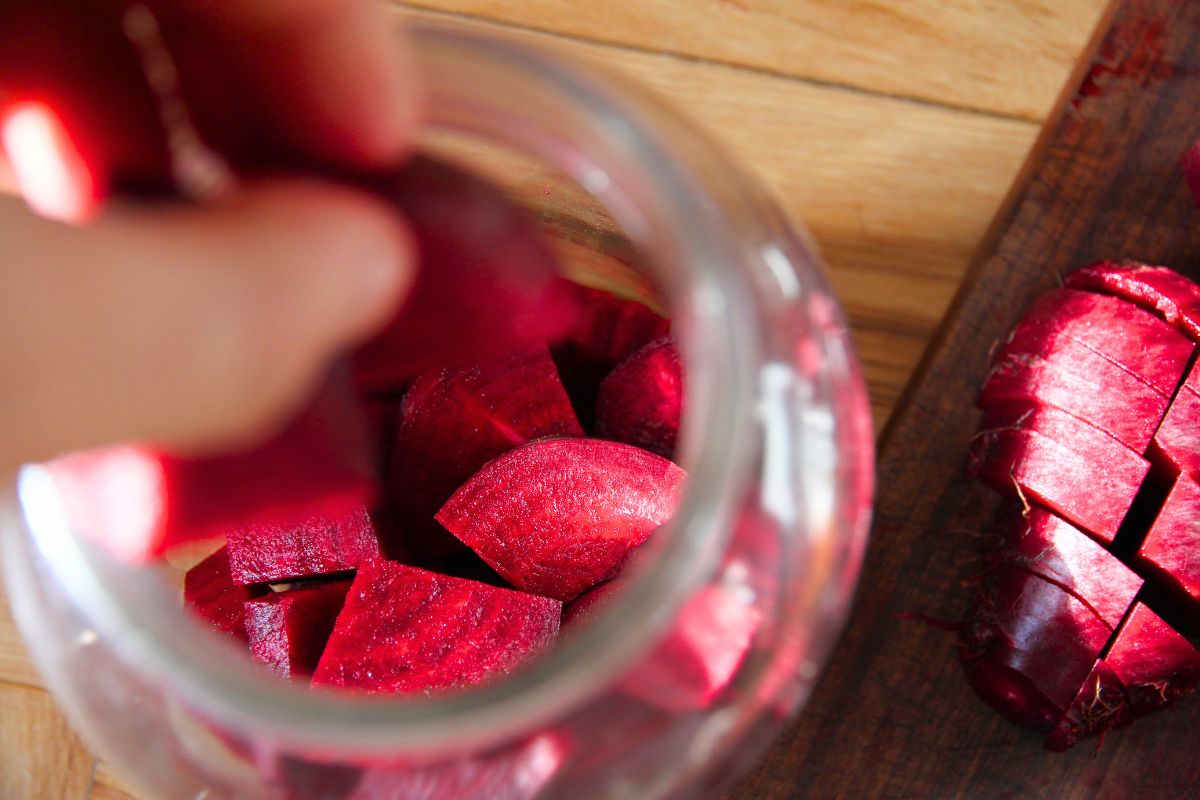
Step 2: Chop Beets into Large Chunks
Place beets on your cutting board and slice them into large chunks. You don't have to go very small. Water does a wonderful job at pulling juices from even large chunks of beet!
Helpful tip: don't slice beets too small, or bits may float to the surface of the water and mold.
Step 3: Fill Your Mason Jar
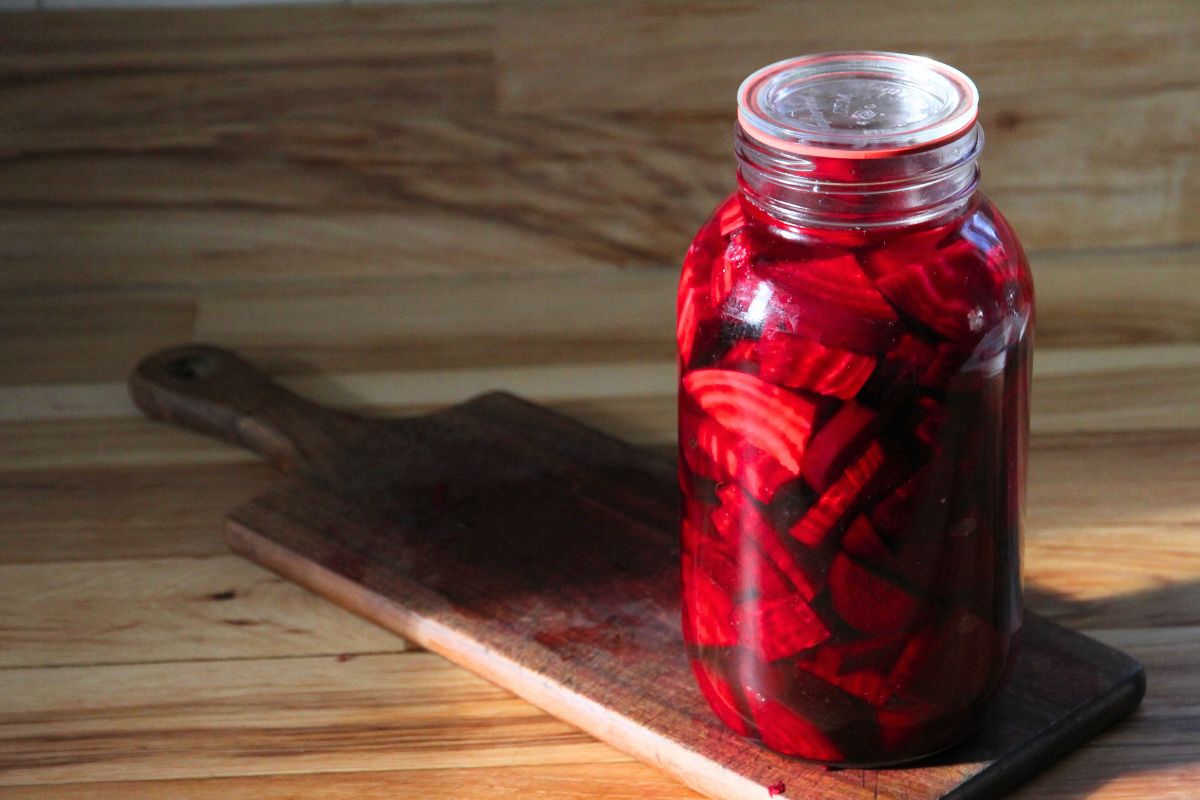
Stuff beet chunks into your mason jar, until it's filled to the shoulder. Always be sure to leave 1-2 inches of open space at the top.
Add water, until beetroot is covered by about 1/2 inch.
Here on our little piece of land, we're on municipal water. So we run everything through a filter. But you can use whatever you drink in your household.
Helpful tip: you can add about a teaspoon of salt at this point, or you can wait until you're ready to drink the finished product. Totally up to you!
Step 4: Add a Lid or Cover to Your Jar
Because fruit flies love anything fermented, you do need to cover the mouth of your jar to keep them out. You also need a covering that will release carbon dioxide that is produced by natural yeasts as they feed on beet sugars.
Here's a list of simple options.
- A loose fitting lid.
- A cloth cover, fastened down with a rubber band or string.
- An airlock fermenting lid that releases CO2.
Helpful tip: canning lids and bands make a VERY tight-fitting lid if you fully fasten them down. If using canning lids, make sure they're very loose, so gases can escape. Otherwise pressure can built to the point of explosion.
Don't ever seal fermenting beet kvass, unless you have a fermenting airlock lid!
Step 5: Leave Jars to Ferment at Room Temperature
Jars of beets should be left to ferment in the temperature range of 60-70F (16-21C). For most folks, the kitchen is the best place for warmer temperatures and for catching wild yeast.
Helpful tip: I always put my jars of beet kvass inside a glass baking dish while they ferment on the kitchen counter. If an accident or bubble over happens, the dish will keep red beet juice from going all over your counter!
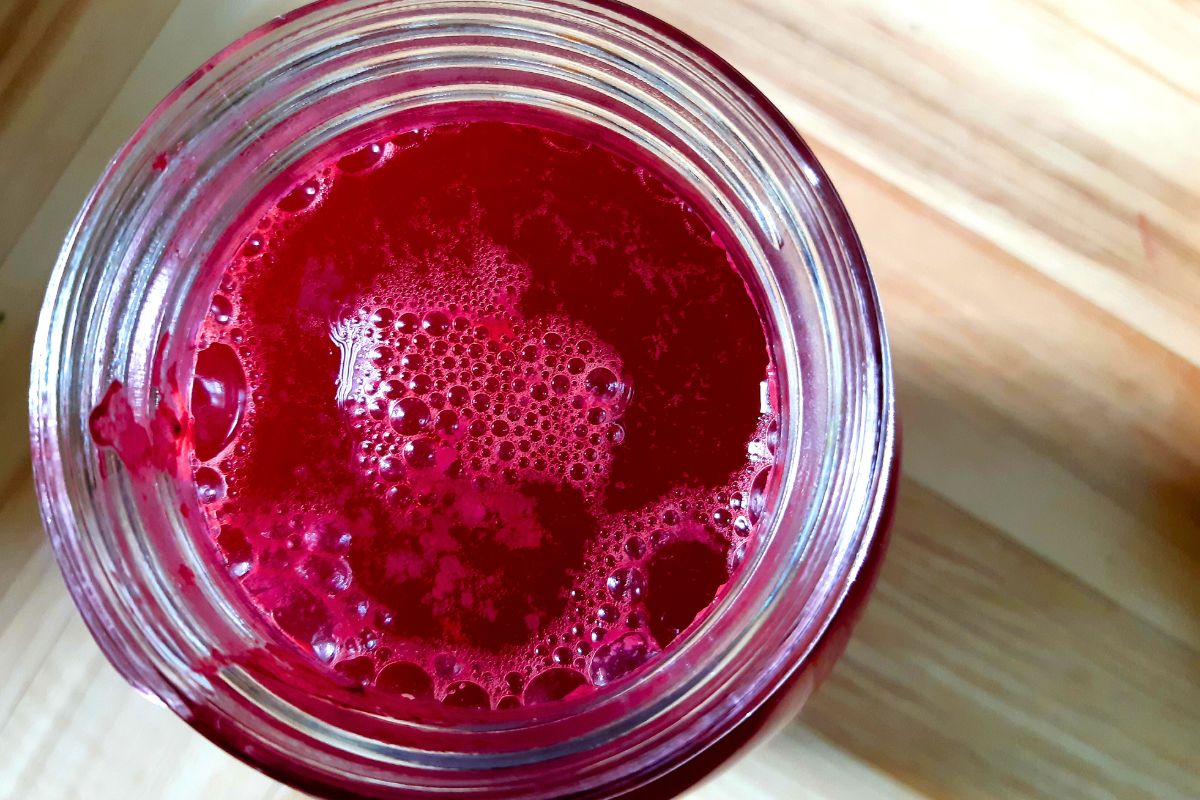
Step 6: Skim Foam from the Surface of Your Jar
Wild yeasts usually go into action after a couple day. You'll notice tiny bubbles on the inside wall of your jars (CO2), and pink foam will probably appear on the surface of your liquid.
If you have troubles with mold in your home, I recommend skimming this foam off every other day, so mold spores don't have a surface to land on!
Helpful tip: some folks say that you can lower the risk of mold by adding 2-3 teaspoons of salt to a half gallon (2 litre) jar of fermenting kvass, or 1-2 teaspoons per quart (litre) jar.
Step 7: Let the Fermentation Process Take Place
Beet kvass will ferment without any help from you. In just a couple of weeks, you'll have freshly fermented beet kvass on your hands!
In my kitchen, I usually aim for about 30 days. But like most fermented traditional foods, temperatures affect how quickly your drink it ready! Taste test, and when you're happy with the level of "tang," go ahead and bottle it up.
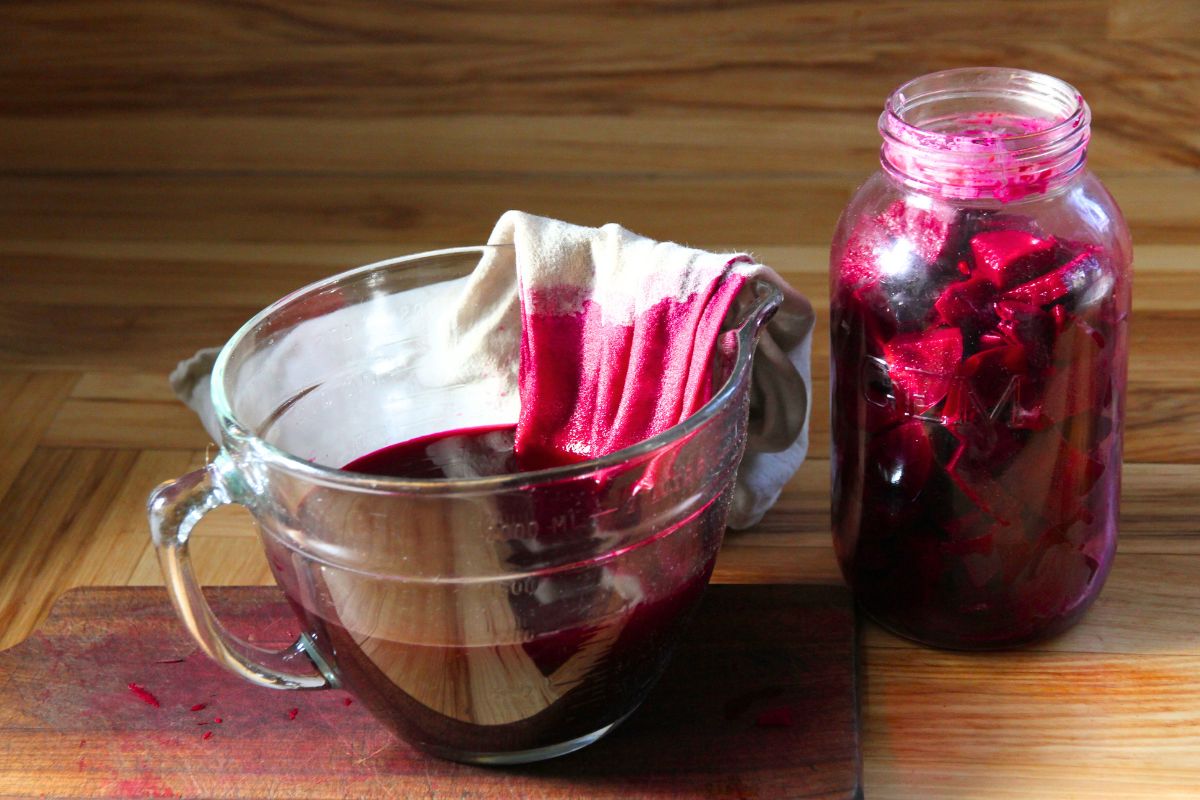
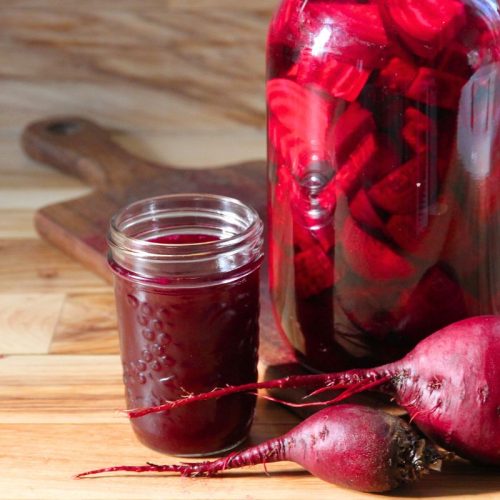
Step 8: Strain the Liquid and Store
You can send beetroot and juice through a colander, or line a bowl with a cotton cloth. Remove the beets and your traditional probiotic drink can be jarred or bottled. Store it in the fridge up to 6 months.
Questions Folks Ask
How much beet kvass should I take?
If you're new to beet kvass, I recommend starting with about 1/3-1/2 a cup in the morning. Take time to observe how your body responds to it.
Fermented probiotic drinks are good for you, but it's always a good idea to start small so you don't overload your system.
Can I add additional salt to my kvass?
Yes, you can add a pinch of salt to your glass of kvass. Especially if you think it improves the flavor!
Is there a way to use leftover beets?
Leftover lacto-fermented beets have the health benefits that most lacto-fermented vegetables carry. You certainly can add them to salads, or slice them into tiny chunks. If you don't want to hassle with that, toss them into the compost. I usually do!
What should I store beet kvass in?
Because beet juice is bright and quickly stains whatever it touches, I like to keep my kvass in glass. Sometimes I use swing tops bottles, other times I use a bottle with a cork, or even a glass jug. In a pinch, mason jars will always do!
Should I use leftover kvass as a starter culture for the next batch?
Some folks like to save some kvass from their first batch, and add it to a new batch as a culture starter. I never do this. Unless you're having trouble getting good bacteria to take off, adding mature kvass to a new batch isn't necessary.
How to Make Beet Kvass in a Mason Jar
Equipment
- 1 large glass jar half gallon or 2 litre
- 1 cotton straining cloth
- 1 lid or cloth cover
- wooden Cutting board
- sharp kitchen knife
Ingredients
- 6-7 large beets to fill jar
- 1 teaspoon sea salt
Instructions
- Scrub beets clean at the kitchen sink to remove all dirt.
- Cut off tail and green top.
- Slice beet in chunks 1/2-1 inch wide.
- Stuff sliced beets into jar and fill to the shoulder.
- Sprinkle in 1 teaspoon of sea salt.
- Add water to the jar until beets are covered by 1/2 inch.
- Cover the mouth of your jar with a loose fitting lid or cloth cover fastened down with a rubber band.
- Set jar in a baking dish and leave it ferment at the back of your kitchen counter.
- Check for foam on the surface of your ferment after 3-4 days. Remove with a spoon if you have problems with mold in your home.
- Leave the beets and water to ferment for 21-30 days, or until you are happy with the 'zing.'
- Strain out beets and pour beet kvass into a glass bottle.
- Store in fridge 5-6 months.
- Take 1/2 cup every morning on an empty stomach, or between meals.
Hey! Thanks for this recipe. Once it is in the fridge in a bottle, do I still need to burp it or is it ok to be in a sealed container without needing that?
You can check it in a week or two it for peace of mind if remains unopened for that long. But if the ferment is complete, it shouldn't need any burping.
Hi! Thank you for all this great info!
Have you ever mixed Kvass with other fruit juices or use it in recipes? I wonder if that is an option for people that find the taste too strong but still want all the benefits form it.
Thank you 🙂
Veronica
Hi Veronica!
Yes, you could mix beet juice with fruit juices. Or you can just make kvass with apples, berries, grapes or any of the juicy fruits you have available! If you do make fruit kvass, add fruit, cover with water and fasten a lid into place. Break the seal every day to release CO2 and you should be able to strain the solids out after 7 days. From there, you can drink the kvass or let it continue to ferment for another 7 days. But don't let it go for too long, or it will start turning into vinegar! 🙂
Let me know if you have any more questions!